
You downloaded Filmora because it promised an easy learning curve, but somewhere between the timeline, the effects panel, and the fifty preset templates, you got stuck. That confusion is normal. Most people open editing software expecting intuition to carry them through, then spend hours hunting for the one button that adds captions or speeds up a clip. This filmora video editor tutorial walks you through the software the way a working editor would, starting with setup and moving into the techniques that actually make footage look professional.
We built this guide around real workflows, not marketing screenshots. You'll learn how to organize your media library, cut and trim with precision, layer audio correctly, and export at the right settings for whatever platform you're posting to. Every step assumes you're editing to publish, not just to practice.
At SocialRevver, we run an AI-supported editing pipeline for clients producing short-form content daily, so we know which Filmora features save time and which ones just look impressive in a demo. Expect a straightforward path from blank timeline to a polished, ready-to-post video.
What you need before editing your first Filmora project
Before you drag a single clip onto the timeline, get your setup right. Most editing frustration comes from working on hardware that's fighting the software, or opening a project without a plan for what the final video needs to accomplish. Fix both before you touch the interface.
Check your system against Filmora's real requirements
Filmora runs on modest machines, but "runs" and "runs smoothly on a 4K timeline with color grading and multiple audio tracks" are two different experiences. If you're editing short-form content for daily posting, you want headroom, not the bare minimum.
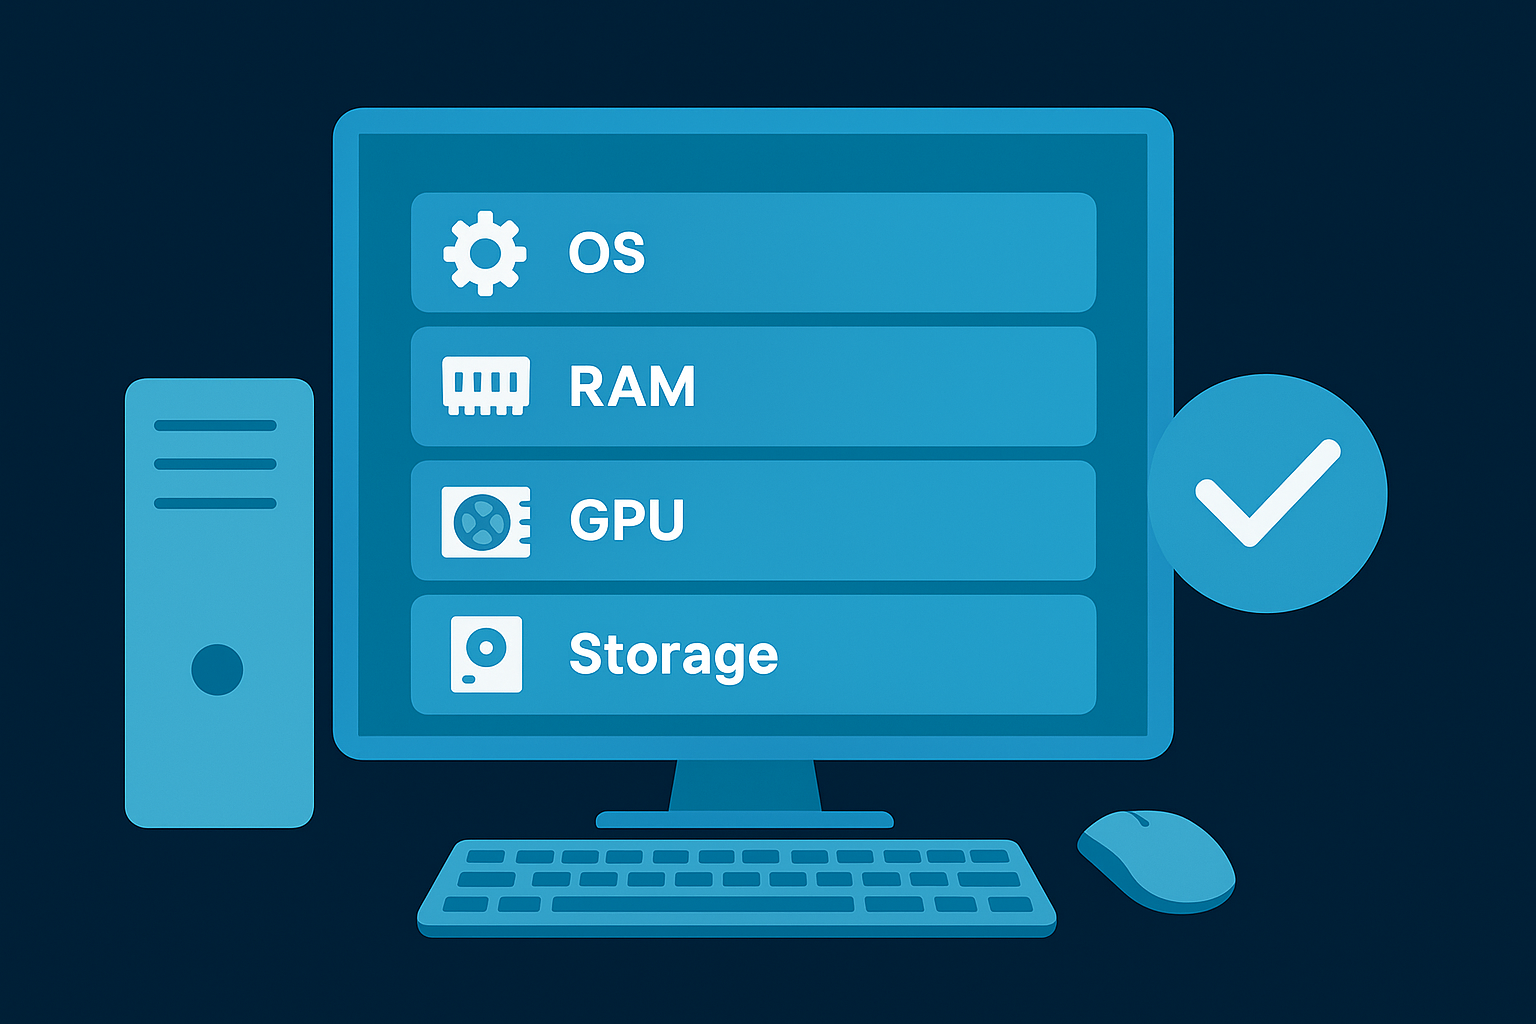
| Component | Minimum | Recommended for daily editing |
|---|---|---|
| OS | Windows 7 (64-bit) / macOS 10.13 | Windows 10/11 or macOS 12+ |
| RAM | 8GB | 16GB or more |
| GPU | 2GB VRAM, DirectX 12 support | 4GB+ VRAM, dedicated card |
| Storage | 10GB free (HDD) | 20GB+ free on SSD |
| CPU | Intel i3 or equivalent | Intel i5/i7 or Apple Silicon |
An SSD matters more than most people realize. Filmora writes cache files constantly during playback and rendering, and a slow hard drive turns every scrub through the timeline into a wait. If you're still on a spinning disk, that's the first upgrade to make, before you buy any plugin or preset pack.
Your editing speed depends more on your drive than your graphics card.
Install Filmora and set up your project correctly
Download Filmora directly from the official site rather than a third-party mirror, since bundled installers sometimes carry extra software you don't want. Once it's installed, don't just hit "New Project" and start dragging files. Set your project settings first, because changing resolution or frame rate midway through an edit forces Filmora to re-render every clip and often introduces quality loss.
Before you create a new project, confirm three things:
- Target platform: TikTok and Reels want 9:16 vertical at 1080x1920. YouTube wants 16:9 at 1920x1080. Mixing these up means cropping or letterboxing later, which always looks worse than shooting for the right frame from the start.
- Frame rate: Match your project frame rate to your footage. If you shot at 30fps and set the project to 24fps, motion will look stuttered or oddly smooth.
- Folder structure: Create a dedicated project folder with subfolders for raw footage, audio, exports, and assets like logos or lower thirds. This sounds basic, but it's the difference between finding a file in two seconds and scrolling through a messy downloads folder mid-edit.
Gather your raw materials before you open the timeline
Have your footage, audio, and brand assets ready before you start the project, not scattered across your desktop and phone. Pull everything into your project folder first: video clips, voiceover files, background music, any logo or watermark PNGs, and your caption font if you're using a custom one. Editors who skip this step end up pausing mid-edit to hunt for files, which breaks momentum and turns a 20-minute edit into an hour. Treat this prep stage the same way a carpenter treats laying out tools before cutting wood. It's not optional overhead, it's what makes the actual editing fast.
Step 1. Import and organize your footage
With your project folder ready, open Filmora and bring your files in through the Media panel rather than dragging random clips onto the timeline one at a time. Click "Import Media" and select your entire footage folder at once. Filmora reads the folder structure and lists everything in the media bin, giving you a single place to preview clips before committing any of them to your edit.
Build a system inside the media bin
Once your clips load, don't leave them in one long, unsorted strip. Use Filmora's folder and tagging tools inside the media panel to separate your assets the way you'd organize a shared drive.
- Create subfolders for A-roll, B-roll, voiceover, music, and graphics
- Rename clips with short, descriptive labels instead of camera-generated file names like "C0012.MP4"
- Use color labels or star ratings on your strongest takes so you can find them fast later
- Delete or hide obviously unusable clips (bad audio, out of focus, wrong framing) so they don't clutter your options
This sorting step feels slow the first few times, but it pays off the moment you're three hours into a project and need a specific reaction shot. Renaming clips now saves you from clicking through a dozen near-identical thumbnails later.
A well-organized media bin is the difference between editing fast and editing frustrated.
Preview before you commit
Double-click any clip in the media bin to preview it in Filmora's source viewer before dragging it to the timeline. This lets you scrub through footage, mark rough in and out points, and confirm audio quality without disturbing your main sequence. It's a small habit, but it prevents the common mistake of loading a shaky or poorly lit clip onto the timeline and only noticing the problem after you've already built cuts around it.
If you're working with a lot of footage, use Filmora's thumbnail scrubbing feature by hovering over clips in the media bin. It gives you a quick visual preview without opening the full source viewer, which speeds up the process of finding the right shot when you're sorting through dozens of similar takes. Get this organizational pass right, and everything downstream, trimming, sequencing, effects, moves faster because you're never guessing where a file lives.
Step 2. Trim, cut, and build your timeline
Now that your clips sit organized in the media bin, drag them onto the timeline in the rough order you want them to play. Filmora gives you multiple video tracks and audio tracks, so stack B-roll above your main footage and keep voiceover or music on separate audio lanes. Building the sequence loosely first, before you trim anything, lets you see the shape of the video and catch pacing problems early instead of fine-tuning a scene order that doesn't work.
Trim before you cut, cut before you polish
Once your clips are laid out, trim each one down to only the usable footage. Drag the edges of a clip inward to shorten it, or use the Razor tool to split a clip at the playhead and delete the parts you don't need. Tight cutting matters more in short-form content than almost any other editing skill, since viewers scroll away within the first two seconds if nothing happens fast enough.
A video that gets to the point in three seconds beats one that looks polished by second ten.
Use keyboard shortcuts to speed up the process
Mouse-only editing is slow. Learn these shortcuts and your cutting speed roughly doubles:
- S: Split clip at playhead
- Delete: Remove selected clip and close the gap
- Ctrl/Cmd + Z: Undo last action
- Spacebar: Play or pause
- I / O: Set in and out points on a clip before dragging it to the timeline
Relying on these instead of hunting for toolbar icons keeps your hands on the keyboard and your eyes on the footage, which matters when you're editing multiple videos in a day.
Check your rough cut before moving on
Play the entire sequence once you've trimmed everything, without adding effects or text yet. Watch for dead air, awkward pauses, and any clip that runs longer than it needs to. Fixing pacing at this stage is fast. Fixing it after you've added transitions and captions means redoing work you already finished, so lock the cut before you decorate it.
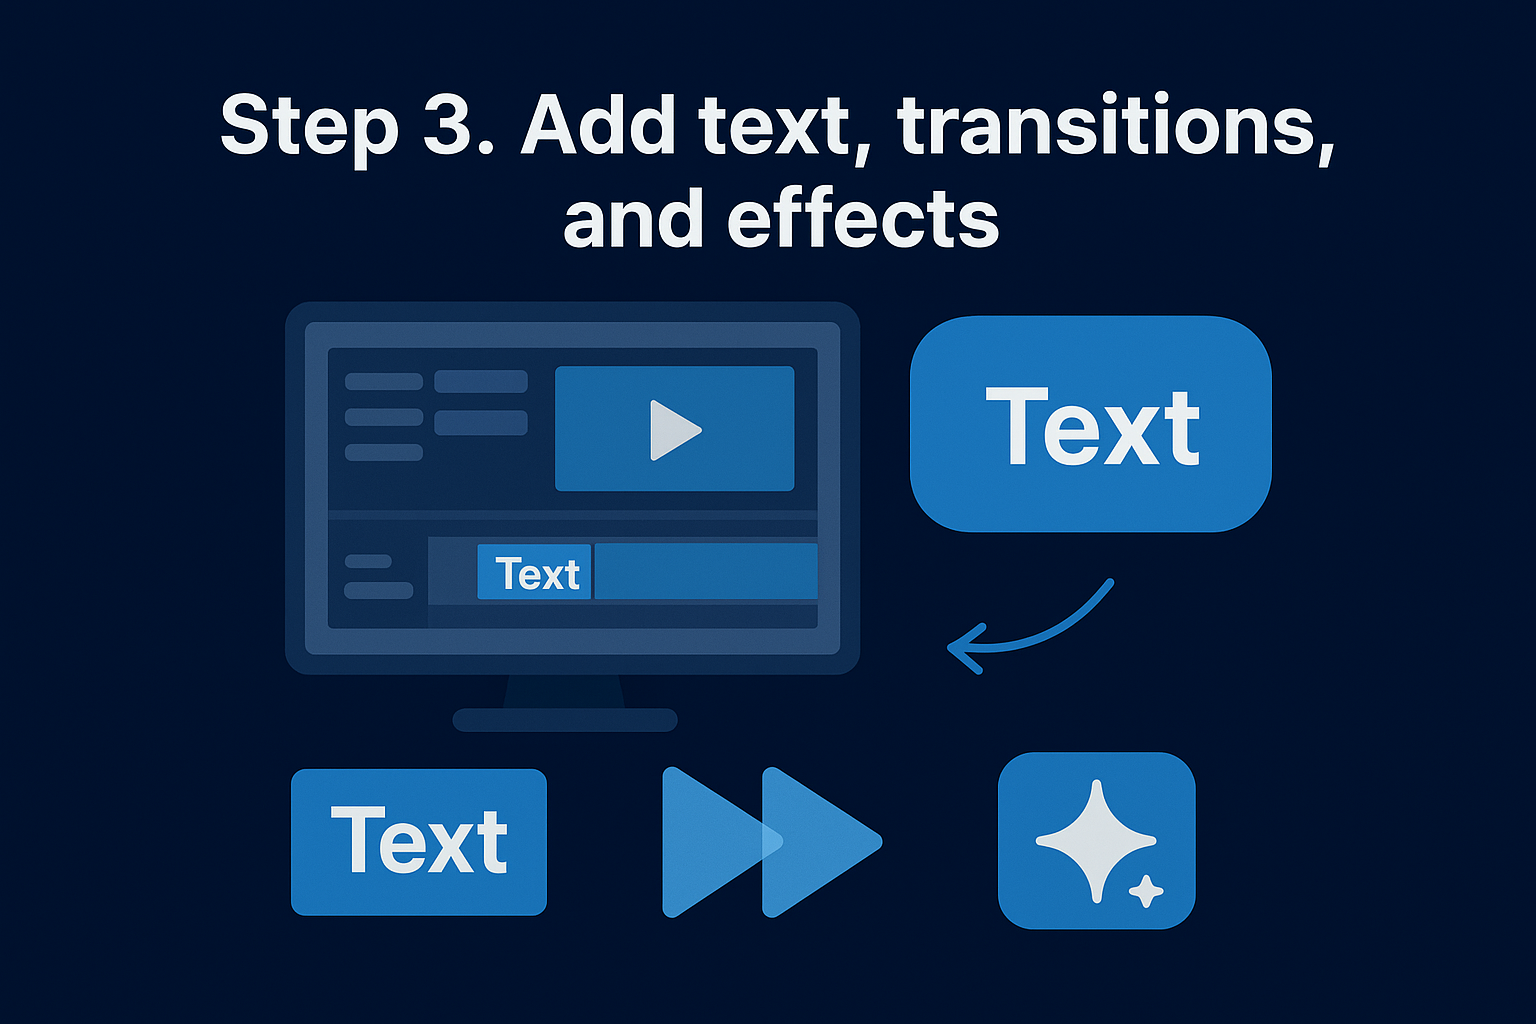
Step 3. Add text, transitions, and effects
With your rough cut locked, layer in the elements that make a video feel finished. Open Filmora's Titles panel and drag a text preset onto your timeline above the clip you want captioned. Resist the urge to grab the flashiest animated title first. For short-form content, clean, readable text that appears and disappears fast beats anything with a three-second animation eating into your runtime.
Add captions the right way
Filmora's Auto Captions feature transcribes your voiceover or on-camera speech automatically, which saves you from typing out every line by hand. Generate the captions, then scrub through and fix any misheard words before styling them.
- Go to Text > Auto Captions and select your audio track
- Let Filmora generate the transcript
- Review each caption block for accuracy, especially names, numbers, and slang
- Apply a caption style from the panel, keeping font size large enough to read on a phone screen
- Adjust timing so captions match speech exactly, not a beat late
Captions that lag behind speech by even half a second feel broken to viewers, even if they can't say why.
Use transitions sparingly
Drag a transition from the Transitions panel onto the point between two clips only when a hard cut genuinely looks jarring. Most short-form content works better with straight cuts. Save cross dissolves, whip pans, or zoom transitions for moments where you're changing location, time, or topic and want the viewer to register that shift. Overusing transitions is one of the fastest ways to make an edit look amateur instead of polished.
Apply effects that support the story, not distract from it
Filmora's Effects panel includes overlays, filters, and motion presets you can drag directly onto clips. Test any effect on a single clip first and watch the full playback before applying it across your timeline. A subtle vignette or light grain can add production value; a heavy filter that changes your footage's color balance can fight against the color grade you'll do next. Keep a folder of your go-to effects and text styles once you find ones that match your brand, since reusing a consistent style across videos builds recognition faster than reinventing the look every time you edit.
Step 4. Color grade, mix audio, and export
With your edit locked and effects in place, move to color and audio before you export anything. Open Filmora's Color panel and start with the basic wheels rather than jumping straight to a preset LUT. Adjust exposure, contrast, and white balance first so your footage looks accurate, then apply a LUT or preset on top for style. Skipping straight to a filter on unbalanced footage just amplifies whatever exposure problems you already have.
Match your clips before you stylize them
If your footage came from different cameras or lighting setups, use Filmora's color matching tool to even out skin tones and exposure across clips before adding any creative grade. Jumping from a warm indoor shot to a cool outdoor one without matching first is one of the fastest ways to make a video feel unprofessional, even if every individual clip looks fine on its own.
Consistent color across clips matters more to viewers than a dramatic grade on any single shot.
Balance your audio before you touch the export button
Open the Audio Mixer and check every track independently. Voiceover should sit louder and clearer than background music, and music should duck automatically under speech using Filmora's Audio Ducking feature. Run the built-in Noise Removal tool on any clip with background hum or wind, and normalize levels so viewers aren't reaching for the volume knob between clips.
Export with the right settings for your platform
Once color and audio are locked, go to Export and choose settings that match where the video is going. Use this as your baseline:
| Platform | Resolution | Frame Rate | Format |
|---|---|---|---|
| TikTok / Reels | 1080x1920 | 30fps | MP4, H.264 |
| YouTube Shorts | 1080x1920 | 30fps | MP4, H.264 |
| YouTube (standard) | 1920x1080 | 24-30fps | MP4, H.264 |
Pick the highest bitrate Filmora offers for your target resolution. Export once, upload a test version if you're unsure, and check playback on an actual phone screen, not just your editing monitor, since compression artifacts often only show up after the platform re-encodes your file.
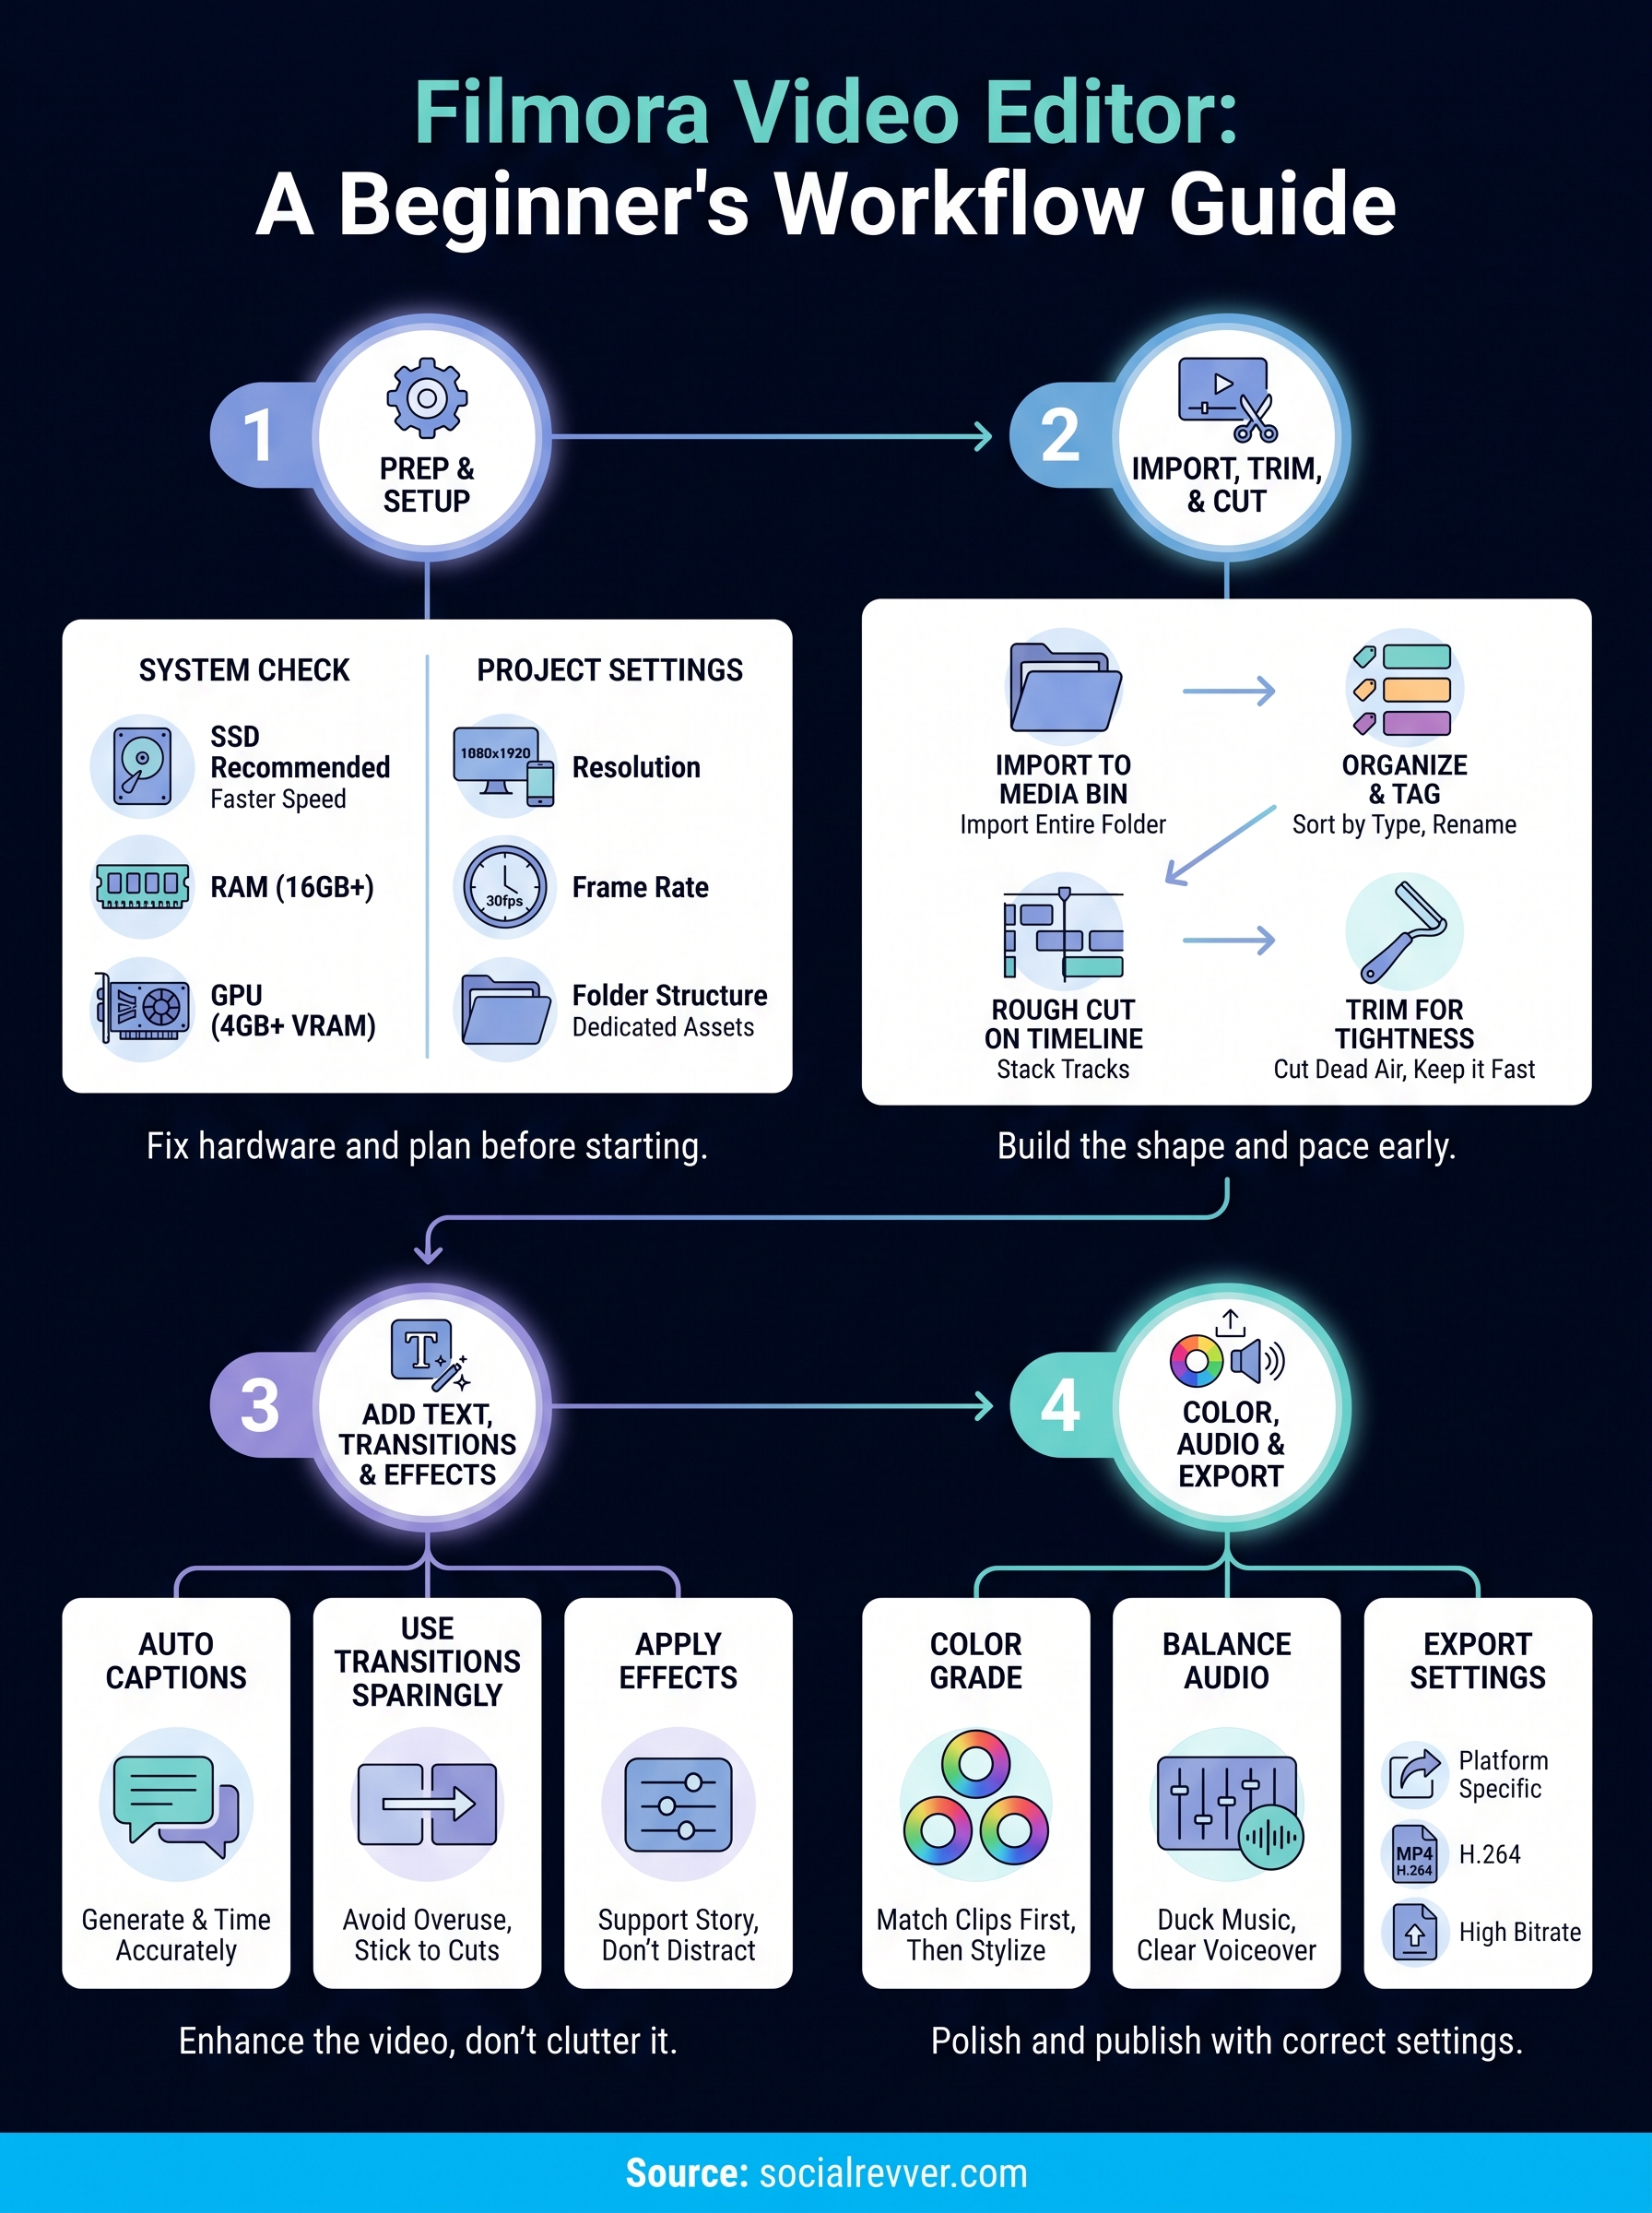
Turning your first edit into a repeatable workflow
Your first Filmora project will take longer than your tenth. That's normal. The real win isn't finishing one polished video, it's building a repeatable process you can run again tomorrow without relearning the software each time. Save your project settings as a template, keep your effects and caption styles organized, and write down your export checklist so you're not second-guessing bitrate every time you publish.
Once that workflow feels automatic, the harder question shows up: can you sustain it daily while running an actual business? Most founders and creators can't, and that's exactly the gap a managed content system is built to close. If you'd rather hand off the editing grind and keep the strategy, get your free 40+ slide social media strategy and see what a fully built attention engine looks like.