
You finished editing a Short in Premiere Pro, hit export, and the result looks soft, gets flagged for the wrong aspect ratio, or takes forever to process on YouTube's end. Getting the premiere pro export settings for youtube shorts right isn't guesswork. YouTube's algorithm and encoder respond to specific technical choices, and one wrong setting can quietly cap your reach before anyone sees the content.
This guide gives you the exact numbers to punch into the Export Settings panel: the right resolution and aspect ratio, frame rate matched to your footage, and the bitrate range that keeps quality high without producing a bloated file. No theory, no filler, just the settings that work for a 9:16 vertical video destined for Shorts.
We built this because clunky exports are exactly the kind of manual bottleneck our production pipeline at SocialRevver eliminates for clients scaling short-form content daily. Below, you'll find a step-by-step walkthrough of the export dialog, a breakdown of codec and container choices, and answers to the mistakes we see most often, like mismatched frame rates and oversized files that YouTube recompresses into mush.
What makes YouTube Shorts export settings different
Most editors export a Short the same way they export a landscape YouTube video, then wonder why it looks stretched or blurry on a phone screen. Shorts live and die inside a vertical 9:16 frame, not the 16:9 canvas Premiere Pro defaults to when you create a new sequence. If your sequence settings don't match that orientation from the start, you're forcing Premiere to crop or letterbox your footage during export, which throws away resolution and sharpness before YouTube even touches the file.
Frame rate matters more here too. YouTube recompresses everything you upload, and it does a noticeably better job when your source frame rate matches your export frame rate exactly. Shoot at 30fps, edit at 30fps, export at 30fps. Mixing frame rates (shooting 24fps footage into a 30fps timeline, for example) introduces judder that gets worse after YouTube's compression pass runs on top of it.
Get the aspect ratio and frame rate right before you touch bitrate, or every setting after that is compensating for a mistake made at the top of the export chain.
Bitrate behaves differently for Shorts than for standard uploads too. Because Shorts are short by definition, usually under 60 seconds, you can afford a higher bitrate per second without ballooning file size the way a 10-minute video would. That headroom matters because Shorts often contain fast cuts, motion graphics, and dense captions, all of which need more data to render cleanly. Skimping on bitrate here is one of the fastest ways to end up with a Short that looks noticeably worse than a competitor's on the same feed.
Once you understand these three differences, aspect ratio, frame rate matching, and bitrate headroom, the rest of the export process is just filling in the right numbers.
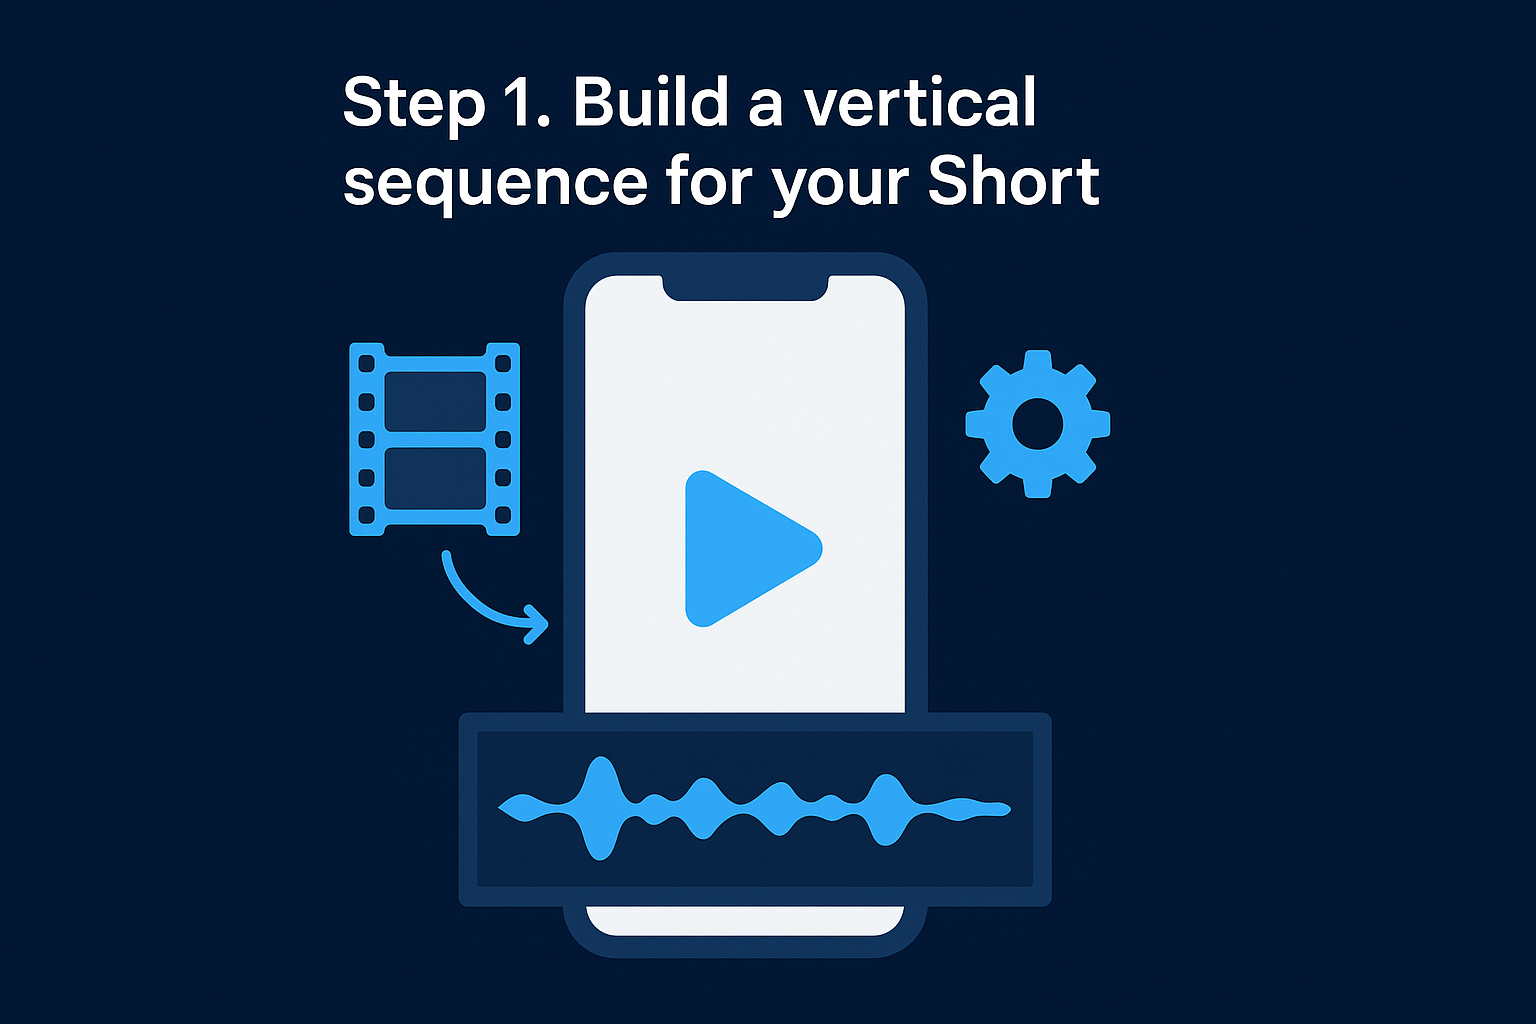
Step 1. Build a vertical sequence for your Short
Start by building a sequence that matches YouTube's vertical spec instead of forcing a landscape timeline to behave. Right-click in your Project panel, choose New Item, then Sequence, and open Sequence Settings. Set the frame size to 1080x1920, which locks you into the 9:16 ratio Shorts expects on every phone screen.
Here's what to set inside that dialog:
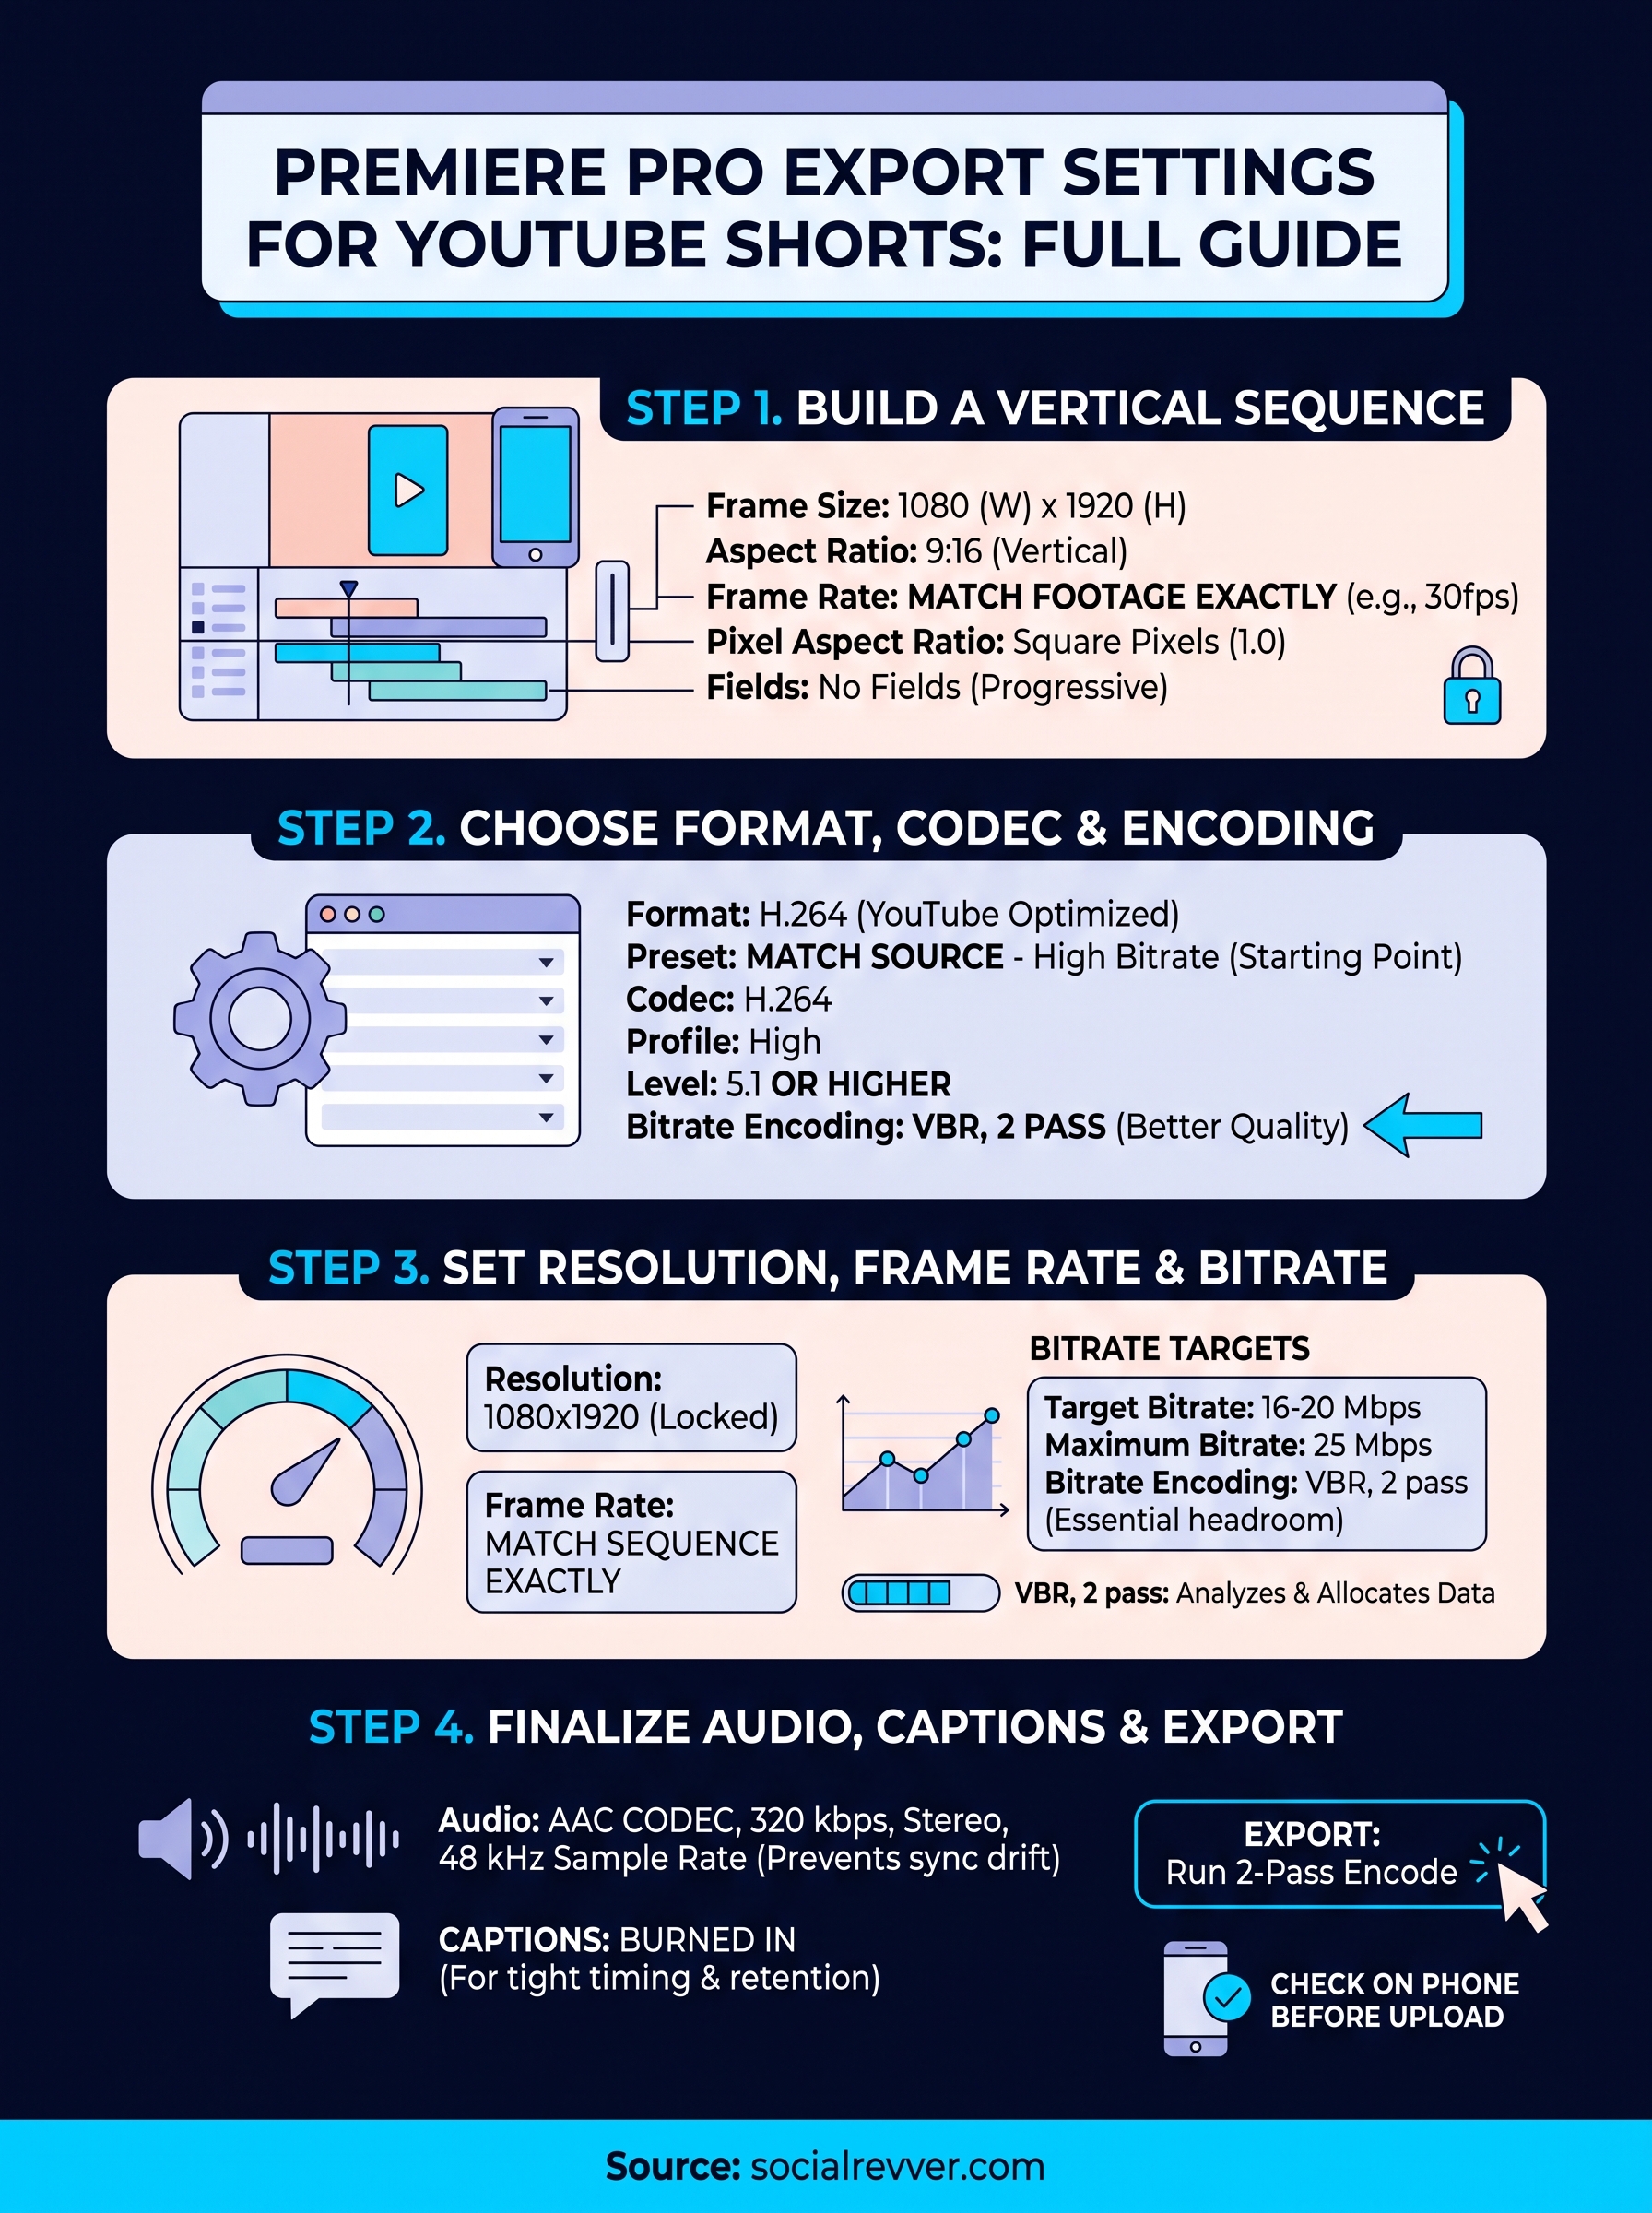
- Editing Mode: Custom
- Frame Size: 1080 (horizontal) x 1920 (vertical)
- Frame Rate: match your footage exactly (23.976, 24, 25, 29.97, or 30)
- Pixel Aspect Ratio: Square Pixels (1.0)
- Fields: No Fields (Progressive)
Drag your footage into this sequence and check the Program Monitor immediately. If clips show black bars on the sides, you shot horizontal footage and need to reframe or crop it to fill the vertical frame before you touch export settings.
Build your sequence vertical from the first clip, not as a fix applied during export.
Getting this right at the sequence level means Premiere Pro renders every effect, caption, and transition at full resolution, with nothing scaled or cropped later in the process.
Step 2. Choose the right format, codec, and encoding settings
Open the Export Settings panel (Ctrl+M or Cmd+M) once your vertical sequence is ready. Under the Export Settings header, set Format to H.264, which is the codec YouTube's servers expect and process most efficiently. Skip ProRes or DNxHD here; those are mastering formats, not upload formats, and they'll just slow down your export without any quality benefit on Shorts.
Below Format, click the Preset dropdown and choose "Match Source - High bitrate" as your starting point, then customize from there. This preset keeps your encoding settings close to your original footage instead of applying generic defaults built for landscape video.
Choosing H.264 with the right bitrate encoding isn't a minor detail, it's the difference between a Short that survives YouTube's compression and one that gets crushed by it.
Under the Video tab, confirm these settings:
- Codec: H.264
- Profile: High
- Level: 5.1 or higher
- Bitrate Encoding: VBR, 2 pass
Two-pass VBR takes longer to render than single-pass, but it analyzes your whole clip first, then allocates bitrate where motion and detail actually need it. For fast-cut Shorts with captions and graphics, that extra render time pays off in visible sharpness once the video is live.
Step 3. Set resolution, frame rate, and bitrate
Scroll down to the resolution fields inside the Video tab and lock in 1080x1920, matching the vertical sequence you built in Step 1. Anything lower, like 720x1280, saves render time but hands YouTube less detail to work with during its own compression pass, and the difference shows up fast on a phone screen held close to someone's face.
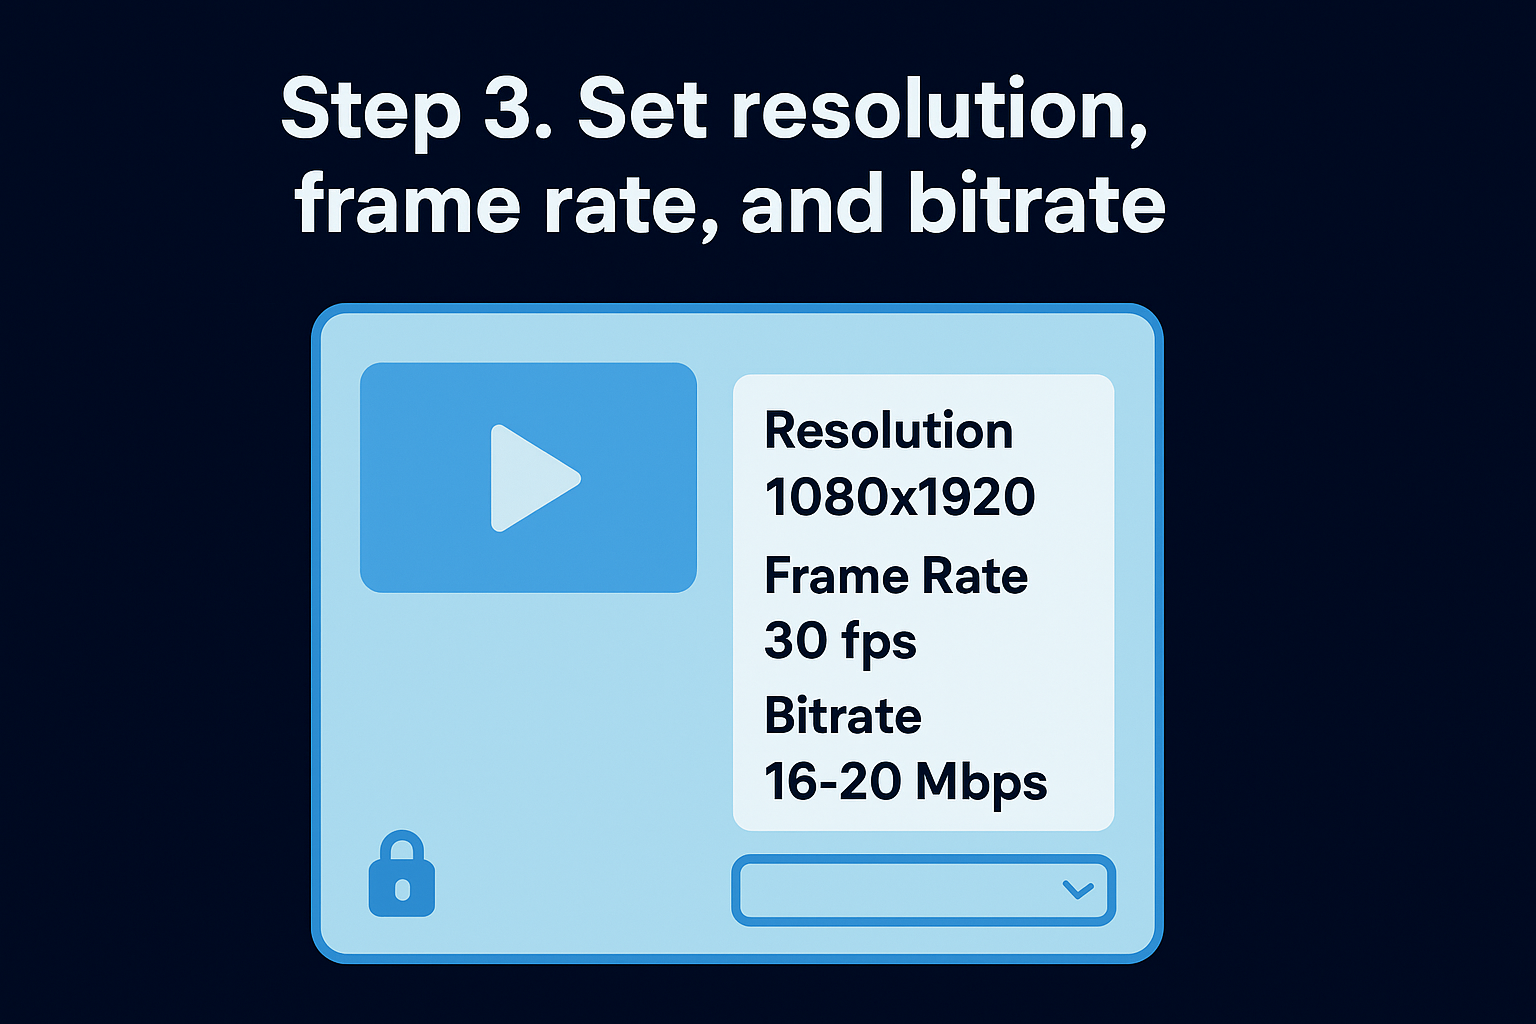
Set Frame Rate to match your sequence exactly. If you shot and edited at 30fps, export at 30fps, not 29.97 rounded up or down. Consistency here prevents the subtle judder that shows up after YouTube reprocesses your upload.
For bitrate, use these targets:
| Setting | Target Value |
|---|---|
| Target Bitrate | 16-20 Mbps |
| Maximum Bitrate | 25 Mbps |
| Bitrate Encoding | VBR, 2 pass |
A Short encoded below 16 Mbps almost always looks softer than it needs to once YouTube finishes compressing it.
These numbers give YouTube's encoder enough headroom to preserve fast motion and dense captions without producing an oversized file that takes forever to upload.
Step 4. Finalize audio, captions, and export your Short
Before you queue the export, click the Audio tab and confirm AAC codec at 320 kbps, stereo, 48 kHz sample rate. YouTube expects that sample rate specifically, and mismatched audio rates cause sync drift on longer Shorts, especially anything approaching the 60-second limit.
Burn in your captions before export rather than relying on YouTube's auto-generated ones. Auto-captions lag, misread names, and strip the visual punch that keeps viewers watching past the first three seconds. Export captions as part of your video layer, not a separate file, so they're baked into every frame.
Baked-in captions with tight timing beat auto-generated ones every time, because viewer retention depends on words landing exactly when the audio does.
Once audio and captions check out, click Export and let the two-pass encode run. Resist the urge to export at single-pass just to save five minutes; that shortcut shows up as softness the moment YouTube recompresses your file. Check the finished export on an actual phone screen before uploading, not just the desktop preview, since vertical framing and caption size read differently on mobile.
Getting consistent quality on every upload
The settings above aren't complicated, but they're easy to overlook when you're rushing to publish. Vertical sequence, matched frame rate, two-pass VBR at 16-20 Mbps, and baked-in captions solve the majority of quality complaints we hear from creators exporting Shorts straight out of Premiere Pro. Lock these into a preset once, and you stop relearning the same lessons every time you export.
Quality problems rarely come from one bad setting. They stack: a mismatched frame rate, then a low bitrate, then auto-captions covering the gap. Fixing the export chain end to end is what actually moves the needle on watch time and retention.
If you'd rather hand this off entirely, that's exactly what our Attention Engine production pipeline handles for clients daily. Get your free 40+ slide social media strategy and see what a system built for consistent exports looks like.