
You opened VEED for the first time and now you're staring at a timeline, a media panel, and a dozen icons you don't recognize. This veed video editor tutorial walks you through the exact steps to go from a raw clip to a polished, publish-ready video, even if you've never edited anything before. No jargon, no wasted clicks.
By the end of this guide, you'll know how to upload and trim footage, add captions, apply transitions, and use VEED's AI-powered tools to speed up editing that used to take hours. We'll cover the interface layout first, then move into the editing workflow beginners actually need: cutting, text overlays, audio cleanup, and exporting in the right format for each platform.
We work with founders and creators every day at SocialRevver, and one pattern always shows up: people quit editing not because they lack creativity, but because the tools feel clunky. This tutorial removes that friction so you can spend less time fighting software and more time getting your short-form content in front of the right audience, which is exactly the kind of consistency that turns views into an actual growth system.
What is VEED and why use it for video editing
VEED is a browser-based video editor built for people who need results fast, not a film degree. It runs entirely online, so there's nothing to install and no rendering delays that eat up your hard drive. Creators, marketers, and small teams use it because it bundles AI-powered editing tools with a timeline interface that doesn't require a tutorial series just to open a project. If you're producing short-form content weekly, that speed difference compounds fast.
Where VEED fits for beginners
Unlike Premiere Pro or Final Cut, VEED skips the steep learning curve. You don't need to understand keyframes or codecs to publish a clean video. The platform leans on automation, things like auto-subtitling, background noise removal, and one-click resizing, so beginners can produce content that looks professionally edited without years of practice.
The real value of VEED isn't the tools themselves, it's how much editing time they remove from your workflow.
Core features worth knowing before you start
| Feature | What it does | Why it matters for beginners |
|---|---|---|
| Auto subtitles | Generates captions from speech | Saves hours of manual transcription |
| Magic Cut | Removes filler words and dead air | Tightens pacing without manual scrubbing |
| Templates | Pre-built layouts for social formats | Skips design decisions entirely |
| Cloud storage | Projects save automatically online | No lost work, no local backups needed |
Because everything lives in the cloud, you can start a project on your laptop and finish it later from another device. That matters if you're running a content system rather than editing as a one-off hobby, since consistency depends on being able to jump back into work without friction, wherever you happen to be.
Step 1. Upload your footage or record directly in VEED
Open a new project and you'll see two clear options: upload existing footage or record fresh clips inside the browser. Click "Upload a file" to pull video from your computer, Google Drive, or Dropbox, and VEED accepts most common formats including MP4, MOV, and AVI without any conversion step. This flexibility matters if you're pulling footage shot on a phone, a DSLR, or screen-recording software, since you won't waste time converting files before you can even start editing.
Recording without leaving the browser
Skip the upload entirely if you don't have footage yet. VEED's built-in screen recorder and webcam recorder let you capture content directly in the editor, which is useful for tutorials, talking-head videos, or quick product demos. Hit record, do your take, and the clip drops straight into your media panel ready for editing.
Recording inside VEED cuts out the extra step of importing files from a separate app.
Before moving to the timeline, run through this quick checklist:
- Confirm your footage is under VEED's file size limit for your plan
- Check audio levels sound clear on playback
- Delete any duplicate takes to keep your media panel organized
Getting this step right saves you from scrubbing through cluttered files later.
Step 2. Trim and arrange clips on the timeline
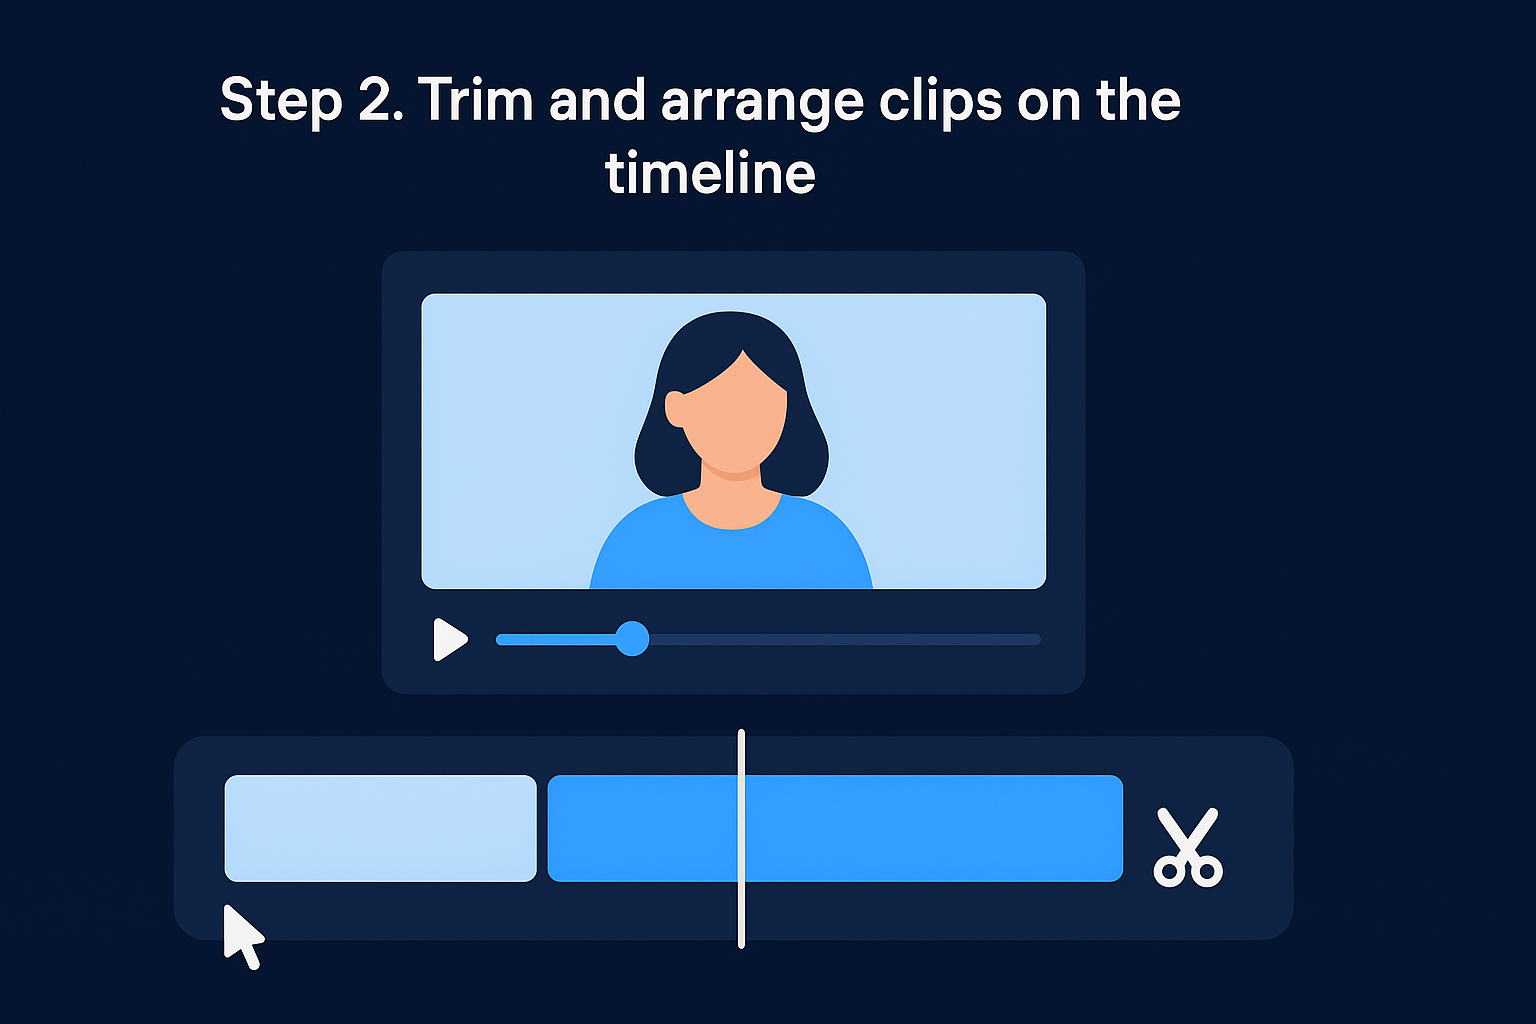
Drag your uploaded clip onto the timeline at the bottom of the screen and you're ready to start shaping the video. Split a clip by placing the playhead where you want the cut and pressing the scissors icon, then delete the section you don't need. VEED snaps clips together automatically, so you won't end up with awkward gaps between cuts.
Using Magic Cut to speed things up
Instead of manually hunting for dead air and filler words, click Magic Cut and let VEED's AI scan your footage for pauses, "ums," and silence. Review the suggested cuts, accept the ones that make sense, and reject anything you want to keep. This single feature can cut your editing time in half on talking-head content.
Magic Cut turns a task that used to take an hour into a five-minute review.
Reordering and layering clips
Rearranging footage is just drag-and-drop:
- Drag clips left or right to change their order on the timeline
- Stack a second clip above the main track to create overlays or picture-in-picture
- Use the split screen tool if you're combining webcam and screen footage
Once your sequence flows the way you want, you're ready to layer in text and effects.
Step 3. Add subtitles, text, and AI-powered effects
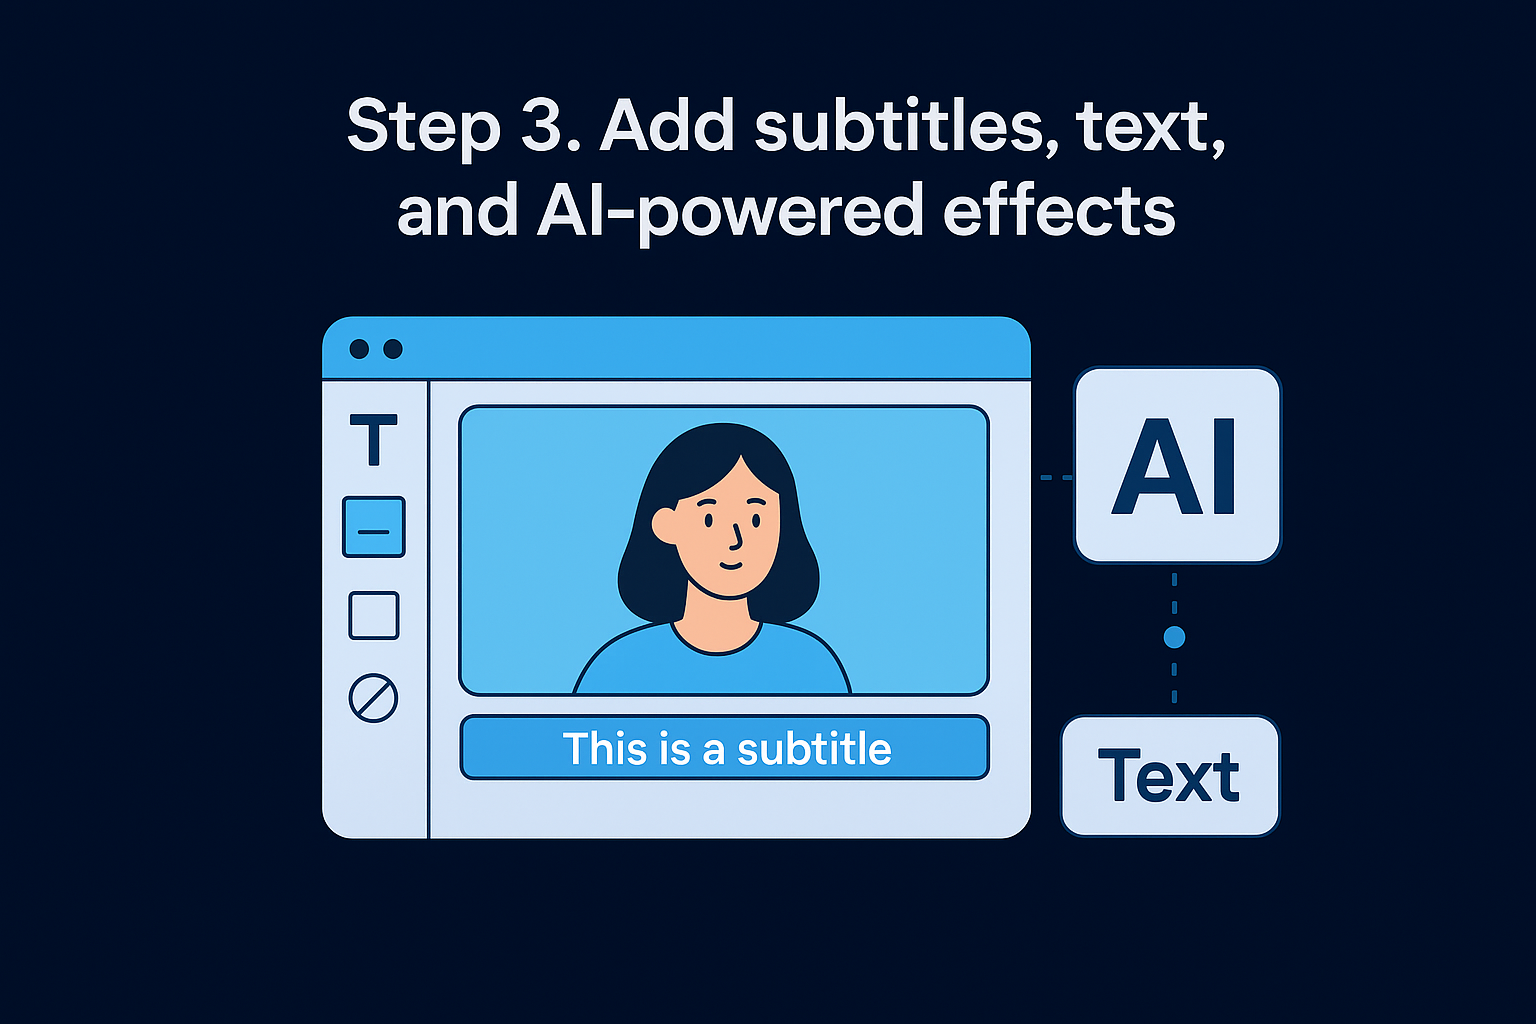
Click Subtitles in the left toolbar and VEED auto-generates captions from your audio track within seconds. Edit any misheard words directly in the caption panel, adjust timing if needed, and pick a font style that matches your brand. Captions aren't optional anymore either, most viewers watch short-form content with sound off, so skipping this step costs you retention you can't get back.
Styling text overlays for social platforms
Grab the Text tool to add titles, callouts, or lower-thirds anywhere on your timeline. VEED includes preset animations, so a heading can pop in, hold, then fade without you touching a single keyframe.
Subtitles aren't a nice-to-have anymore, they're the difference between someone scrolling past and someone watching to the end.
Applying AI effects that actually save time
Beyond captions, VEED's AI toolkit handles tasks that used to require separate software:
- Background Remover strips your webcam background without a green screen
- Noise Removal cleans up echo or hum from raw audio
- Auto Reframe repositions footage for vertical, square, or landscape formats
Running footage through these tools takes minutes, not hours. Once your visuals and audio sound clean, you're ready to move into exporting.
Step 4. Export and share your finished video
Click Export in the top right corner once your edit looks final, and VEED opens a menu with resolution and format options. Choose MP4 for most platforms, pick your resolution up to 4K depending on your plan, and hit render. Processing happens in the cloud, so you can close your laptop and grab the finished file later without tying up your own hardware.
Picking the right settings for each platform
Different platforms reward different specs, and getting this wrong quietly kills reach before anyone even watches your video.
| Platform | Aspect ratio | Recommended resolution |
|---|---|---|
| TikTok/Reels/Shorts | 9:16 | 1080x1920 |
| YouTube (standard) | 16:9 | 1920x1080 |
| Instagram feed | 1:1 or 4:5 | 1080x1080 |
Exporting at the wrong aspect ratio is one of the fastest ways to sabotage a video before it even gets watched.
Sharing directly from VEED
Instead of downloading and re-uploading manually, use VEED's direct publish option to push your video straight to connected social accounts. This saves a step and avoids compression losses that happen when you bounce a file between apps. Once published, monitor early watch-time metrics so your next edit builds on what actually worked.
From raw footage to a finished video
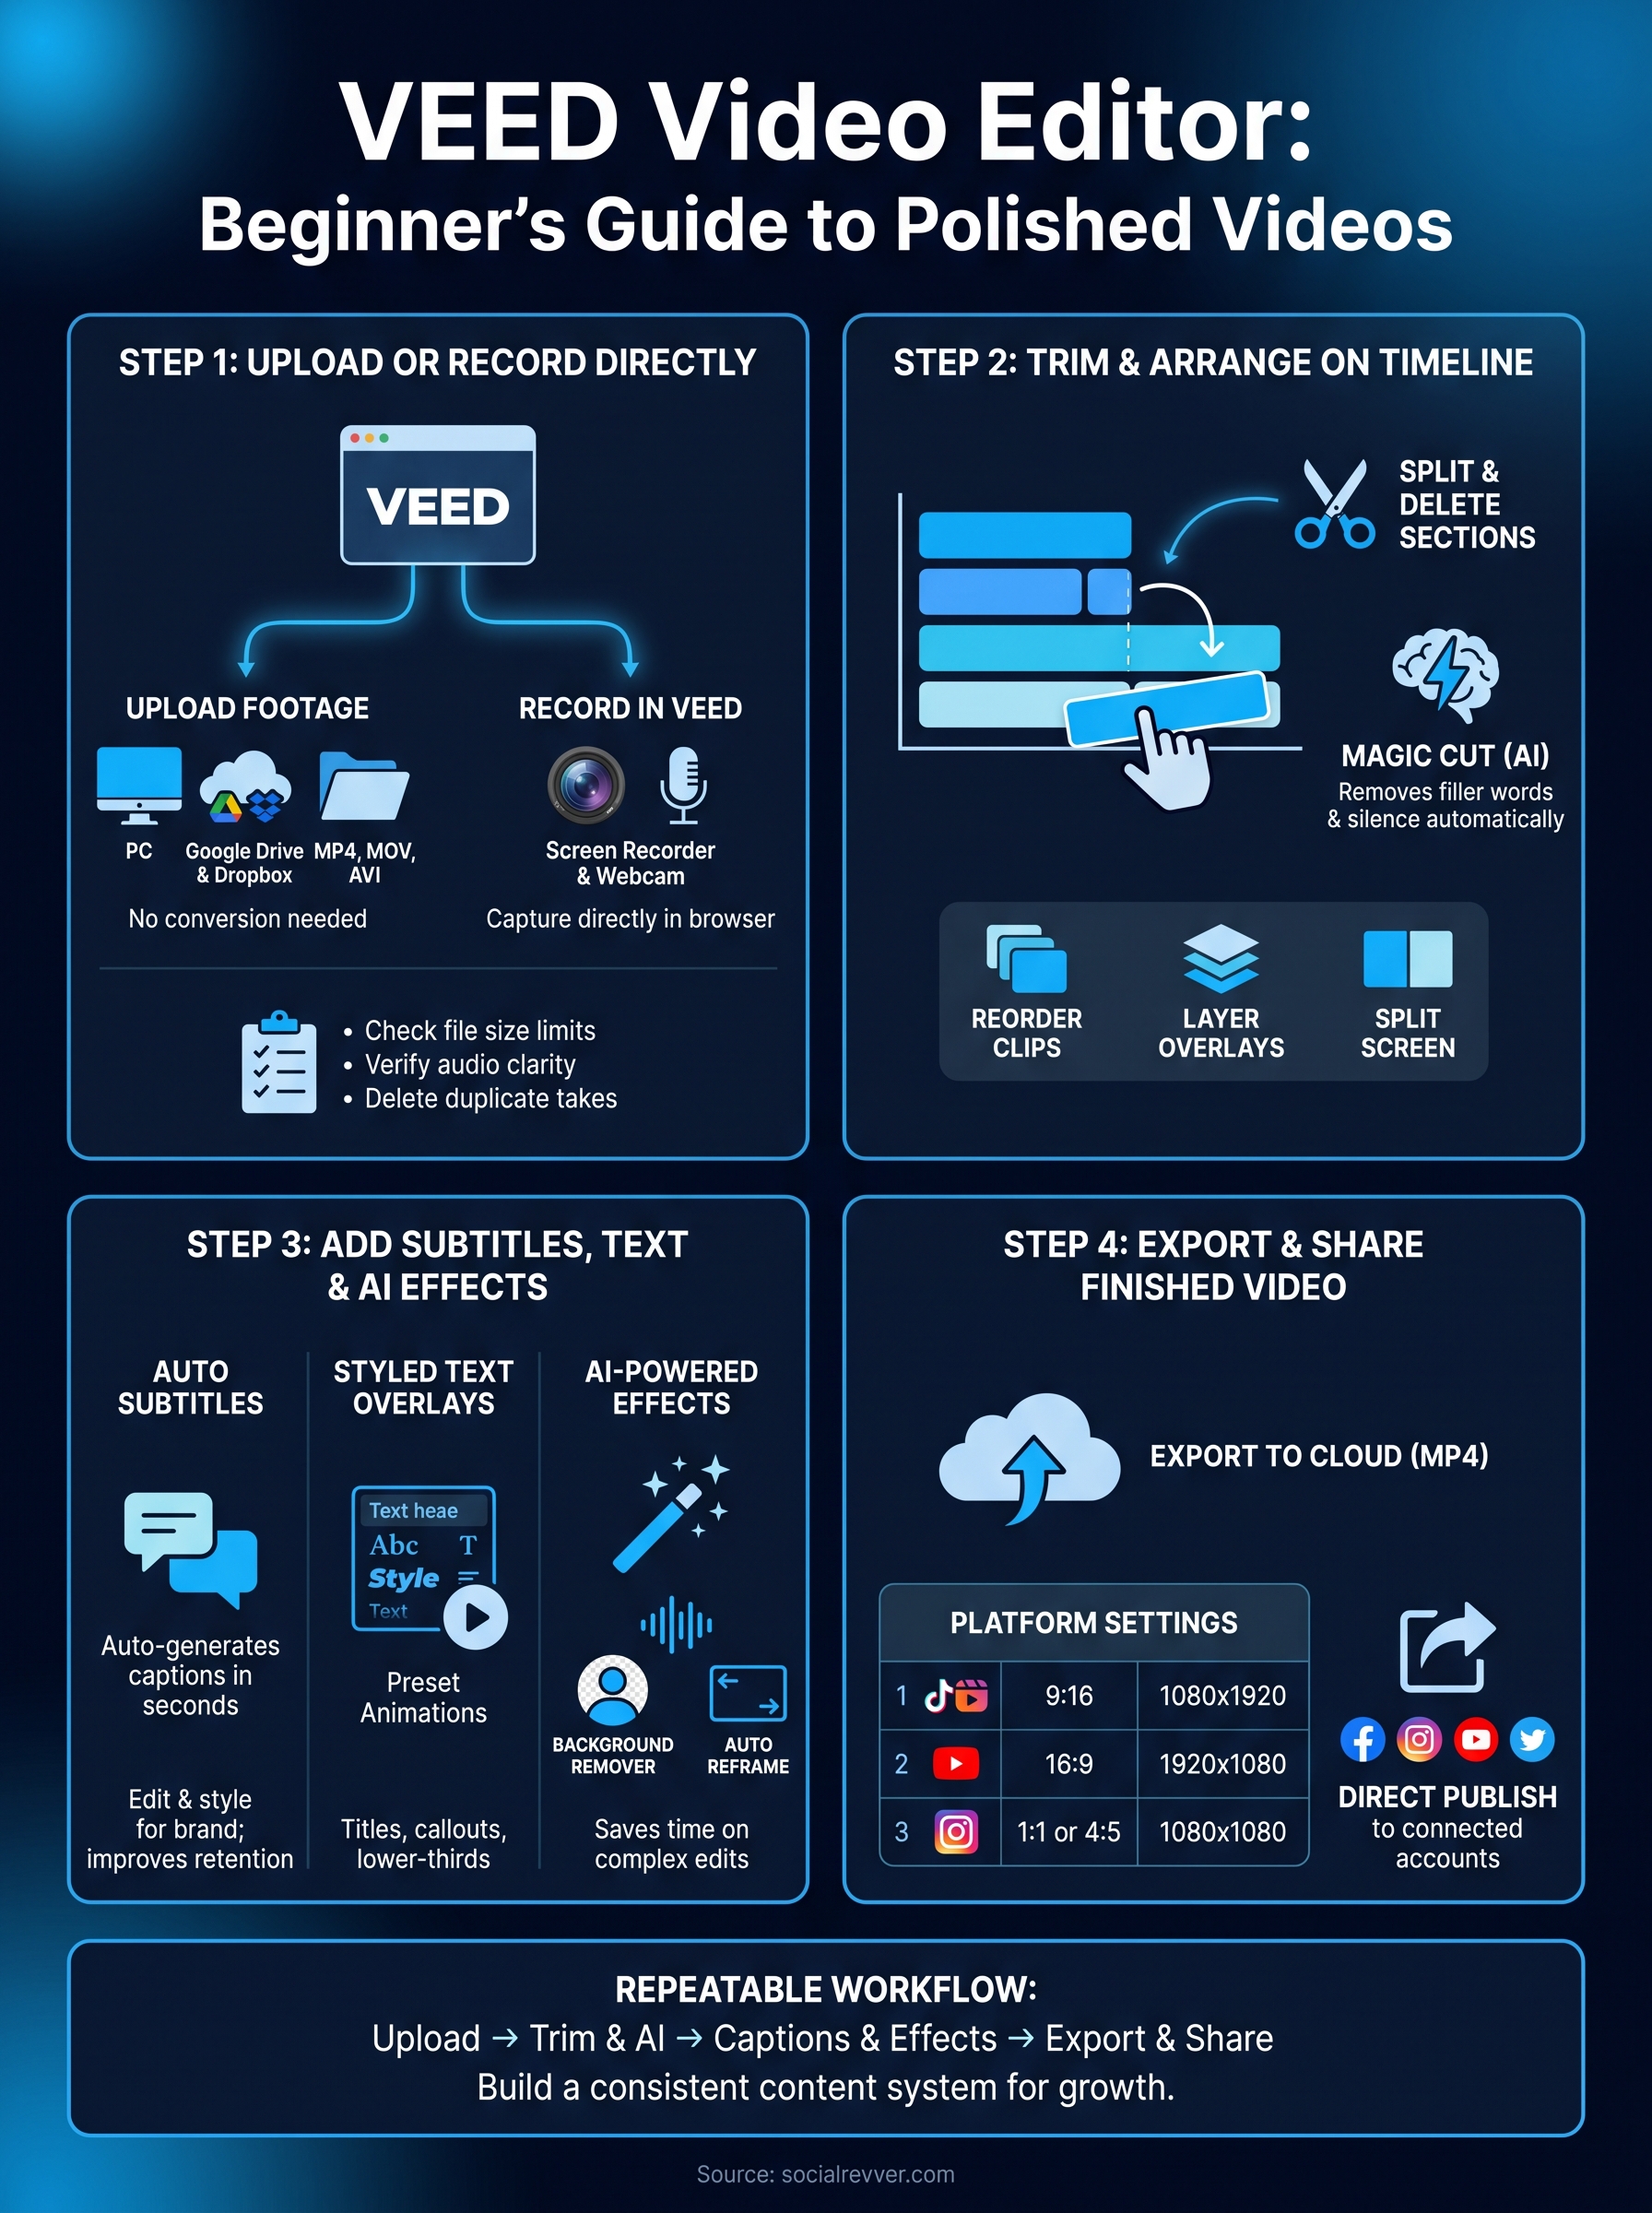
You now know the full path through VEED: upload or record, trim with Magic Cut, layer in captions and AI effects, then export at the right specs for wherever your video lands. That's the entire workflow beginners struggle to find on their own, condensed into four steps you can repeat every time you sit down to edit.
Editing skill gets you a clean video, but it doesn't get you a content system. Founders and creators who actually grow treat publishing as a repeatable process, not a one-off scramble every time they need a new clip. If you've got the editing part down and want the strategy, distribution, and consistency to match, that's where the gap usually shows up.
SocialRevver builds that missing piece. Get your free 40+ slide social media strategy and see what a real attention engine looks like behind the scenes.