Managing a content pipeline without a centralized system is like running a kitchen without a ticket line, things get missed, priorities blur, and output suffers. A monday com content calendar template solves this by giving you a single workspace where every piece of content has a clear status, owner, and publish date.
The problem is that most people open monday.com, stare at a blank board, and start building from scratch with no real framework. They end up with a cluttered mess that nobody on the team actually uses. At SocialRevver, content infrastructure is what we build every day, our entire system runs on structured workflows that move content from strategy through production to distribution. That experience has made us particular about what a content calendar needs to actually function under pressure.
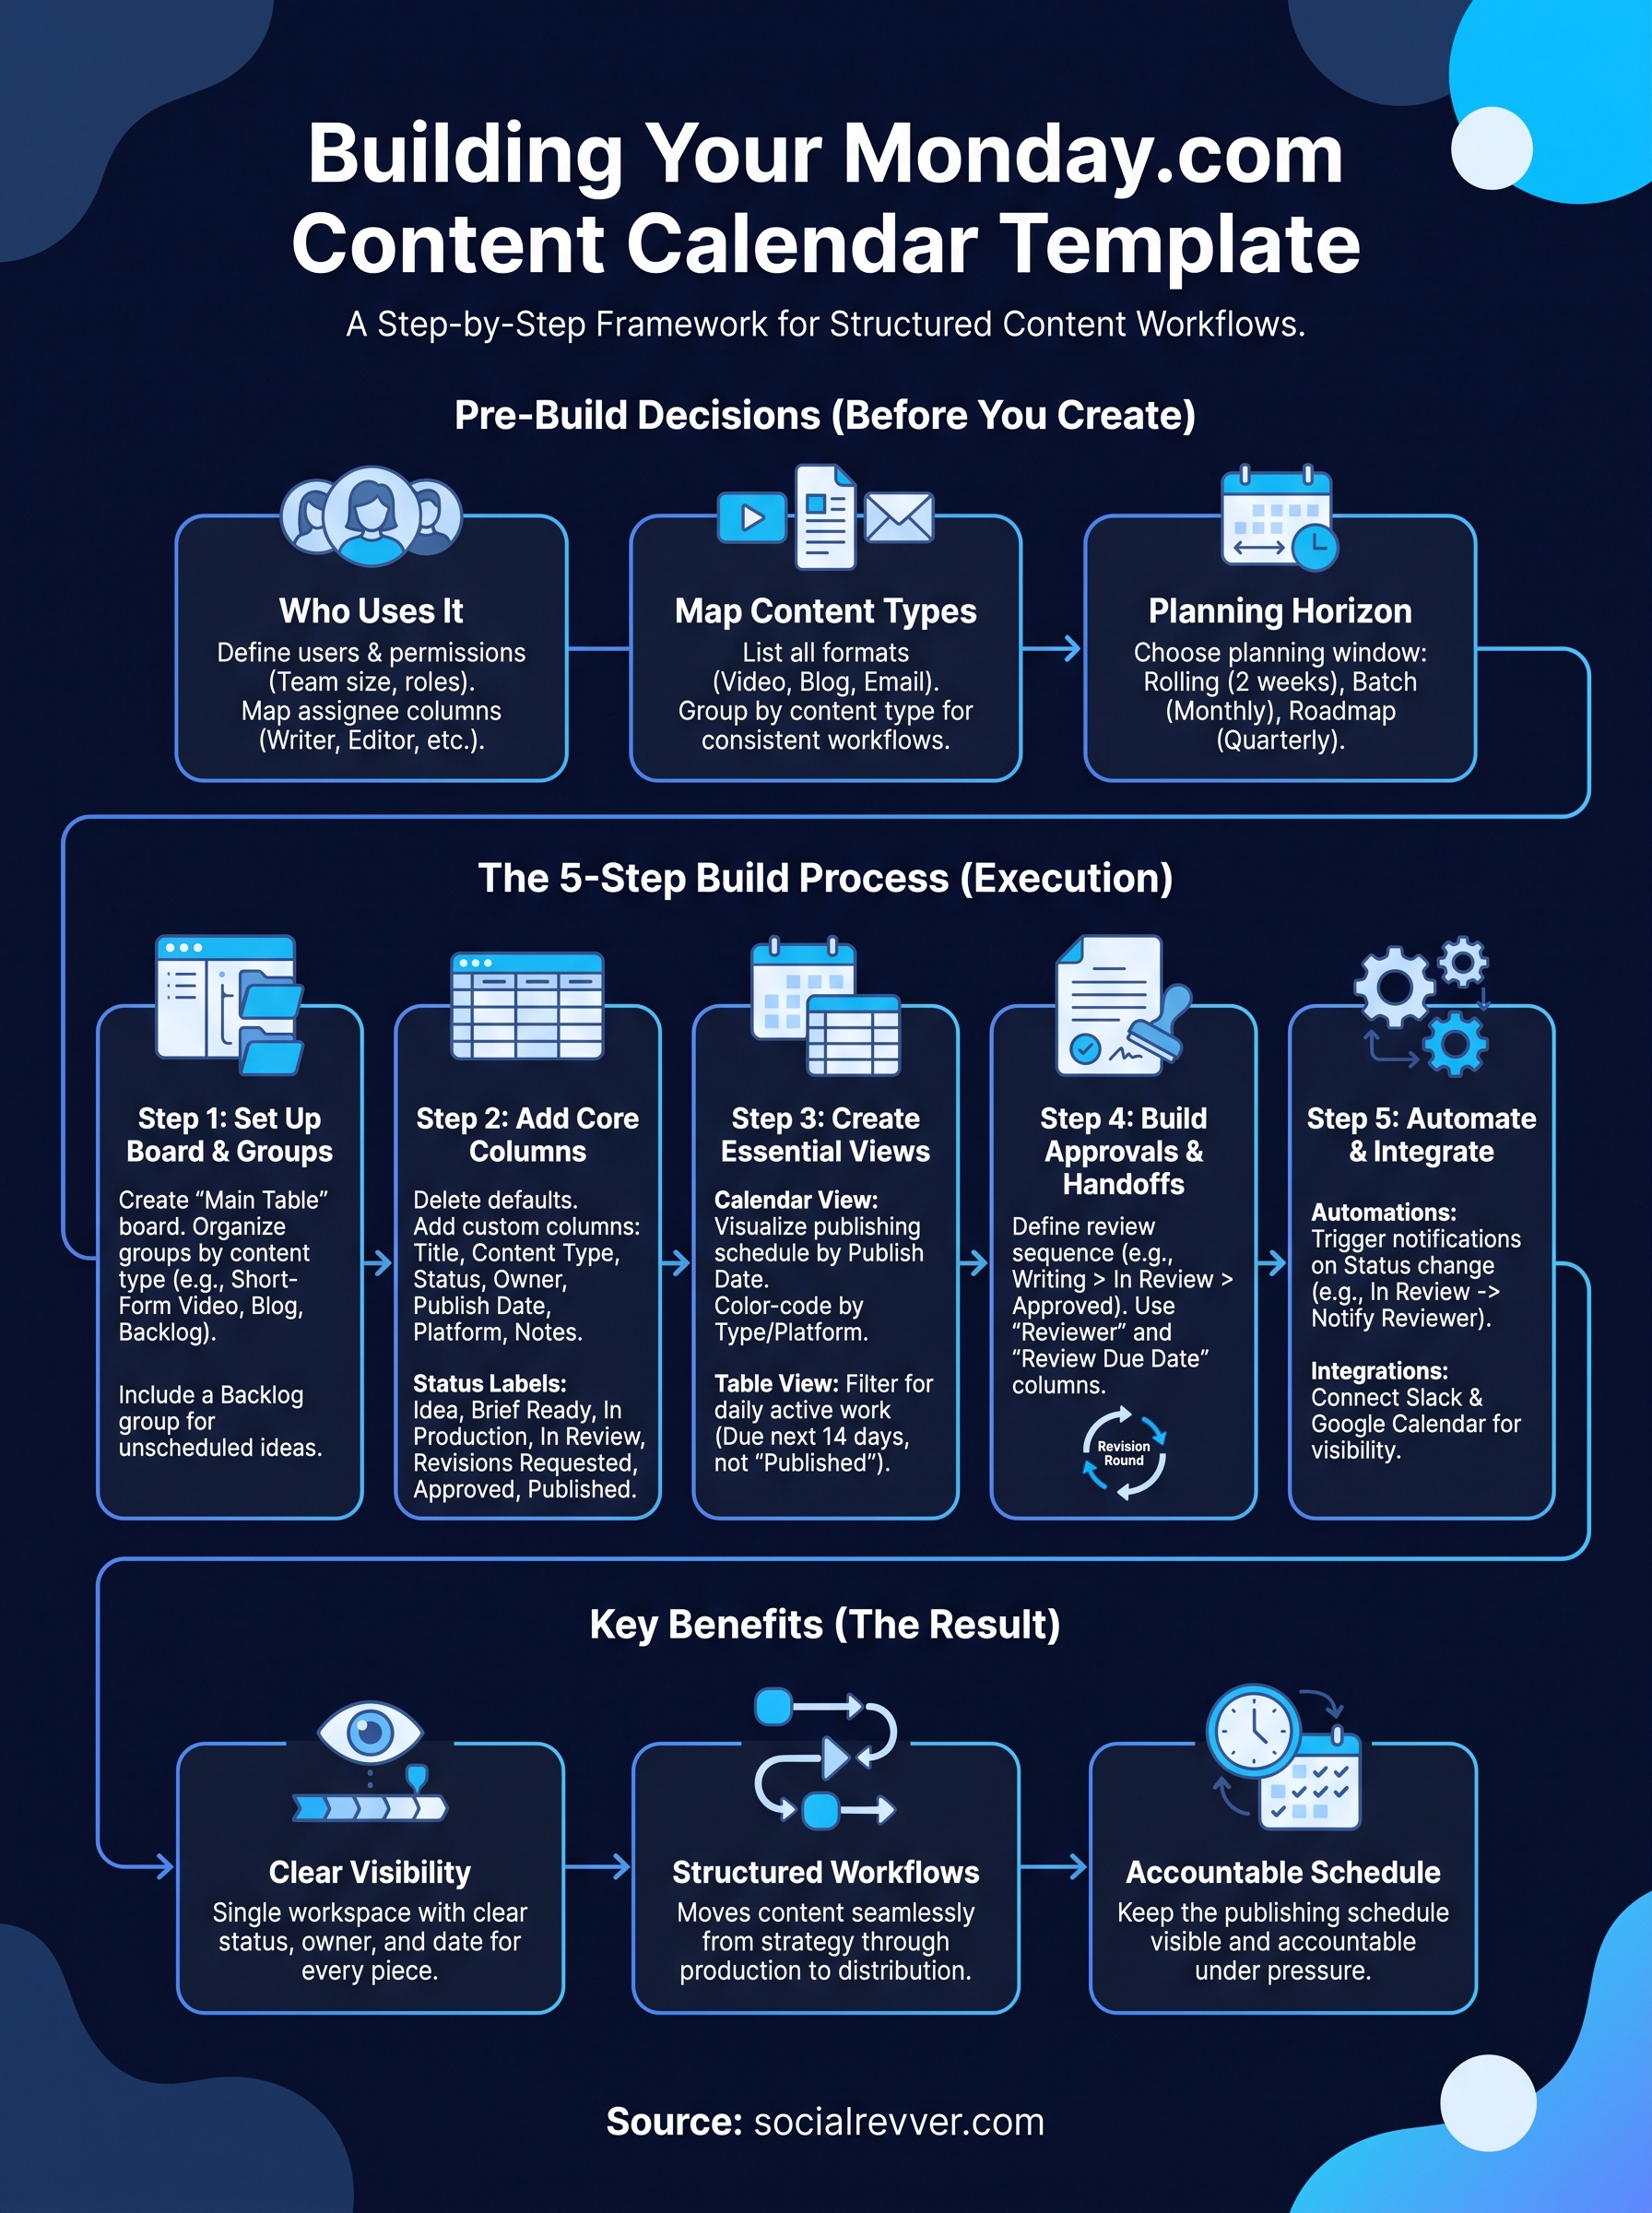
This guide walks you through building a monday.com content calendar template step by step, from board structure and column setup to automations and views that keep your publishing schedule visible and accountable. Whether you're coordinating social posts, blog articles, or video content, you'll leave with a working template you can start using today.
What to decide before you build your calendar
Jumping into monday.com before answering a few foundational questions is how most teams end up rebuilding their board three weeks later. The decisions you make before you create a single column determine whether your monday com content calendar template becomes a tool your team relies on or one they quietly ignore. Take fifteen minutes to align on these three areas first, and the build process becomes much more straightforward.
Define Who Uses the Calendar
The people who interact with your board shape everything from column count to permission settings. A solo creator needs a lean, fast board, while a five-person team needs clear ownership columns, status labels, and notification rules so nothing falls through the cracks. Ask yourself who will be creating content, who will be reviewing it, and who needs read-only visibility to track what goes live each week.
Once you know your team structure, you can set monday.com's permission levels correctly from day one instead of patching access issues after the board is already active.
Your answer also tells you how many assignee columns you need. A small team might get by with one owner per item. A larger operation may need separate columns for the writer, editor, designer, and publisher. Map those roles on paper before you open the board builder, because adding columns mid-build creates disorganized data you'll spend time cleaning up.
Map Out Your Content Types
Not all content runs on the same timeline or through the same production steps. A short-form social video has a different path than a long-form blog post or a weekly newsletter. Mixing them into one undifferentiated list creates confusion about what "done" actually means for each item, and your team will start skipping status updates because the labels no longer match reality.
List every content format you produce on a regular basis. Common types include:
- Short-form video (Reels, TikToks, YouTube Shorts)
- Long-form video (YouTube, webinars)
- Blog posts and articles
- Email newsletters
- Social media image posts
- Podcast episodes
Each content type may need its own group on your board, which directly affects the board structure you'll build in Step 1. At minimum, decide whether you're building one unified calendar or separate boards that link together. For most teams managing fewer than four content formats, one board with clearly labeled groups works well and keeps the view manageable.
Decide Your Planning Horizon
How far ahead you plan content determines how your timeline column and calendar views need to behave. A team that batches a full month in advance needs a view that shows thirty days at a glance and a status system that can hold items in a clean backlog state. A team working on a rolling two-week plan needs faster status transitions and tighter automation triggers to keep pace.
Pick one of three common planning windows before you start building:
| Planning Horizon | Best For | Board Behavior |
|---|---|---|
| 2 weeks rolling | Agile teams, fast-response brands | Quick status cycles, daily check-ins |
| Monthly batch | Structured teams, campaign-driven content | Milestone columns, approval gates |
| Quarterly roadmap | Agencies, large content programs | Linked boards, dependency tracking |
Your planning horizon also determines which monday.com views you'll set as defaults, a choice you'll configure in Step 3. Getting clear on this now means you won't build views that don't match how your team actually works, which is the single fastest way to kill adoption on a new board.
Step 1. Set up the board and groups
Log into monday.com and create a new blank board from your workspace home. Name it something direct, like "Content Calendar 2026" or "Editorial Pipeline," so the board title immediately tells anyone who opens it what they're looking at. Before you add a single column, you need to make one structural decision: whether your board groups will be organized by content type, by publishing week, or by campaign. This choice shapes the entire monday com content calendar template and is harder to change cleanly once data starts filling in.
Create a New Board
Select "New Board" from your monday.com workspace, choose "Main Table" as your board type, and set the visibility to match your team setup. If your full team needs access, set it to "Main" (visible to all workspace members). If you're working with external collaborators like freelancers, set it to "Shareable" so you can invite them with a guest link without giving them access to other boards.
Name your board with the year or quarter in the title so you can archive it cleanly at the end of a cycle and start fresh without losing historical data.
Give the board a clear owner before inviting others. Monday.com lets you assign a board owner in the board settings, and having one person responsible for maintaining the structure prevents columns from multiplying and status labels from drifting over time.
Structure Your Groups
Groups in monday.com act as your primary content buckets, and the right grouping logic depends on the planning horizon you chose in the pre-build section. The most reliable structure for most teams uses content type as the group organizer because it keeps production workflows consistent within each group.
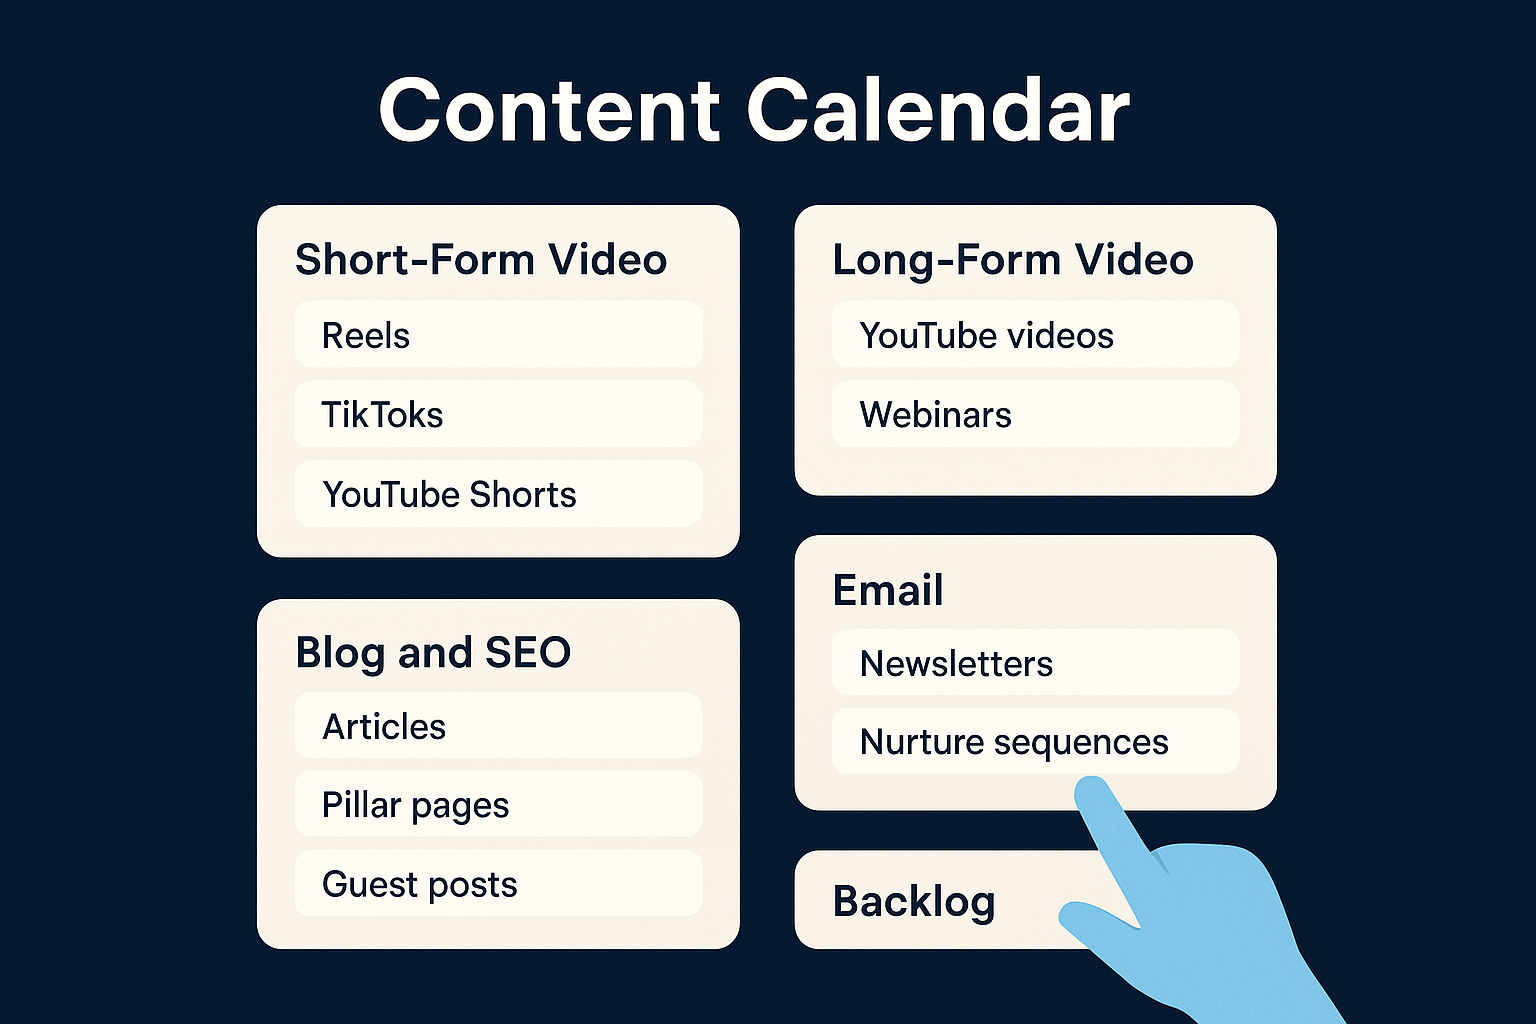
Here is a starting group structure you can replicate directly:
| Group Name | What It Contains |
|---|---|
| Short-Form Video | Reels, TikToks, YouTube Shorts |
| Long-Form Video | YouTube videos, webinars |
| Blog and SEO | Articles, pillar pages, guest posts |
| Newsletters, nurture sequences | |
| Backlog | Ideas not yet scheduled |
Add a "Backlog" group from day one so your team has a designated place to park ideas without cluttering the active publishing schedule. This keeps your calendar view clean and makes weekly planning faster because your team reviews one focused list instead of hunting through completed or irrelevant items.
Step 2. Add the columns that run your workflow
Columns are where your monday com content calendar template gets its real operational power. The default columns monday.com creates for a new board are not enough to run a real content workflow. You need to add specific columns that track ownership, timing, status, and content details so every team member can see exactly where a piece sits in the pipeline without having to ask anyone.
The Core Columns Every Board Needs
Start by deleting the companion columns that monday.com auto-generates and building the set below from scratch. Each column type in monday.com serves a specific function, and choosing the wrong type creates workarounds that slow your team down over time. The table below shows the columns that form the backbone of a reliable content calendar.
| Column Name | Column Type | What It Tracks |
|---|---|---|
| Content Title | Text | Working title of the piece |
| Content Type | Dropdown | Format: video, blog, email |
| Status | Status | Current stage in the workflow |
| Owner | People | Who is responsible for delivery |
| Publish Date | Date | Target live date |
| Platform | Dropdown | Where the content publishes |
| Notes | Long Text | Briefs, links, or extra context |
Set your Status column labels before you invite your team, because renaming labels after the board is populated resets color coding and creates confusion about where items actually stand.
Status Labels That Match Real Workflow Stages
Your Status column labels need to reflect the actual stages your content passes through, not generic placeholders like "In Progress" or "Done." Vague labels break down in team settings because two people define "In Progress" differently, and work quietly stalls without anyone flagging it.
Use these seven status labels as your starting point and adjust based on your specific content types:
- Idea
- Brief Ready
- In Production
- In Review
- Revisions Requested
- Approved
- Published
Each label maps to a clear handoff point between team members. Keeping your status labels action-oriented also reduces back-and-forth messages asking whether something is ready to move forward, because the board tells your team exactly where the work stands at any moment. You will also use these exact status labels in Step 5 to trigger automations when a piece changes hands.
Step 3. Create views to plan and publish fast
Once your columns are set, monday.com's built-in views transform your flat table into something your team can actually navigate. Different roles need different perspectives on the same data: a content manager wants to see what publishes this week, a writer wants to see only the items assigned to them, and a stakeholder wants a high-level monthly overview without filtering through every status. Setting up the right views from the start means your monday com content calendar template works for everyone on the team without requiring manual sorting each time someone opens the board.
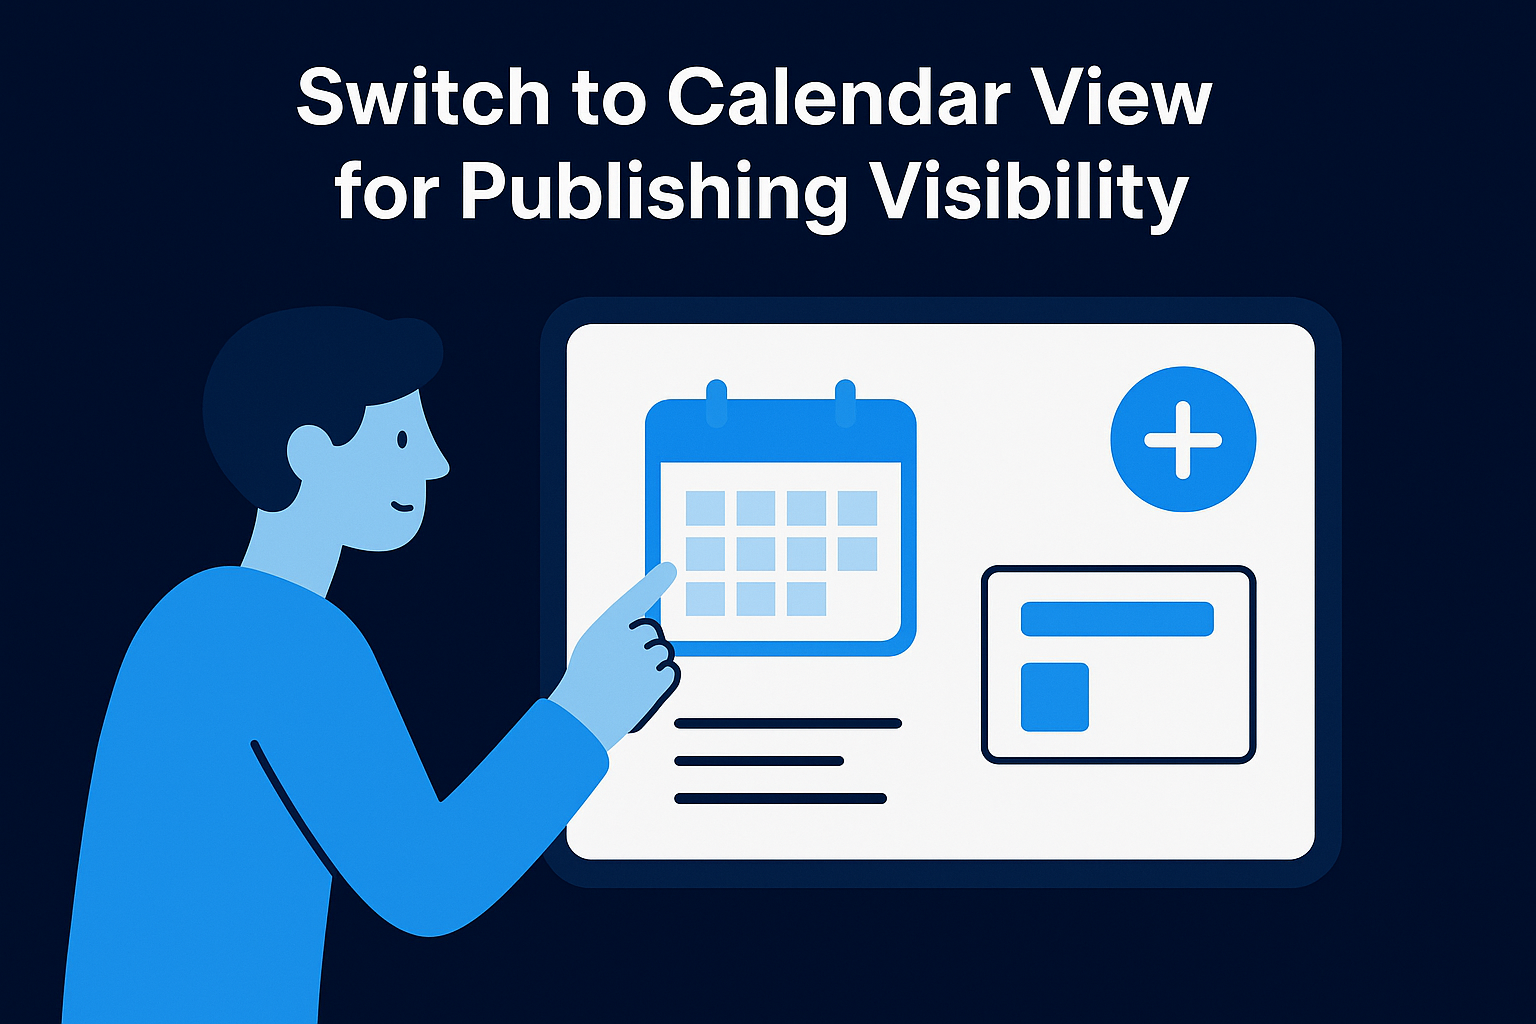
Switch to Calendar View for Publishing Visibility
The Calendar view is the most important view to configure in your content calendar because it maps every item with a Publish Date directly onto a visual calendar grid. To activate it, click the "+" icon next to your existing views, select "Calendar," and choose "Publish Date" as the date column it reads from. This immediately shows you where your publishing schedule is heavy, where there are gaps, and whether your team is trying to push too much content in a single week.
Once your Calendar view is live, set it as the default view so every team member lands on the publishing schedule first when they open the board.
Configure the calendar to color-code items by Content Type or Platform using the "Color by" setting in the view options. When every item on the calendar is visually distinct by format, your team can scan the week in seconds and confirm that the content mix is balanced across channels.
Use Table View for Daily Team Management
Your Table view handles the operational side of your calendar, specifically the day-to-day work of assigning tasks, updating statuses, and checking what needs immediate attention. Set up a filtered Table view that shows only items due in the next fourteen days with a status that is not "Published" to give your team a focused, distraction-free list every morning.
Filter settings to apply to this view:
- Publish Date: within the next 14 days
- Status: does not equal "Published"
- Owner: person (optional, per-user filter)
Saving this as a named view means your team opens monday.com and immediately sees their active workload without hunting through backlog items or completed content that no longer needs attention.
Step 4. Build approvals and handoffs that stick
An approval process that lives inside your monday com content calendar template removes the most common failure point in content production: work that is technically "done" but sitting in someone's inbox waiting for a response. When reviews happen inside the board instead of in disconnected email threads or chat messages, your team sees delays immediately and can act on them the same day they appear. Setting up a structured handoff system takes about ten minutes and pays back that time every single week.
Set Up a Clear Review Sequence
Every piece of content should pass through a defined sequence of reviewers, and your board needs to make that sequence visible to everyone involved. The most practical way to implement this in monday.com is to use a combination of your Status column and a dedicated Reviewer column set to the People column type. When a writer moves a piece to "In Review," the Reviewer column tells every team member exactly who holds the ball next.
Use the following handoff sequence as your default starting point and adjust the roles to match your actual team:
| Stage | Status Label | Column Owner |
|---|---|---|
| Writing complete | In Review | Editor |
| Edits applied | In Review | Brand Reviewer |
| Brand approved | Approved | Publisher |
| Content live | Published | Owner |
Keeping the handoff sequence to three stages or fewer for most content types prevents bottlenecks from accumulating inside the review process itself.
Use Column Tracking for Handoff Accountability
Adding a "Review Due Date" column gives your reviewers a clear deadline rather than an implied one. Set this column to the Date type and establish a team-wide rule: reviewers have 48 hours from the moment a status moves to "In Review" to respond, approve, or request changes. Without a fixed window, reviews stretch indefinitely and your publishing schedule slips.
Pair the Review Due Date column with a "Revision Round" number column set to the Numbers type. Each time a piece cycles back from "Revisions Requested" to "In Production," your writer increments the number by one. This single data point tells you at a glance which pieces are consuming disproportionate review cycles, so you can address the underlying brief or communication issue before it repeats on the next piece.
Step 5. Add automations and integrations
Automations are what separate a passive content tracker from an active workflow system. Once your columns and views are configured, monday.com's automation center lets you trigger notifications, status changes, and assignments based on rules you define, which removes the manual follow-up that typically slows down production teams. A well-automated monday com content calendar template essentially manages itself between major planning sessions.
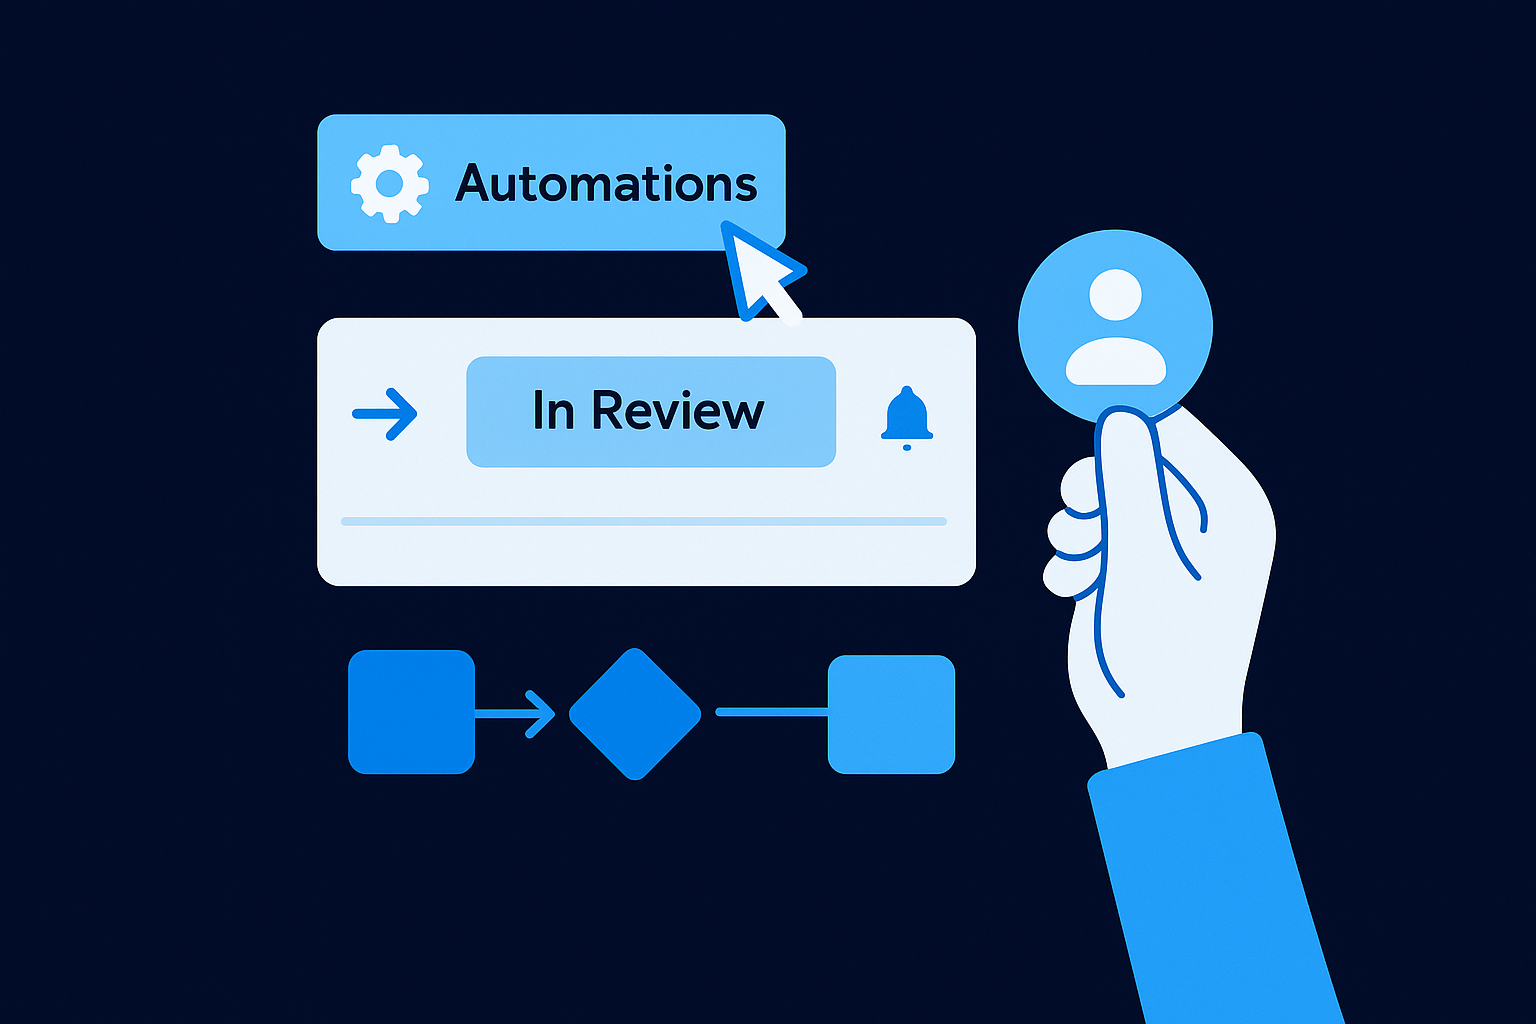
Set Up Status-Based Automations
Navigate to the "Automations" button in the top right of your board and click "Add Automation" to open the recipe library. Monday.com structures automations as "when X happens, do Y," and the triggers you need most are tied directly to your Status column. Set up the following four automations immediately after finishing your column and view configuration.
| Trigger | Action | Purpose |
|---|---|---|
| Status changes to "In Review" | Notify the Reviewer column person | Signals content is ready for feedback |
| Status changes to "Revisions Requested" | Notify the Owner column person | Sends work back to the writer |
| Status changes to "Approved" | Notify the Publisher column person | Clears content for scheduling |
| Publish Date arrives and Status is not "Published" | Notify board owner | Flags missed publish dates |
Running these four automations from day one eliminates the most common cause of delayed content: team members not realizing the work has landed in their court.
Connect Monday.com to Your Publishing Tools
Integrations extend your board's reach into the tools where your content actually lives. Monday.com's integration center supports direct connections to Slack, Google Drive, and Google Calendar, which covers the three most common handoff points in a content workflow. To access them, click the "Integrate" button next to "Automations" at the top of your board.
Set up a Google Calendar integration that syncs every item's Publish Date to a shared team calendar so stakeholders who don't work inside monday.com can still see what publishes and when. Pair that with a Slack integration that posts a message to your content channel whenever a piece moves to "Published," giving your whole team a real-time confirmation without anyone needing to check the board manually. These two connections alone make your workflow visible across every tool your team already uses each day.
Next steps
Your monday com content calendar template is now a fully operational system with structured groups, the right columns, configured views, a clear approval sequence, and automations that keep your team moving without manual follow-up. The board you just built handles the tracking layer, but the quality of what fills it depends on how deliberately you approach your content strategy before each planning session.
Start by running one planning session inside the new board this week. Populate your Backlog group with every idea your team has right now, assign owners, and set publish dates for the next two weeks only. Doing this live with your team builds the habit faster than any documentation you could write. Adjust your status labels if anything feels off after the first cycle, because small friction points compound quickly across a team.
If you want a data-backed strategy behind the content you're scheduling, apply to work with our team and get a free 40+ slide social media strategy built around your brand.