
A HubSpot content calendar does more than organize your posting schedule, it gives your team a single source of truth for what's going live, when, and on which channel. Without that structure, content production turns into a cycle of last-minute scrambles, missed deadlines, and posts that don't connect back to any real business objective.
Whether you're setting up HubSpot's built-in calendar tools for the first time or looking for downloadable templates to plan your editorial and social media output, this guide walks through the full process. You'll get step-by-step setup instructions, ready-to-use template options, and workflow configurations that keep content moving from idea to publish without bottlenecks.
At SocialRevver, we build managed content systems for founders and business owners who need their organic presence to actually generate revenue. A well-structured content calendar is foundational to that, it's the operational layer that turns strategy into consistent execution. We've seen firsthand how the right calendar setup inside HubSpot can eliminate the guesswork and keep production on track week after week.
This article covers everything from initial calendar configuration and custom property setup to approval workflows and cross-team collaboration. By the end, you'll have a clear framework for building a content calendar that supports predictable output, not just a color-coded spreadsheet you'll abandon in two weeks.
What HubSpot calls a content calendar
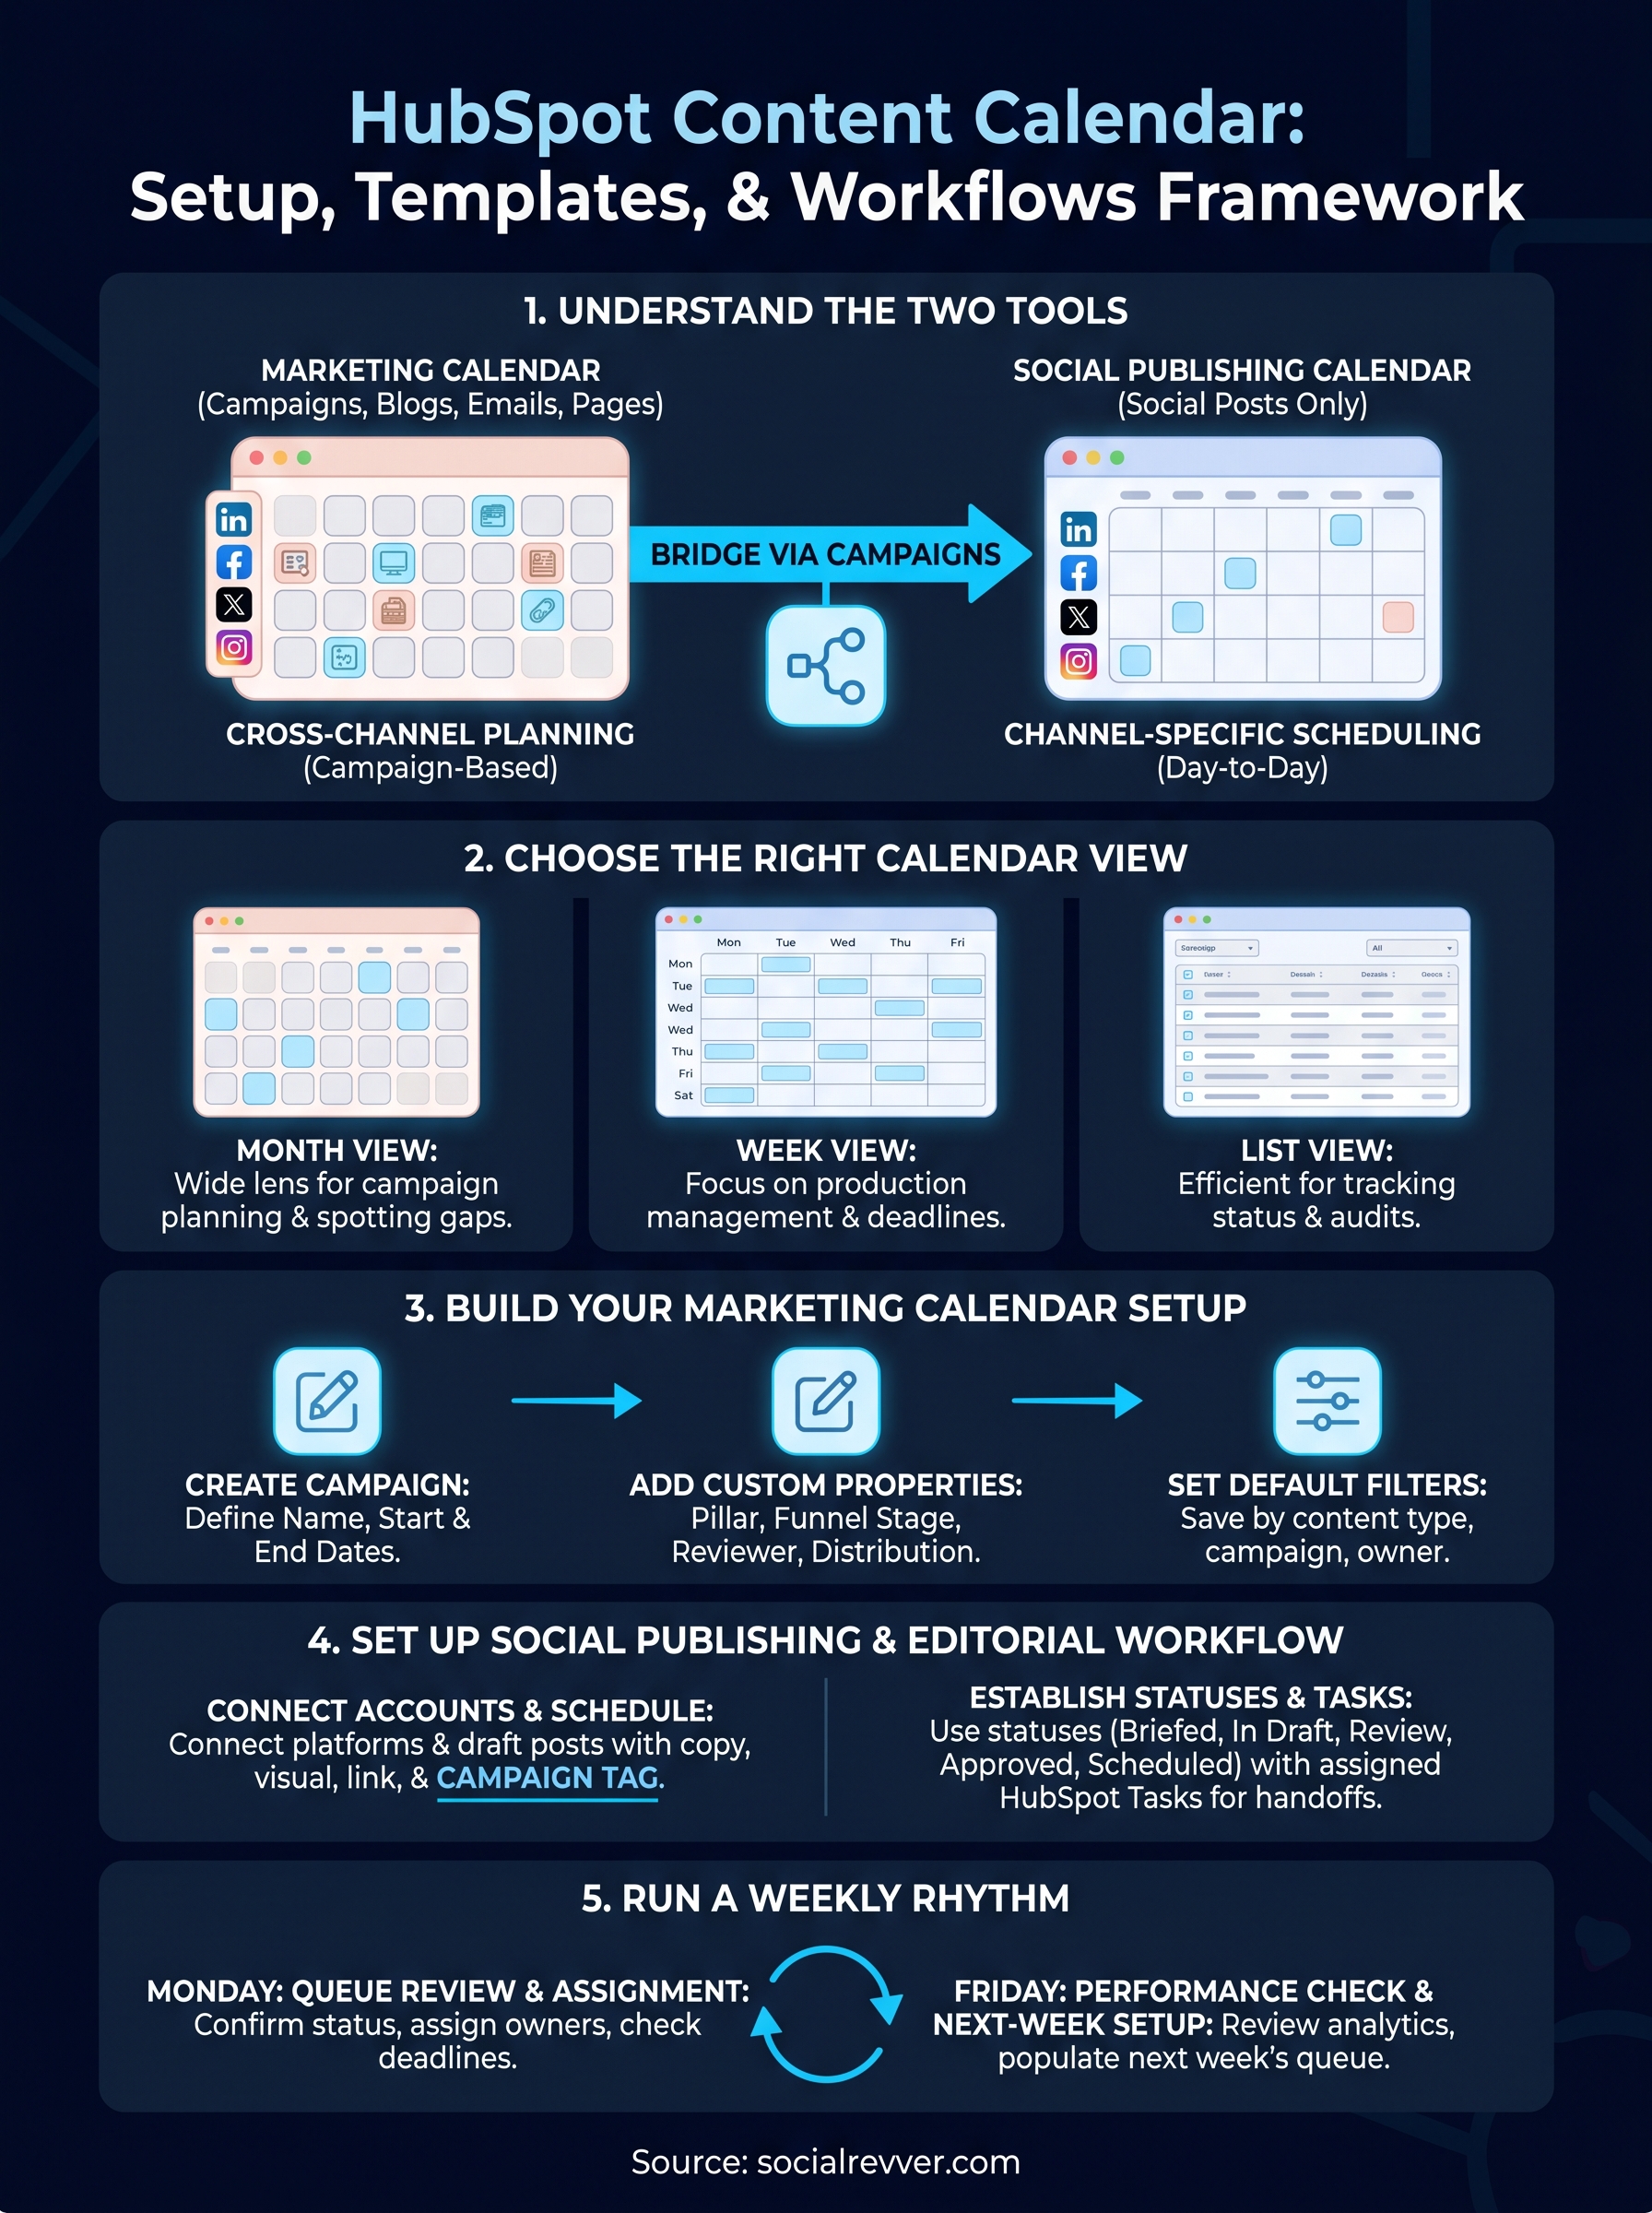
HubSpot doesn't have a single feature labeled "content calendar." Instead, it gives you two overlapping tools that together cover what most teams mean when they ask for a centralized content planning view. Understanding the distinction between them is the first step before you configure anything, because mixing them up leads to duplicate setups and gaps in visibility. Both tools live inside HubSpot Marketing Hub, but they serve different purposes and pull from different data sources.
The Marketing Calendar
The Marketing Calendar is HubSpot's primary planning interface for tracking all marketing activities across your organization. You access it by navigating to Marketing > Planning and Strategy > Marketing Calendar in your HubSpot portal. From here, you can view campaigns, email sends, blog posts, landing pages, and social posts all plotted on a single timeline.
This tool is designed around campaigns. When you associate a piece of content with a HubSpot campaign, it automatically appears on the Marketing Calendar tied to that campaign's date range. That connection makes the calendar useful for seeing how individual content pieces support a larger initiative, not just when they publish.
The Marketing Calendar reflects your campaign structure, so if you don't organize content into campaigns, the calendar will look sparse even when you're publishing consistently.
You can filter the calendar view by content type, campaign, or team member, which helps when multiple people are publishing across channels simultaneously. The interface supports month, week, and list views, and you can create new content items directly from the calendar by clicking on a date and selecting the content type you want to schedule.
The Social Publishing Calendar
The Social Publishing Calendar is a separate tool focused entirely on social media. You reach it through Marketing > Social > Calendar. Unlike the Marketing Calendar, this view only shows content scheduled or published through HubSpot's native social publishing tool.
Posts you schedule here go directly to connected accounts on platforms like LinkedIn, Facebook, Instagram, and X. The calendar displays them in a visual grid format organized by day, and you can see the exact time each post is set to go live. Clicking any post opens the draft editor, so you can make copy or image changes without leaving the calendar view.
The Social Publishing Calendar does not show blog posts, emails, or paid campaigns. It is a channel-specific tool, not a cross-channel one. That's an important distinction if you're trying to build a full HubSpot content calendar that shows everything in one place, because you'll need to use the Marketing Calendar for that broader view and the Social Calendar for the granular scheduling work.
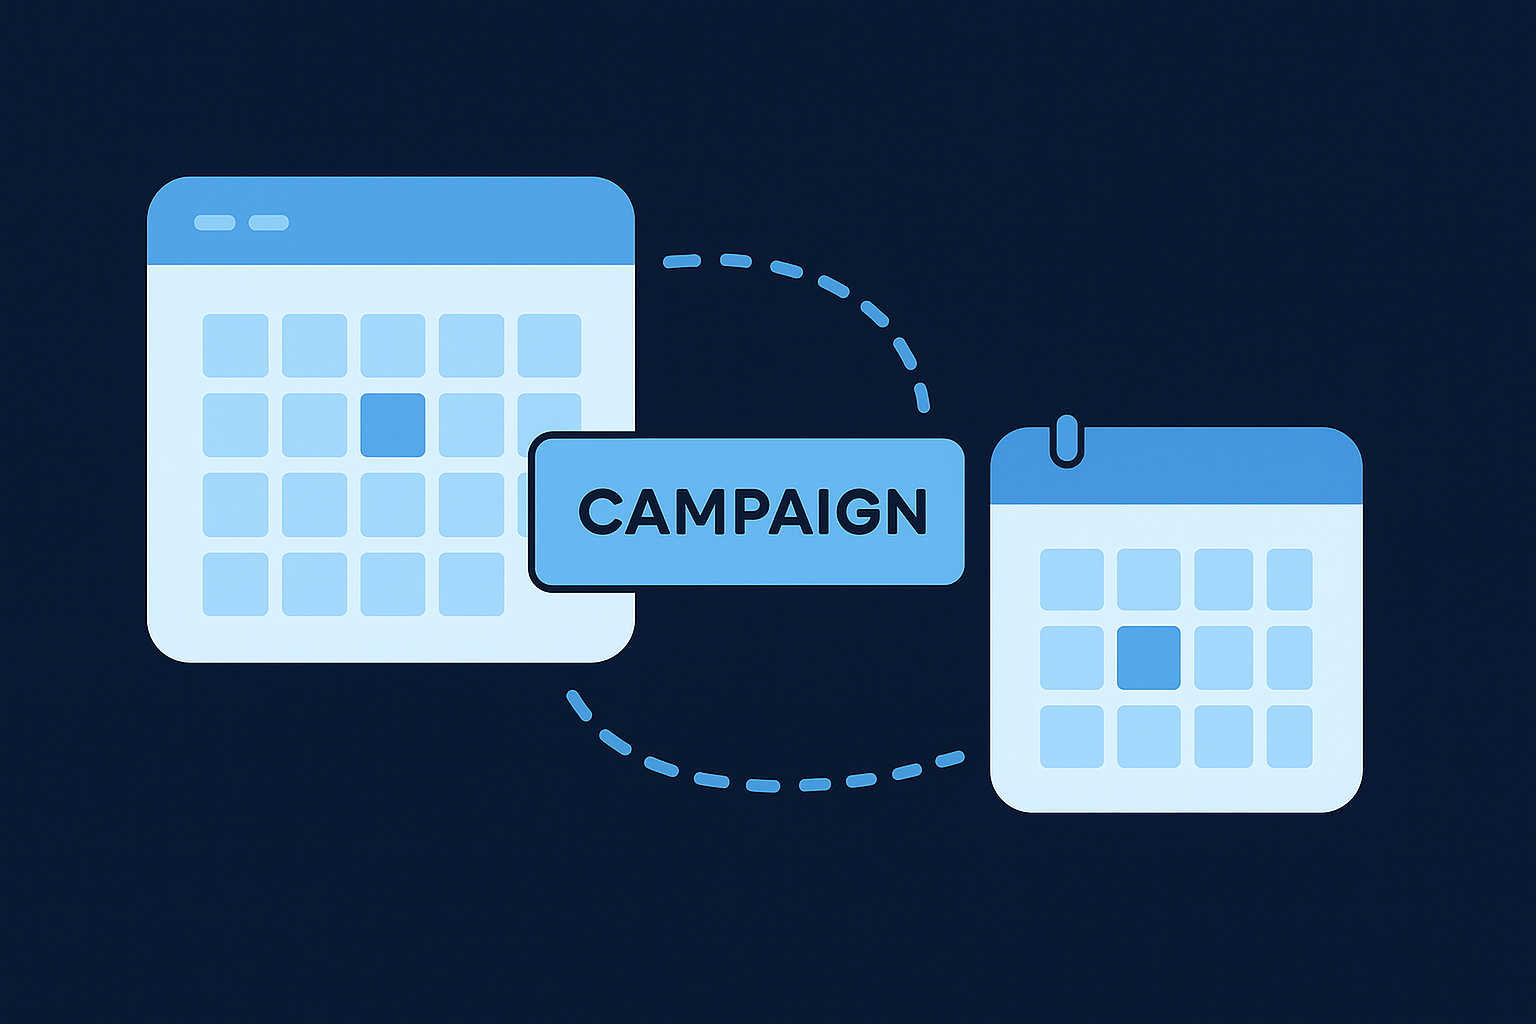
How the two tools connect
These two tools are not automatically synced, but you can bridge them through campaigns. When you create a social post in HubSpot and tag it to an active campaign, that post shows up on the Marketing Calendar under that campaign. This is the most reliable way to get cross-channel visibility without maintaining a separate spreadsheet alongside HubSpot.
Here's a quick breakdown of what each tool covers:
| Tool | Location | Content Types | Best Used For |
|---|---|---|---|
| Marketing Calendar | Marketing > Planning and Strategy | Emails, blogs, landing pages, social (if campaign-tagged) | Cross-channel campaign planning |
| Social Publishing Calendar | Marketing > Social | Social posts only | Day-to-day social scheduling and review |
Building your workflow around both tools, rather than picking one, gives you operational clarity at both the strategic and execution level. The sections ahead walk through how to configure each one for consistent, repeatable use.
Choose the right calendar view for your team
The Marketing Calendar in HubSpot gives you three distinct views: month, week, and list. Each one surfaces different information and supports a different planning habit. Choosing the wrong default view doesn't break anything, but it does make the calendar harder to use consistently. Before you start adding content or building workflows, spend a few minutes deciding which view matches how your team actually plans.
Month view for campaign planning
Month view gives you the widest lens on your content schedule. You can see the full shape of a month at a glance, which makes it useful for spotting gaps, identifying days with too many simultaneous launches, and confirming that content is distributed evenly across the month. Use this view during your monthly planning session when you're mapping out campaigns, setting publish dates, and aligning across channels.
Month view works best as a planning tool, not a daily operations tool. It shows you the shape of your schedule, but not the details behind each item.
Week view for production management
Week view narrows the focus to seven days at a time, making it easier to track what needs to move from draft to published within a short window. This is the view your content team will use most often during active production weeks. It surfaces deadline pressure clearly and makes it obvious when too much work is queued for the same two-day stretch. Switch to week view every Monday to confirm that everything scheduled for the week is assigned, drafted, and on track before the first deadline hits.
List view for deadline tracking
List view strips out the visual calendar grid entirely and presents your scheduled content as a sortable table. You can filter by content type, campaign, owner, or status, which makes it the most practical view for reviewing what's overdue, checking which items still need approval, and running a quick audit before a team standup. If you manage a high-volume calendar or work across multiple campaigns at once, list view saves time because you can scan and sort faster than clicking through individual calendar tiles.
Switching between views takes one click inside the Marketing Calendar interface. Most teams settle into a rhythm where they use month view on the first day of each planning cycle, week view throughout production, and list view for status checks and accountability reviews. Building that habit around your HubSpot content calendar turns the tool from a passive display into an active operational layer your whole team actually relies on.
Build your HubSpot marketing calendar setup
Before any content appears on your calendar, you need a working campaign structure in place. The Marketing Calendar is only as useful as the data you feed into it, and that data lives inside HubSpot campaigns. This section walks you through the core configuration steps so your HubSpot content calendar reflects real work from day one, not just placeholder dates.
Create your first campaign
Navigate to Marketing > Campaigns and click Create campaign. Give the campaign a name that matches your planning cycle or initiative, such as "Q3 Lead Generation" or "August Product Launch." Set a clear start and end date that spans the full duration of the content push so every piece you associate with it appears in the correct window on the calendar.
A campaign without a defined end date will spread across your calendar indefinitely, making it hard to assess performance or close out the cycle cleanly.
Once you save the campaign, HubSpot assigns it a unique record. Every blog post, email, landing page, or social post you tag to that campaign will automatically surface on the Marketing Calendar within those dates. This connection gives you cross-channel visibility without any manual calendar updates.
Add custom properties to content records
HubSpot's default content properties cover the basics, but most teams need a few additional fields to run a clean editorial operation. Go to Settings > Properties, select the object type (Blog Post, Landing Page, etc.), and create properties that match your workflow. Useful additions include:
- Content pillar: Categorizes posts by topic cluster
- Funnel stage: Tags content as awareness, consideration, or decision
- Reviewer: Assigns a specific approver before publish
- Distribution channel: Flags whether the piece gets promoted via email, social, or paid
These properties don't appear directly on the calendar face, but they become filterable fields inside list view and on campaign reports. Building them in now means your team can sort and audit content without reaching for an external spreadsheet every time someone asks what's in review.
Set your default calendar filters
Open the Marketing Calendar and apply the filters that match your team's scope: content type, campaign, and assigned owner. Save these as your default view by clicking the filter icon and selecting "Save as default." This step ensures every team member opens the calendar to a consistent, relevant view rather than the full unfiltered feed that shows every content asset across the entire portal.
Set up the social publishing calendar
The Social Publishing Calendar works independently from the Marketing Calendar, so it needs its own setup process. Before you can schedule any posts, you need to connect your social accounts and understand how the calendar's structure maps to your publishing rhythm. Navigate to Marketing > Social > Calendar to start.
Connect your social accounts
HubSpot supports direct publishing to LinkedIn, Facebook, Instagram, and X. To connect an account, go to Settings > Marketing > Social and click Connect account. Select the platform, log in with the credentials tied to the business profile (not a personal account), and grant the required permissions. Once connected, the account appears as a selectable publishing destination inside the social post editor.
Connect only the accounts your team actively manages. Connecting inactive profiles clutters the calendar and makes it harder to spot gaps in your real publishing schedule.
If you manage multiple brands or clients inside one HubSpot portal, you can connect accounts for each and filter the Social Publishing Calendar by account to keep the views clean.
Schedule your first post from the calendar
Click any open date on the Social Publishing Calendar to open the post composer directly. Fill in the copy, attach your media, and select the connected account you want to publish to. Use the scheduling field to set an exact date and time, then click Schedule. The post appears on the calendar grid immediately, color-coded by platform.

Here is a simple template structure to follow when drafting each scheduled post:
| Field | What to include |
|---|---|
| Copy | Core message, 150 characters or fewer for most platforms |
| Visual | On-brand image or short video clip |
| Link | UTM-tagged URL if driving traffic to a landing page |
| Campaign tag | Associated HubSpot campaign for calendar visibility |
| Publish time | Based on your audience's active hours by platform |
Tagging each post to a HubSpot campaign is the step most teams skip, but it's what makes the post visible on the Marketing Calendar and ties it back to your broader hubspot content calendar view. Make campaign tagging a required step in your posting process.
Review scheduled content before it goes live
Set aside time each week to open the Social Publishing Calendar in week view and scan everything queued for the next seven days. Check that copy is finalized, visuals are attached, and links are working. This review catches errors before they publish, not after, which protects your brand and keeps your schedule clean.
Create an editorial workflow in HubSpot
HubSpot doesn't have a dedicated editorial workflow module, but you can build a functional approval and review process using a combination of custom properties, tasks, and HubSpot's native automation tools. Setting this up correctly keeps your HubSpot content calendar connected to the actual production status of every piece, so nothing falls through the gap between "assigned" and "published."
Set up a content status property
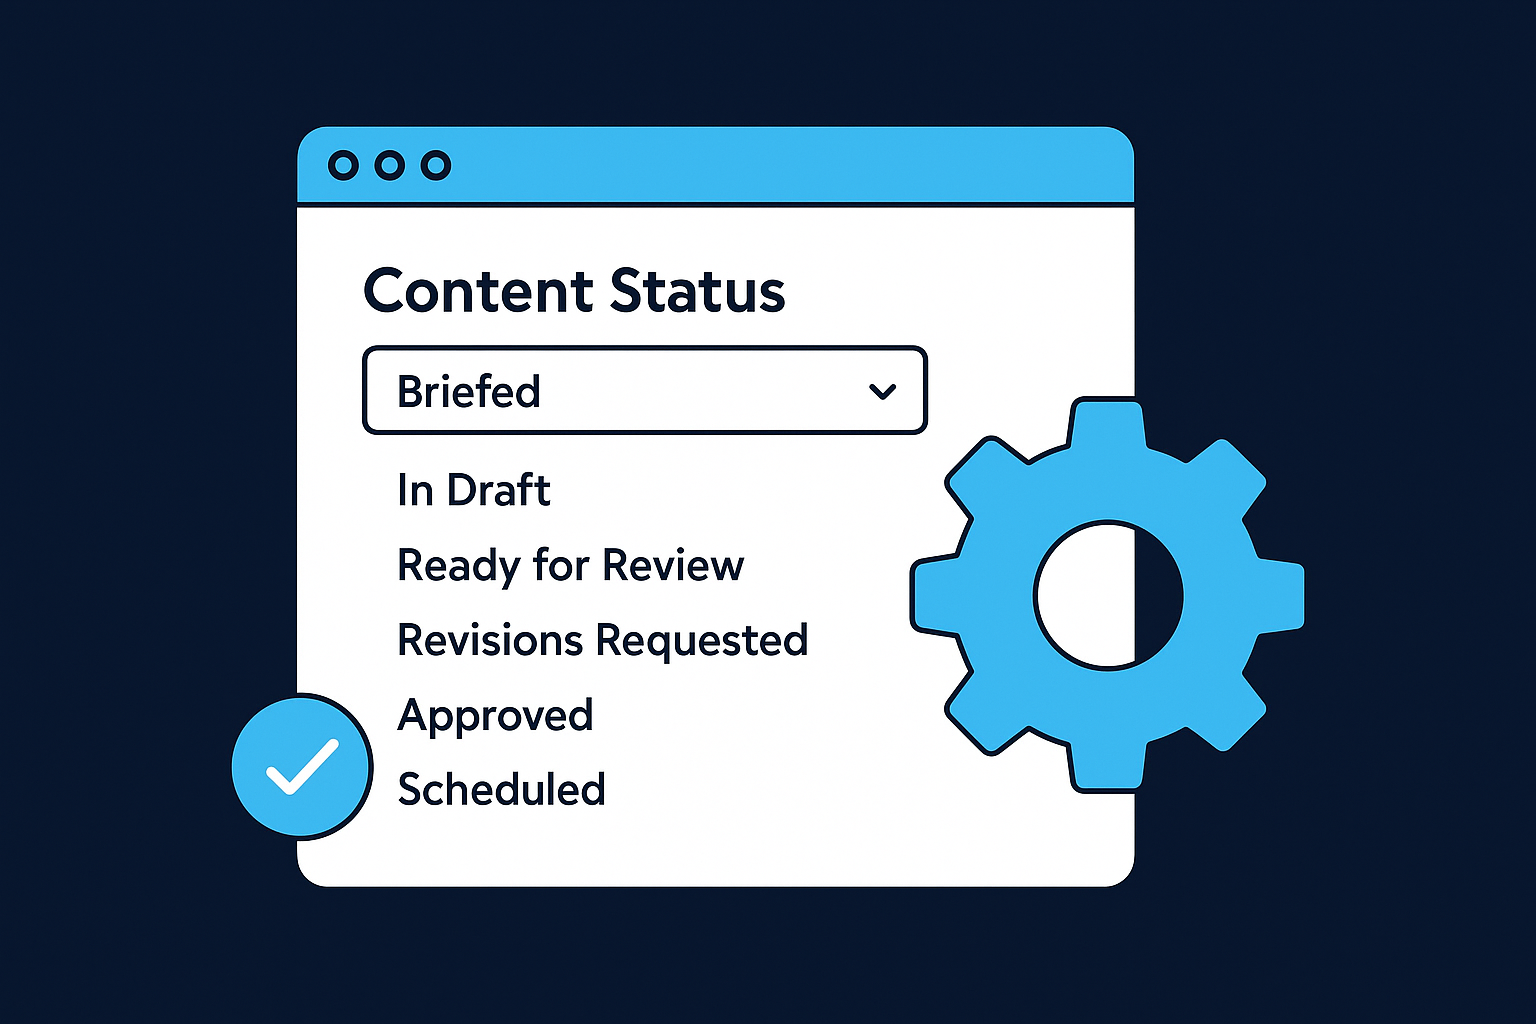
The foundation of any editorial workflow is a clear status field that every content item moves through from inception to publish. Go to Settings > Properties, select the content object you're managing (Blog Post, for example), and create a dropdown property called "Content Status." Build it with these stages:
| Stage | What it means |
|---|---|
| Briefed | Topic assigned, outline not yet started |
| In Draft | Writer is actively working on the piece |
| Ready for Review | Draft complete, awaiting editor feedback |
| Revisions Requested | Editor has returned notes to the writer |
| Approved | Content cleared for formatting and scheduling |
| Scheduled | Live date confirmed and post is queued |
Keep the status list short enough that your team actually uses it. More than six or seven stages creates friction and leads to properties that never get updated.
Create tasks tied to each stage transition
Once your status property exists, use HubSpot Tasks to assign the specific actions that move a piece from one stage to the next. Every time a content item enters "Ready for Review," create a task assigned to the editor with a clear due date and a link to the draft. You can do this manually from the content record, or automate it using a HubSpot workflow triggered by a property change.
To automate this process, go to Automation > Workflows, create a new workflow based on the Blog Post object, and set the enrollment trigger as "Content Status is Ready for Review." Add an action to create a task, assign it to the editor's user account, and set a relative due date of one business day. This removes the manual follow-up step and ensures reviewers never miss an item sitting in their queue.
Connect workflow stages to the calendar
With statuses and tasks in place, return to the Marketing Calendar and switch to list view. Filter by "Content Status" to pull a real-time snapshot of where every piece sits in the pipeline. This turns your calendar from a scheduling display into a live production board your entire team can check without opening a separate project management tool.
Create a spreadsheet template that matches HubSpot
Even with HubSpot fully configured, many teams still reach for a spreadsheet during planning sessions because it's faster to bulk-edit rows than to click through individual content records. The key is building a spreadsheet that mirrors your HubSpot property structure, so data flows cleanly between the two without creating parallel systems that drift apart. When your spreadsheet columns match your HubSpot fields exactly, you can quickly audit the queue without losing context or doing translation work.
Build the column structure
Your spreadsheet template should replicate the core fields you've already created inside HubSpot. That means every column header maps directly to a HubSpot property so there's no guesswork when you move items from the sheet into the platform. Use the following structure as your starting point:
| Column | HubSpot Property Match | Example Value |
|---|---|---|
| Title | Blog Post / Page Title | "5 Ways to Reduce Churn" |
| Content Type | Content Type (dropdown) | Blog, Email, Social Post |
| Content Pillar | Content Pillar (custom) | SEO, Thought Leadership |
| Funnel Stage | Funnel Stage (custom) | Awareness, Consideration |
| Assigned Writer | Owner | Jane D. |
| Due Date | Publish Date | 2026-06-10 |
| Content Status | Content Status (dropdown) | In Draft, Approved |
| Campaign | Campaign Name | Q3 Lead Gen |
| Distribution Channel | Distribution Channel (custom) | Social, Email, Paid |
| Notes | Internal Notes | Needs custom graphic |
Match your column headers to your HubSpot property labels exactly, including capitalization, so there's no ambiguity when your team switches between the sheet and the platform.
Map HubSpot statuses to your spreadsheet
Your spreadsheet's status column should use the same stage labels you built inside HubSpot, such as "Briefed," "In Draft," "Ready for Review," and "Approved." Using identical naming means anyone on your team can check the sheet or the hubspot content calendar and see the same status without reconciling two different vocabularies. Consistency here is what prevents the spreadsheet from becoming a second source of truth that contradicts HubSpot.
Apply conditional formatting to the status column so each stage displays in a distinct color, matching the visual logic your team already uses in HubSpot's list view. In Google Sheets, select the status column, go to Format > Conditional formatting, and set a color rule for each stage label. This turns the spreadsheet into a readable production board during meetings where you want a fast overview without opening HubSpot directly.
Run a weekly planning and reporting rhythm
Your HubSpot content calendar only stays accurate if someone actively maintains it on a fixed schedule. A well-configured setup handles the structure, but a consistent weekly rhythm is what keeps the data current, the team aligned, and the pipeline moving without bottlenecks. Building two recurring checkpoints into each week, one at the start and one at the end, gives your team a reliable operational loop that takes less than an hour total.
Monday: queue review and assignment
Start every Monday by opening the Marketing Calendar in list view and filtering by "Content Status" to see everything currently in the pipeline. Your goal for this session is to confirm that every piece scheduled for the current week has a clear owner, a finalized draft, and no outstanding blockers. Anything stuck in "In Draft" past its due date needs immediate attention, either a deadline extension or a reassignment to someone with capacity.
If you finish your Monday review and more than two items lack an assigned owner, your briefing process has a gap that needs fixing before the next planning cycle.
Use the following checklist to structure your Monday review session every week:
- Confirm all items scheduled to publish this week are in "Approved" or "Scheduled" status
- Assign any unowned items in the queue to a specific team member with a revised due date
- Move any pieces that won't hit their deadline to the following week and update the campaign accordingly
- Tag any new content ideas from the past week into HubSpot as "Briefed" so they enter the pipeline immediately
Friday: performance check and next-week setup
End each week by pulling a quick performance snapshot from HubSpot's social and blog analytics. Navigate to Marketing > Social > Analyze and review the engagement rate, reach, and click-through data for everything published in the past seven days. Note which formats and topics outperformed your baseline, then carry those signals into your next planning session.
After reviewing performance, switch back to the Marketing Calendar and populate next week's queue. Add any missing items, confirm campaign tags are applied, and check that scheduled social posts in the Social Publishing Calendar have visuals attached. Ending Friday with a clean, populated queue means your Monday review starts from a position of control rather than triage, and your team stays focused on creating content instead of chasing missing information.
Next steps
You now have a complete framework for building and running a HubSpot content calendar that actually holds up under the pressure of consistent publishing. From configuring campaigns and custom properties to setting up approval workflows and a weekly review rhythm, every piece covered in this guide has a direct impact on how reliably your content moves from idea to live.
The next move is to pick one section and implement it today. Start with your campaign structure if nothing is in place yet, or jump straight to the social publishing setup if that's where your biggest visibility gap sits. Don't try to rebuild everything at once. Progress on one layer compounds quickly once the structure starts holding.
If you want a system that handles strategy, scripting, production, and distribution without pulling you away from running your business, see how SocialRevver builds it for you and get a free 40-slide strategy in the process.