
You've probably typed airtable content calendar template into Google because your current system, a messy spreadsheet or a wall of sticky notes, stopped working weeks ago. Content keeps slipping through the cracks, you're posting reactively instead of on a schedule, and nobody on your team knows what's due next without asking you directly. That gap between chaos and a real system is exactly where most creators and founders get stuck.
This guide walks you through building your own Airtable content calendar from scratch, field by field, so you end up with a workable system instead of a template you abandon after two weeks. You'll set up the bases, views, and automations that actually hold up once you're publishing daily across multiple platforms.
We'll cover the core table structure, the status and platform fields you need, calendar and kanban views for different workflows, and how to layer in approval stages if you're working with a team. By the end, you'll have a calendar built for consistency, not just for looking organized. And if you get to the point where managing the calendar becomes the bottleneck rather than the content itself, that's usually a sign you're ready for a production system that runs without you.
Why Airtable works well for a content calendar
Most people try to solve their scheduling mess with a spreadsheet, and spreadsheets fall apart the moment you need more than a title, a date, and a column for "done." Airtable sits between a spreadsheet and a full database, which means you get the familiar grid interface but with relational fields, linked records, and views that a plain sheet can't replicate. That's the core reason it's become the default tool for anyone building a real content calendar instead of a to-do list that happens to have dates on it.
Relational data instead of flat rows
Spreadsheets treat every row as an island. Airtable lets you link records together, so a single video idea can connect to a client, a campaign, a script draft, and a set of platform-specific posts, all without duplicating data across tabs. This matters once you're managing more than a handful of pieces, because a linked-record structure means updating one field, like changing a campaign's launch date, cascades through everything connected to it instead of forcing you to hunt down five separate cells. You end up with a system that reflects how content actually moves through production, not a flat list pretending it does.
A content calendar only works if it mirrors your real workflow, and Airtable is one of the few tools flexible enough to do that without custom code.
Multiple views from one dataset
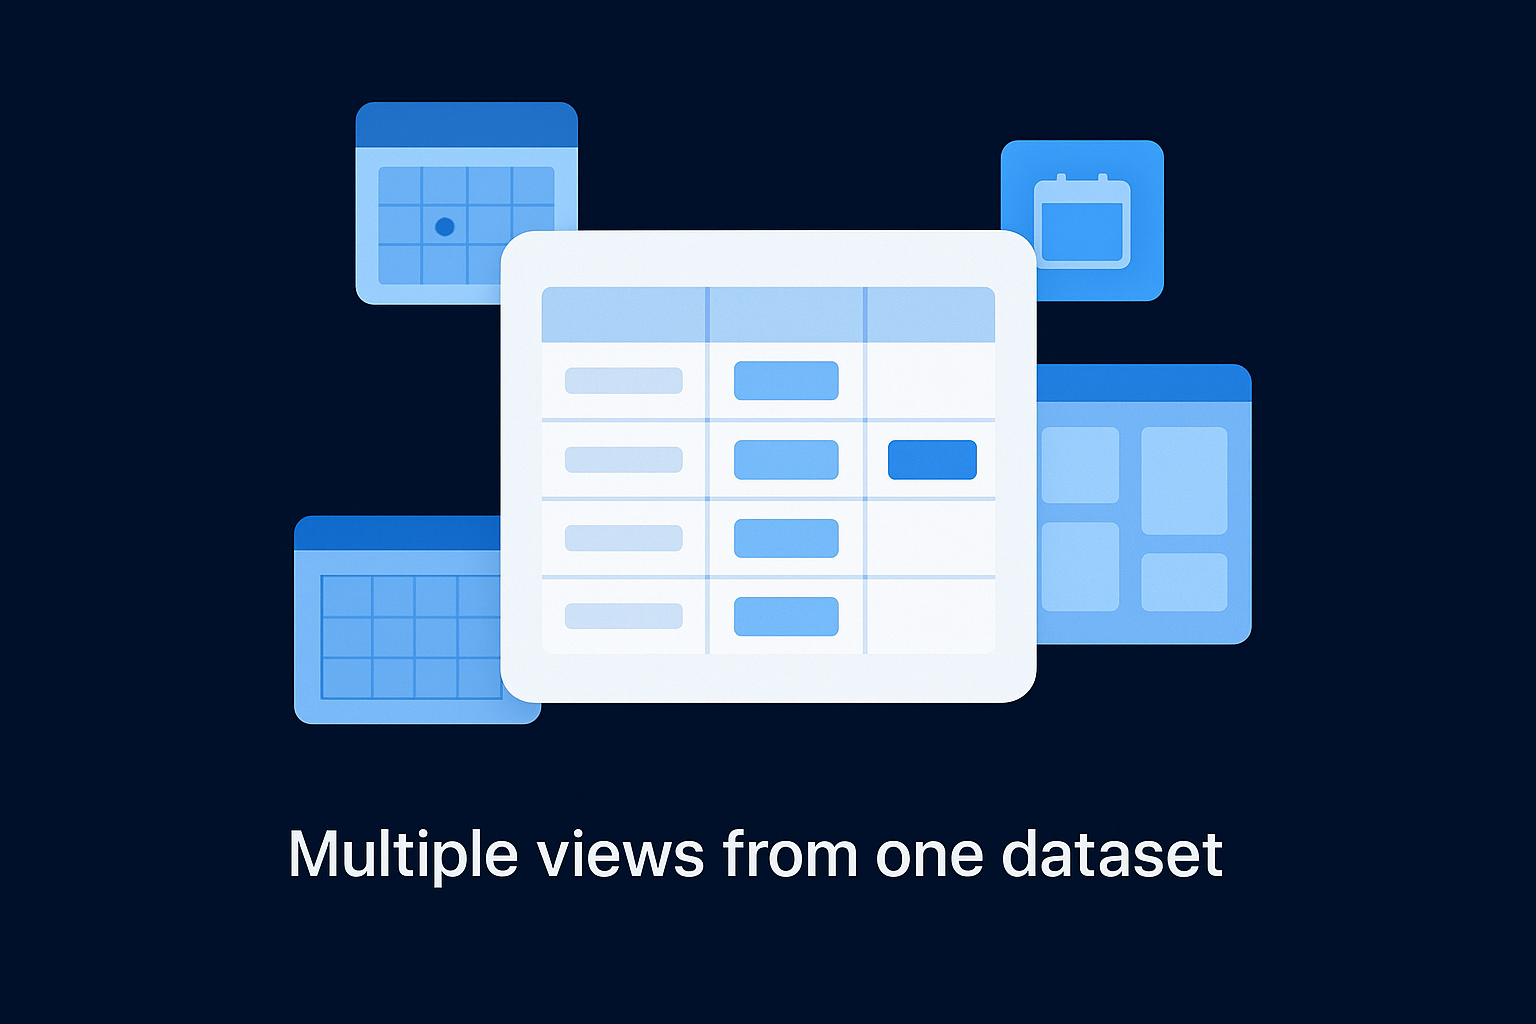
Here's where Airtable earns its reputation. The same underlying table can render as a calendar for your editor, a kanban board for your writer, and a filtered grid for a client who only wants to see approved posts. Nobody is duplicating work or exporting a separate file for each stakeholder, because every view pulls from the same records in real time. Compare that to what a typical spreadsheet or generic calendar app can offer:
| Capability | Spreadsheet | Generic calendar app | Airtable |
|---|---|---|---|
| Multiple views of same data | No, separate tabs needed | Limited, usually just calendar/list | Yes, calendar, kanban, grid, gallery |
| Linked records across tables | No | No | Yes |
| Field-level permissions | Rare, clunky | No | Yes |
| Native automations | No | Limited | Yes |
| Client-facing shared views | Manual export | No | Yes, live shared links |
Those differences aren't cosmetic. Teams building a content calendar for the first time usually underestimate how much time gets lost reconciling three versions of the same schedule, and this is exactly the friction Airtable removes.
Built for teams, not just you
Growth-focused founders and creators rarely produce content alone for long. Once you bring in a writer, an editor, and someone handling distribution, you need a system where each person sees only what's relevant to them without you manually assigning tasks in a group chat. Airtable's permission settings let you lock down who can edit versus view, and its collaborator fields let you assign owners directly inside a record so accountability isn't buried in a Slack thread. Field-level history also means you can see exactly when a status changed and who changed it, which matters the moment something gets published late and everyone wants to know why.
Finally, Airtable scales with you instead of forcing a migration later. A single creator managing three platforms and a business managing content across five brands can use the same base structure, just with more linked tables and automations layered on top. That scalability is a big part of why it's worth the setup time now rather than patching together a spreadsheet you'll rebuild in six months anyway.
Step 1. Create your base and core table
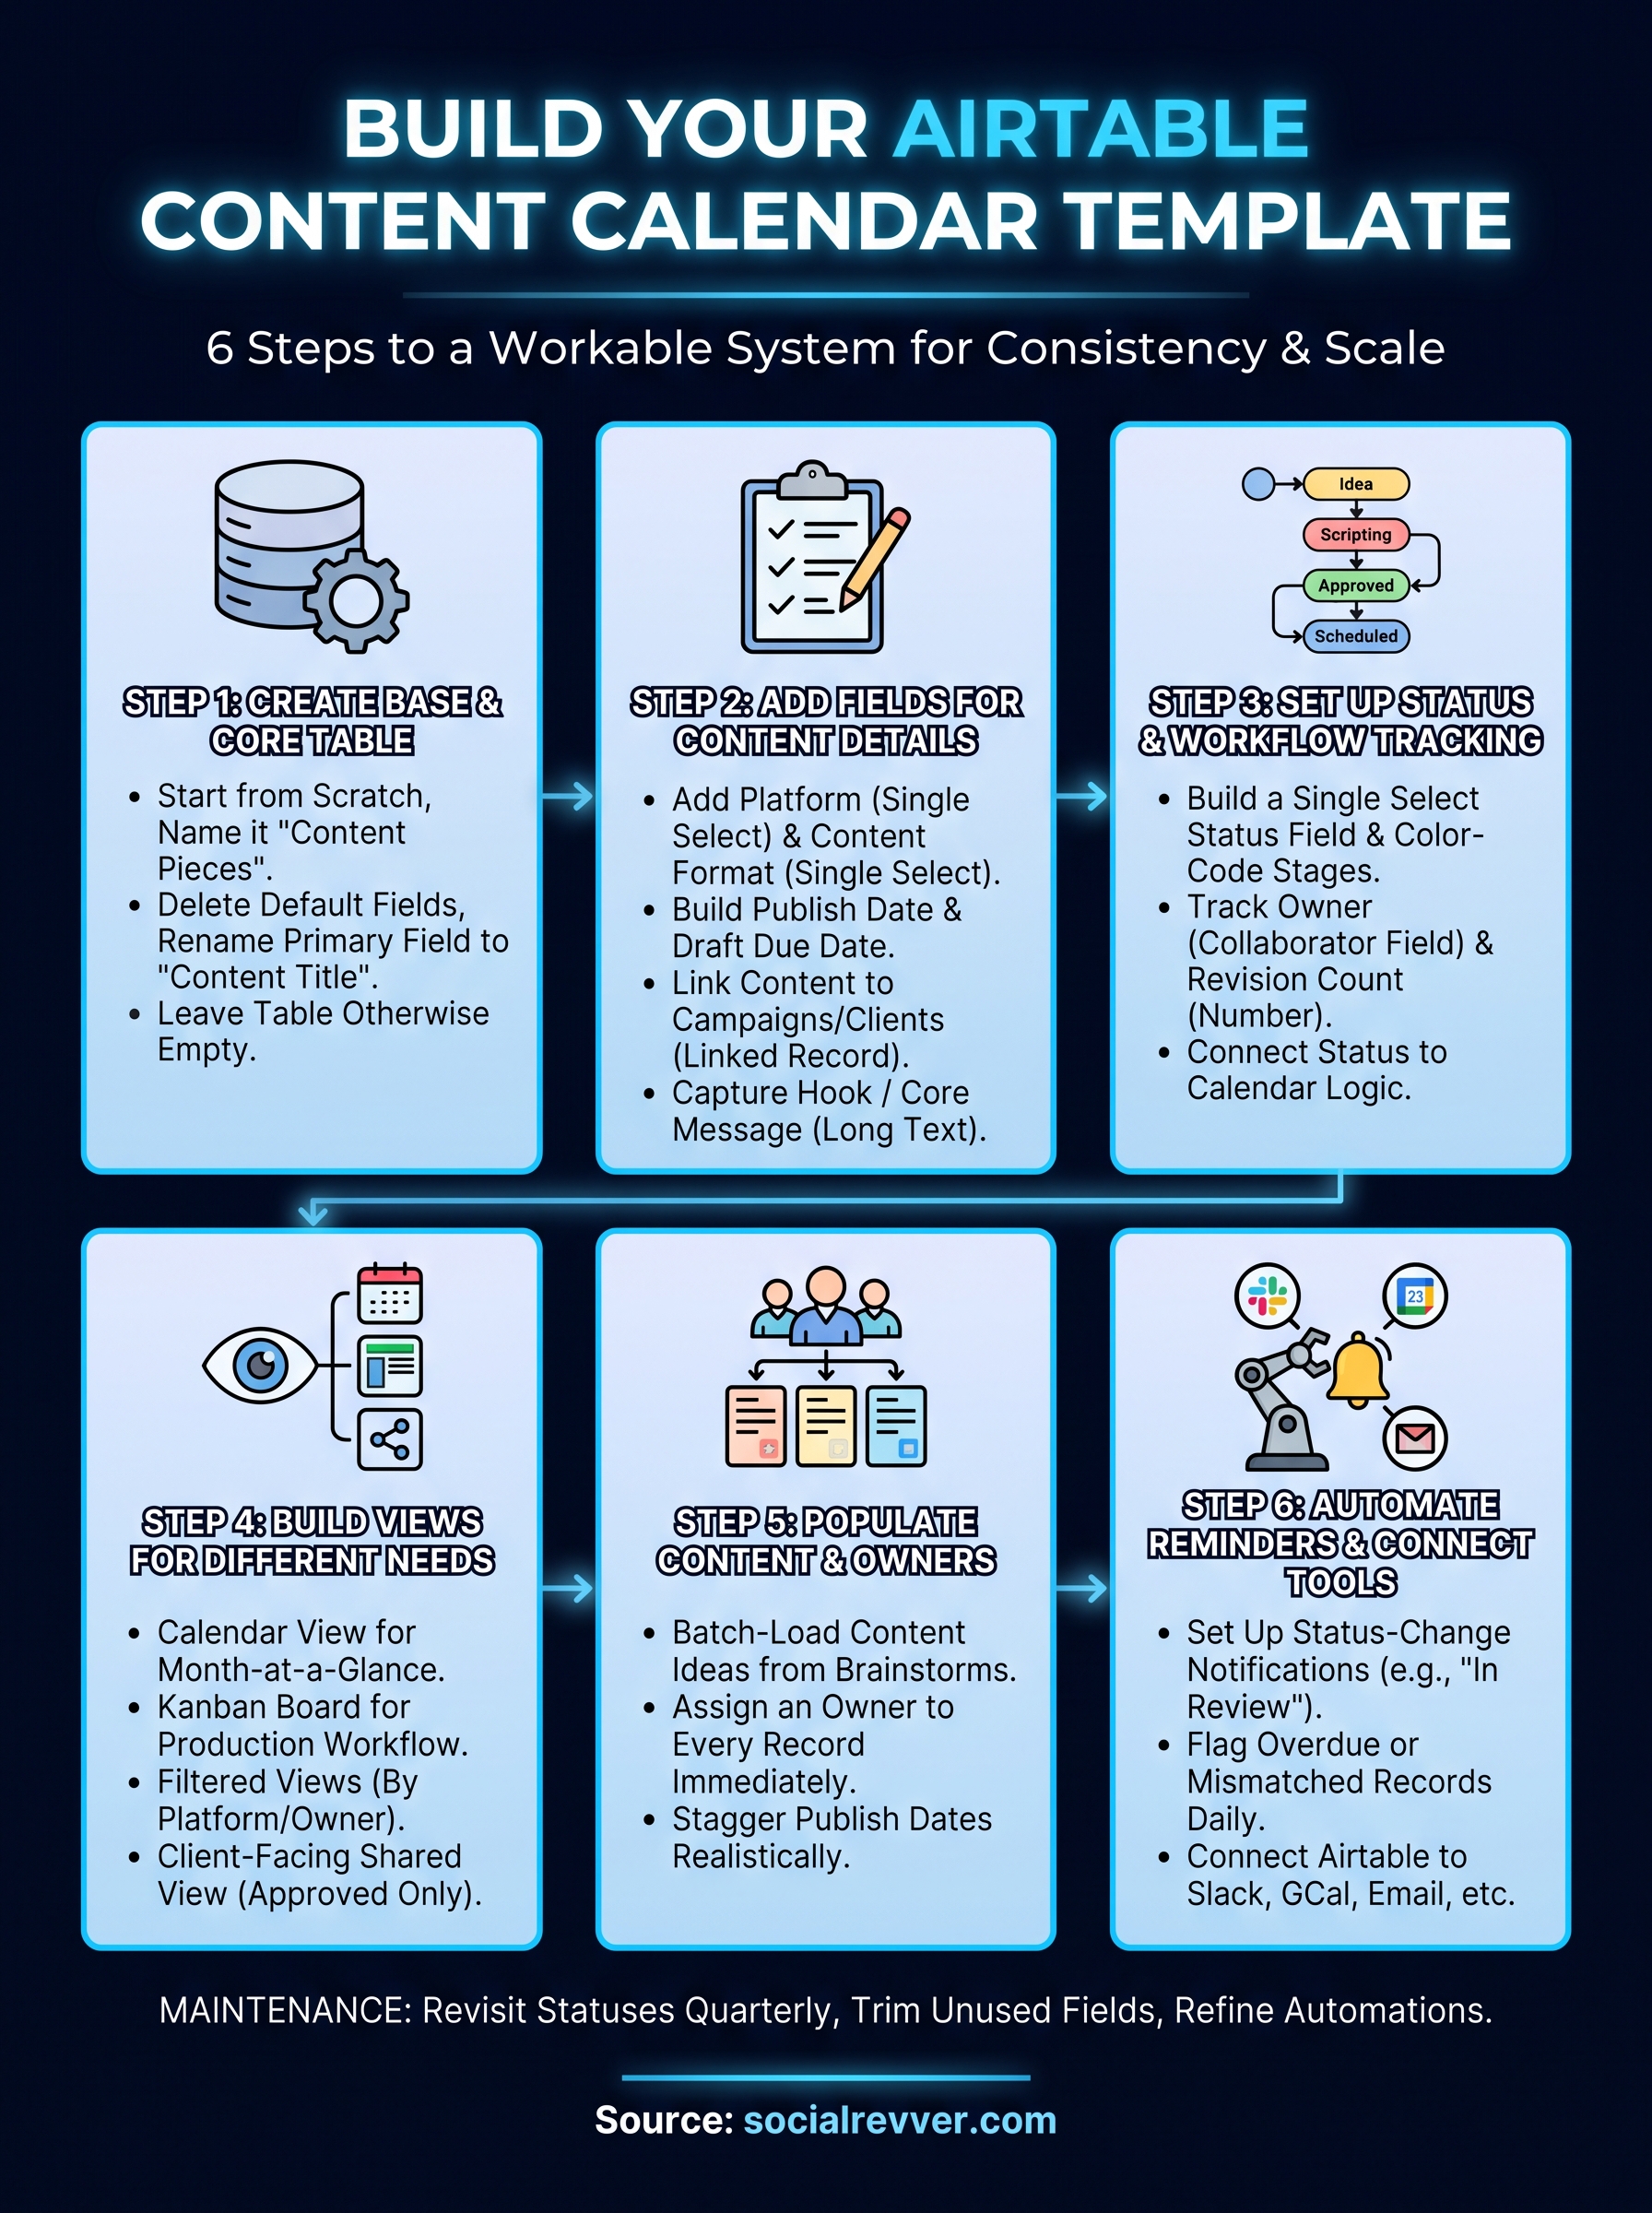
Open Airtable and skip the templates gallery for now. Templates look tempting, but they're built for generic use cases and you'll spend more time stripping out fields you don't need than you would building from scratch. Click Create a base, choose Start from scratch, and name it something specific like "Content Calendar" or your brand name plus "Content Ops." This becomes the container for every table you build later, including scripts, campaigns, and platform-specific posts.
Name your core table clearly
Inside that base, rename the default table to Content Pieces or Posts. This table is the backbone of your entire system, so every other table you eventually add will link back to it. Avoid vague names like "Table 1" or "Ideas," since anyone joining your workspace later, a new editor or a client, should understand the structure without asking you to explain it.
A content calendar collapses when the core table tries to do everything at once, so keep it focused on individual content pieces and nothing else.
Delete the default columns
Airtable ships new tables with placeholder fields like "Notes" and "Attachments" that rarely match your actual workflow. Clear these out before you add anything real, so you're not carrying dead weight into your build. Start with a lean structure:
- Delete every default field except the primary field (usually "Name")
- Rename the primary field to Content Title
- Leave the table otherwise empty until Step 2
Set your primary field to do real work
The primary field in Airtable is special. It's the one column that always shows up first in every view, including linked-record previews in other tables, so it needs to identify the content piece at a glance. Instead of a generic title like "Post 1," use something descriptive: "IG Reel: 5 Hooks That Convert" or "Blog: Q3 Client Onboarding Guide." This single habit saves you real time later, because when you link this table to a campaigns table or a client table, you'll be scanning titles instead of opening records to figure out what each one actually is.
Once your base exists and your core table has a clean primary field, you've got the skeleton for everything that follows. The next step is filling in the fields that turn a bare list of titles into an actual working content calendar your team can operate from without checking in with you first.
Step 2. Add fields to capture content details
With your Content Title field in place, the next job is building out the fields that actually describe what each piece of content is and where it's going. Skip this step or rush it, and you'll end up back where you started, scrolling through records trying to remember which platform a post was for or what format it needed. A well-built field structure is what turns your table from a list of names into a real content calendar.
Add platform and format fields
Start with a Platform field using the Single Select field type, since content almost never lives on just one channel and you need to filter by it constantly. List every platform you actually publish to, not every platform that exists:
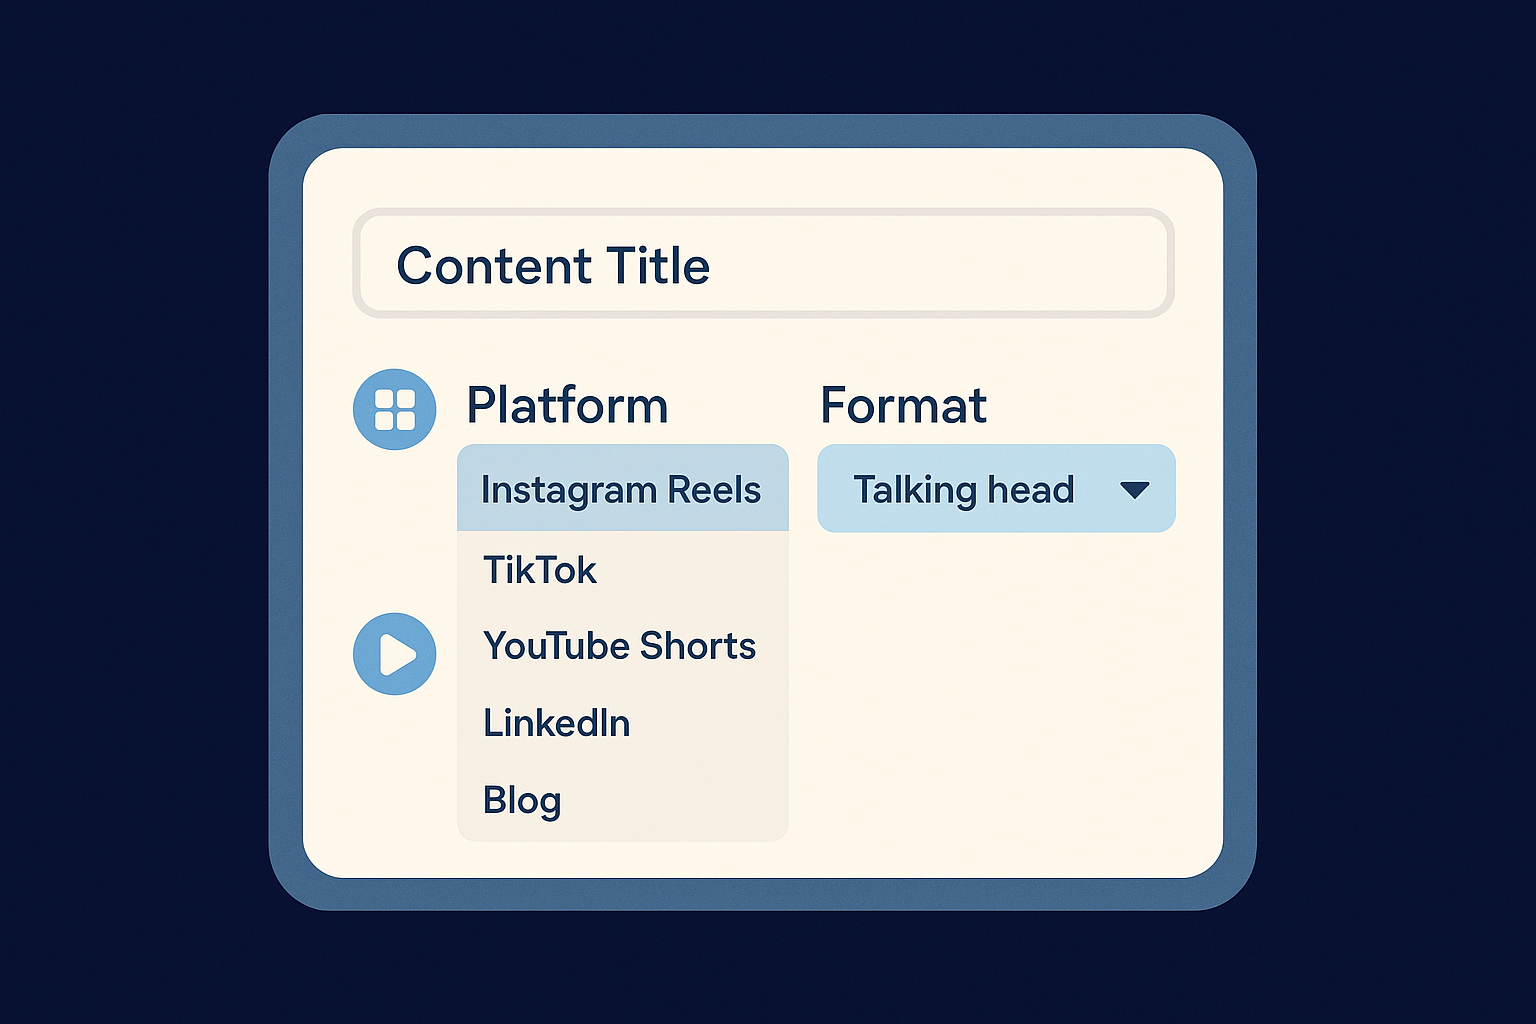
- Instagram Reels
- TikTok
- YouTube Shorts
- Blog
Pair that with a Content Format field, also Single Select, covering things like "Talking head," "B-roll voiceover," "Carousel," or "Text post." This combination lets you filter later to see, for example, every LinkedIn carousel scheduled for the month without scrolling through unrelated formats.
Build a publish date and due date
Add a Publish Date field using the Date field type, and a separate Draft Due Date field if scripts or drafts pass through review before publishing. These two dates matter because they're what your calendar view will actually key off of, and having them separate lets you spot bottlenecks between drafting and posting instead of only seeing the final publish date.
Fields that don't map to a real decision you make later are just clutter, so add them with purpose, not out of habit.
Link content to campaigns and clients
If you're running campaigns or managing multiple clients, add a Linked Record field pointing to a separate Campaigns or Clients table. This is where Airtable's relational structure pays off, since one campaign record can link to dozens of content pieces, and updating the campaign's end date automatically shows up wherever it's referenced.
Capture the hook and core message
Add a Long Text field called "Hook / Core Message" where you write the opening line or main idea before scripting begins. This single field forces clarity early, and it becomes the reference point anyone on your team checks before writing a full script, so the messaging stays consistent even across dozens of posts. Once these fields exist, your table already looks less like a list and more like an actual production system.
Step 3. Set up status and workflow tracking
Once your fields describe what each piece of content is, you need a field that describes where it stands in the pipeline. Without a status field, you're left messaging people to ask if a script is done or if a post already went live, which defeats the entire purpose of building a calendar in the first place. This is the field that turns your table into something people can actually check instead of interrupt you about.
Build a single select status field
Add a field called Status using the Single Select type, and color-code each option so the grid view becomes scannable at a glance. Keep the list tight enough that people actually update it consistently:
- Idea
- Scripting
- In Review
- Approved
- Scheduled
- Published
- Needs Revision
Seven stages sound like a lot, but each one maps to a real decision point in your workflow, and skipping stages just means you lose visibility into where things actually stall.
Track who owns each stage
Add a Collaborator field named "Owner" so every record has a single person responsible for moving it forward. Some teams add a second field, "Reviewer," if scripts or edits need a second set of eyes before anything gets scheduled. This matters because a status field without an owner just tells you something is stuck, not who's supposed to unstick it.
A status without an owner is just a label. Pair every stage with a name so nothing sits waiting on nobody.
Add a revision counter
For teams working with clients or strict brand guidelines, add a Number field called "Revision Count." This flags content that's bouncing back and forth too many times, which usually signals a brief problem rather than an execution problem. If something hits three or more revisions, that's your cue to revisit the original hook or brief instead of just editing again.
Connect status to your calendar logic
Here's the part people miss: your Publish Date field and your Status field need to work together, not separately. A post shouldn't show Publish Date populated while Status still reads "Idea," since that's a scheduling error waiting to surface. You can catch this manually at first by scanning the grid view, and once your base is more mature, an automation can flag the mismatch for you automatically, which we'll cover later in this guide.
With status and ownership fields in place, your table now shows not just what content exists, but exactly where it's stuck and who needs to move it. That visibility is what separates a real content calendar from a list that looks organized but tells you nothing about bottlenecks.
Step 4. Build views for different teams and needs
Your grid view holds every field you've built so far, but nobody outside of you should have to stare at all of it. Different people need different slices of the same data, and this is where Airtable's multiple view types finally pay off. Building a handful of purpose-specific views now saves you from fielding the same status questions every week.
Add a calendar view for scheduling
Click the plus next to your existing view and choose Calendar, then set it to key off your Publish Date field. This gives you a month-at-a-glance layout that instantly shows gaps in your posting schedule, which is far easier to spot visually than scrolling a grid. Color-code the calendar by Platform so you can tell at a glance whether you're overloading one channel while another goes quiet.
Build a kanban board for production
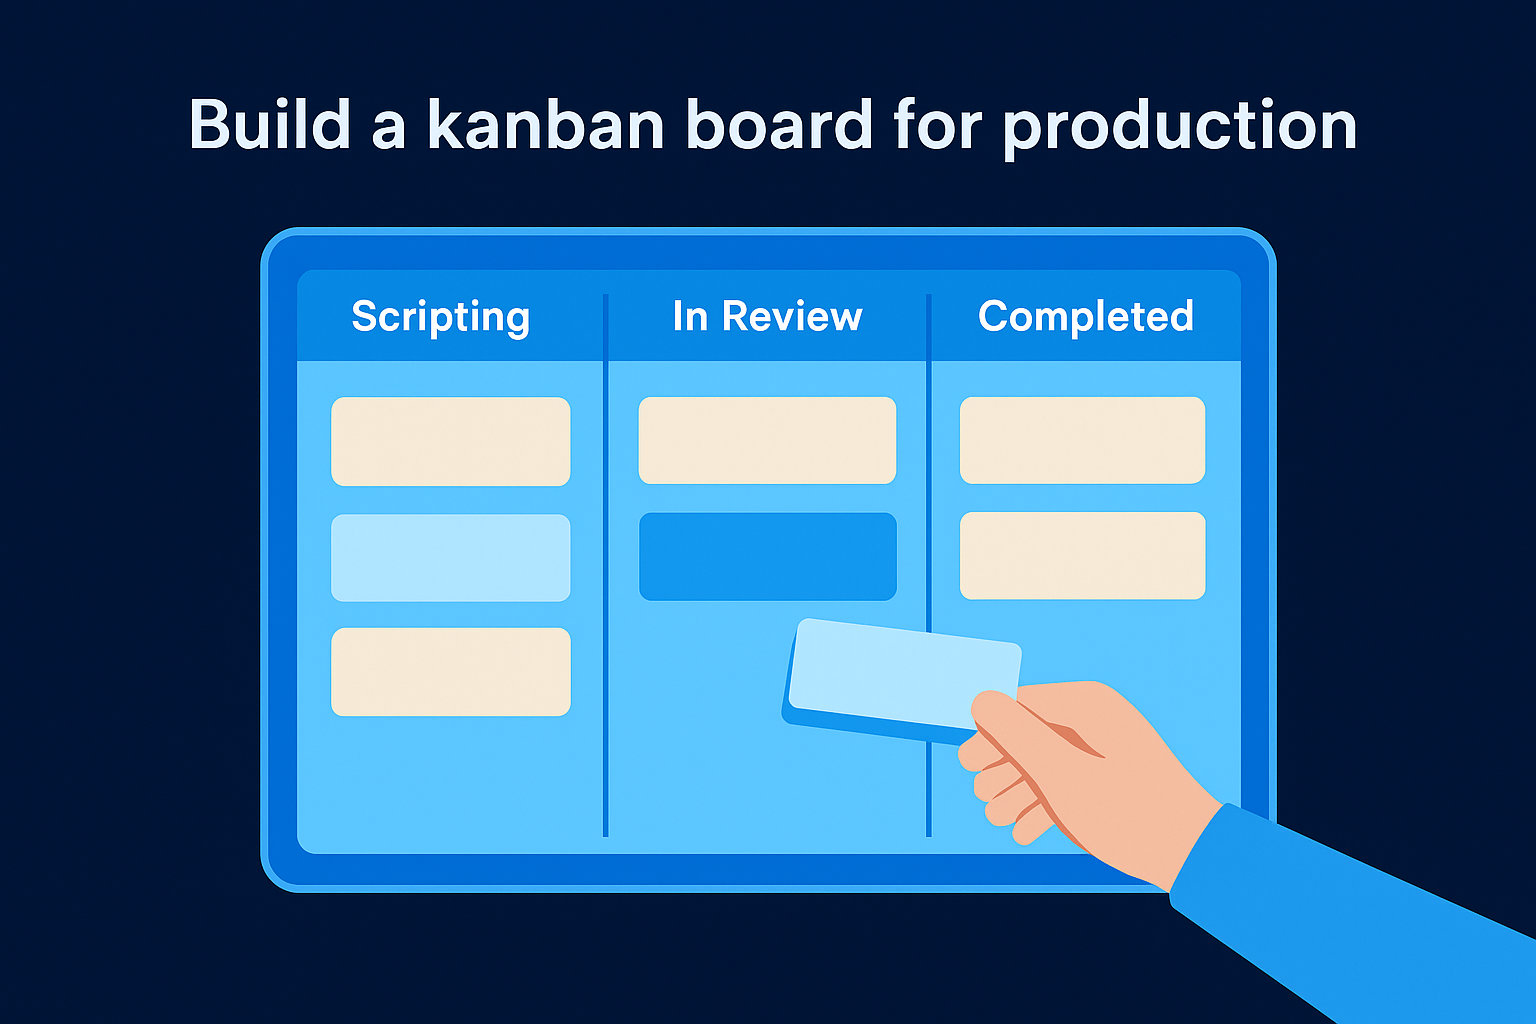
Add a Kanban view grouped by your Status field, since this is the view your writers and editors will actually live in day to day. Each status becomes a column, and dragging a card from "Scripting" to "In Review" updates the underlying record automatically, no separate status change required. This view matters more than the calendar for anyone doing hands-on production work, because it answers "what do I need to touch today" instead of "what's due this month."
Give each role the view that answers their actual question, not a general-purpose grid they have to filter every time.
Create filtered views by platform and owner
Duplicate your grid view and filter it down for specific needs. A few worth setting up immediately:
- By Platform: filter to show only Instagram Reels, useful when your editor only cuts for that channel
- By Owner: filter to your name or a teammate's, so each person opens Airtable and sees only their own workload
- Needs Attention: filter for Status = "Needs Revision" or Revision Count greater than 2
Set up a client-facing view
If you're managing content for a client, create a locked, filtered view showing only Approved and Scheduled records, hiding internal fields like Revision Count or Reviewer notes. Share it as a live link so the client always sees current status without you exporting a report every Friday. This one view often does more for client retention than the content itself, since it makes your process visible without exposing the messy middle. Once these views exist, your base finally functions as a system multiple people can use independently, not just a table only you understand.
Step 5. Populate the calendar with content and owners
With the structure built, the temptation is to start entering content one record at a time whenever an idea hits you. Resist that. A calendar built one stray idea at a time never gets ahead of your posting schedule, it just tracks it. Populate your table in batches, and assign an owner the moment a record exists, not after it's already stuck in "Idea" for two weeks with nobody responsible for it.
Batch-load your content ideas
Set aside a planning session, weekly or monthly depending on your volume, and add every idea you have in one sitting rather than trickling them in. Use Airtable's grid view and paste in a batch from a brainstorm doc or a spreadsheet you're migrating from. If you're importing from a spreadsheet, map your existing columns to the fields you built in Step 2:
Content Title, Platform, Content Format, Publish Date, Hook / Core Message
IG Reel: 3 Mistakes New Founders Make, Instagram Reels, Talking head, 2026-08-03, "You're not behind, you're just building wrong"
Blog: How We Cut Editing Time in Half, Blog, Long-form article, 2026-08-05, "Editing was our bottleneck until we changed one step"
This batch approach front-loads the thinking work, so later in the week you're executing against a plan instead of deciding what to make while also trying to make it.
Assign an owner to every record immediately
As each record lands in the table, fill in the Owner field before you move to the next one. An unassigned record is invisible work, since nobody checks a filtered "By Owner" view for content that isn't theirs yet.
A content calendar with no owner assigned isn't a plan, it's just a wish list with dates attached.
If you're working solo for now, assign everything to yourself anyway. It keeps the habit consistent for when you bring on a writer or editor later, and it means your filtered views work correctly from day one instead of needing a retrofit.
Stagger publish dates realistically
Don't fill every slot on the calendar view just because the grid has room. Look at your actual production capacity, how long a script takes, how long editing takes, and space Publish Dates accordingly. A calendar that looks full but represents a pace you can't sustain will just generate a pile of records stuck in "Scripting" while their Publish Dates quietly pass. Once your records are populated and owned, the next step is making sure nothing slips through without someone getting a nudge.
Step 6. Automate reminders and connect your tools
A content calendar that requires you to manually check status fields every morning isn't actually saving you time, it's just moved your busywork into Airtable instead of a spreadsheet. Automations close that gap by pushing notifications to people instead of waiting for them to log in and look. This is the step that turns your base from a passive record into something that actively runs your workflow.
Set up status-change notifications
Open the Automations tab in your base and create a trigger for "When record matches conditions," set to fire when Status changes to "In Review." Have it send an email or Slack message to your Reviewer field automatically, so nobody has to remember to flag a script as ready. Build a second automation the same way for Status = "Needs Revision," pinging the Owner field directly instead of routing through you as the middleman.
The best automation is the one that removes you from a conversation you don't actually need to be part of.
Flag overdue and mismatched records
Create a scheduled automation that runs daily and checks for records where Publish Date has passed but Status isn't "Published." This catches the exact scheduling errors mentioned in Step 3, where a date is set but the workflow never caught up. Send these flagged records to a Slack channel or a daily digest email so someone addresses them before a client notices a gap in the feed.
Connect Airtable to your publishing and communication tools
Airtable's native integrations and its Zapier and Make connections let you push data out instead of manually re-entering it elsewhere. A few worth setting up early:
- Slack: post a message whenever a record moves to "Approved," so your editor knows to start cutting
- Google Calendar: sync your Publish Date field so publish days show up alongside everything else on your team's schedule
- Email: trigger a client-facing summary every Friday pulling from your filtered client view built in Step 4
Airtable also documents its automation triggers and actions in detail if you want to build beyond these basics, which is worth a look once your base handles real volume. See Airtable's own automation documentation for the full list of trigger types available on your plan.
Once these automations run reliably, your calendar stops depending on your memory. Records move, people get notified, and gaps get flagged automatically, which is the actual point of building a system instead of just a nicer-looking list. This is also usually the moment founders realize the calendar itself was never the hard part, producing enough good content to fill it was.
Keeping your calendar running smoothly
A content calendar isn't a one-time build, it's a system that needs occasional maintenance. Revisit your status options and views every quarter, since workflows shift as your team grows and last year's stages might not match how you actually work now. Trim fields nobody uses, add automations when you notice yourself manually checking things again, and keep the core table focused on individual content pieces rather than letting it absorb every side project you touch.
Building this Airtable content calendar template gets you organized, but organization only gets you so far if the content filling it isn't converting attention into revenue. At some point, the bottleneck stops being your calendar and starts being production capacity, strategy, and distribution at scale. That's exactly where a managed system takes over. If you're ready to hand off the heavy lifting, apply to work with our team and get a free 40+ slide strategy built around your niche.