
You recorded a 45-minute podcast last month. You hosted a webinar. You shot a keynote. That content performed once, then it disappeared into your archive. Meanwhile, your competitors are everywhere, posting daily, building authority, and pulling inbound leads from the same platforms you're ignoring. The difference isn't that they're creating more. They know how to repurpose content they've already made into dozens of clips that actually perform. And that single skill gap is costing you compounding visibility every week you leave it unaddressed.
Here's the math that should bother you: one long-form video contains enough raw material to produce 50 or more short-form social clips. Not filler. Not recycled junk. High-impact clips built around the hooks, insights, and moments your audience already responds to. Most founders and business owners never extract that value because they treat repurposing as an afterthought, a quick chop-and-post job with no strategy behind it. That's exactly the kind of content infrastructure problem we solve at SocialRevver, where our AI-driven production pipeline turns existing footage into a systematic stream of clips engineered for reach and conversion.
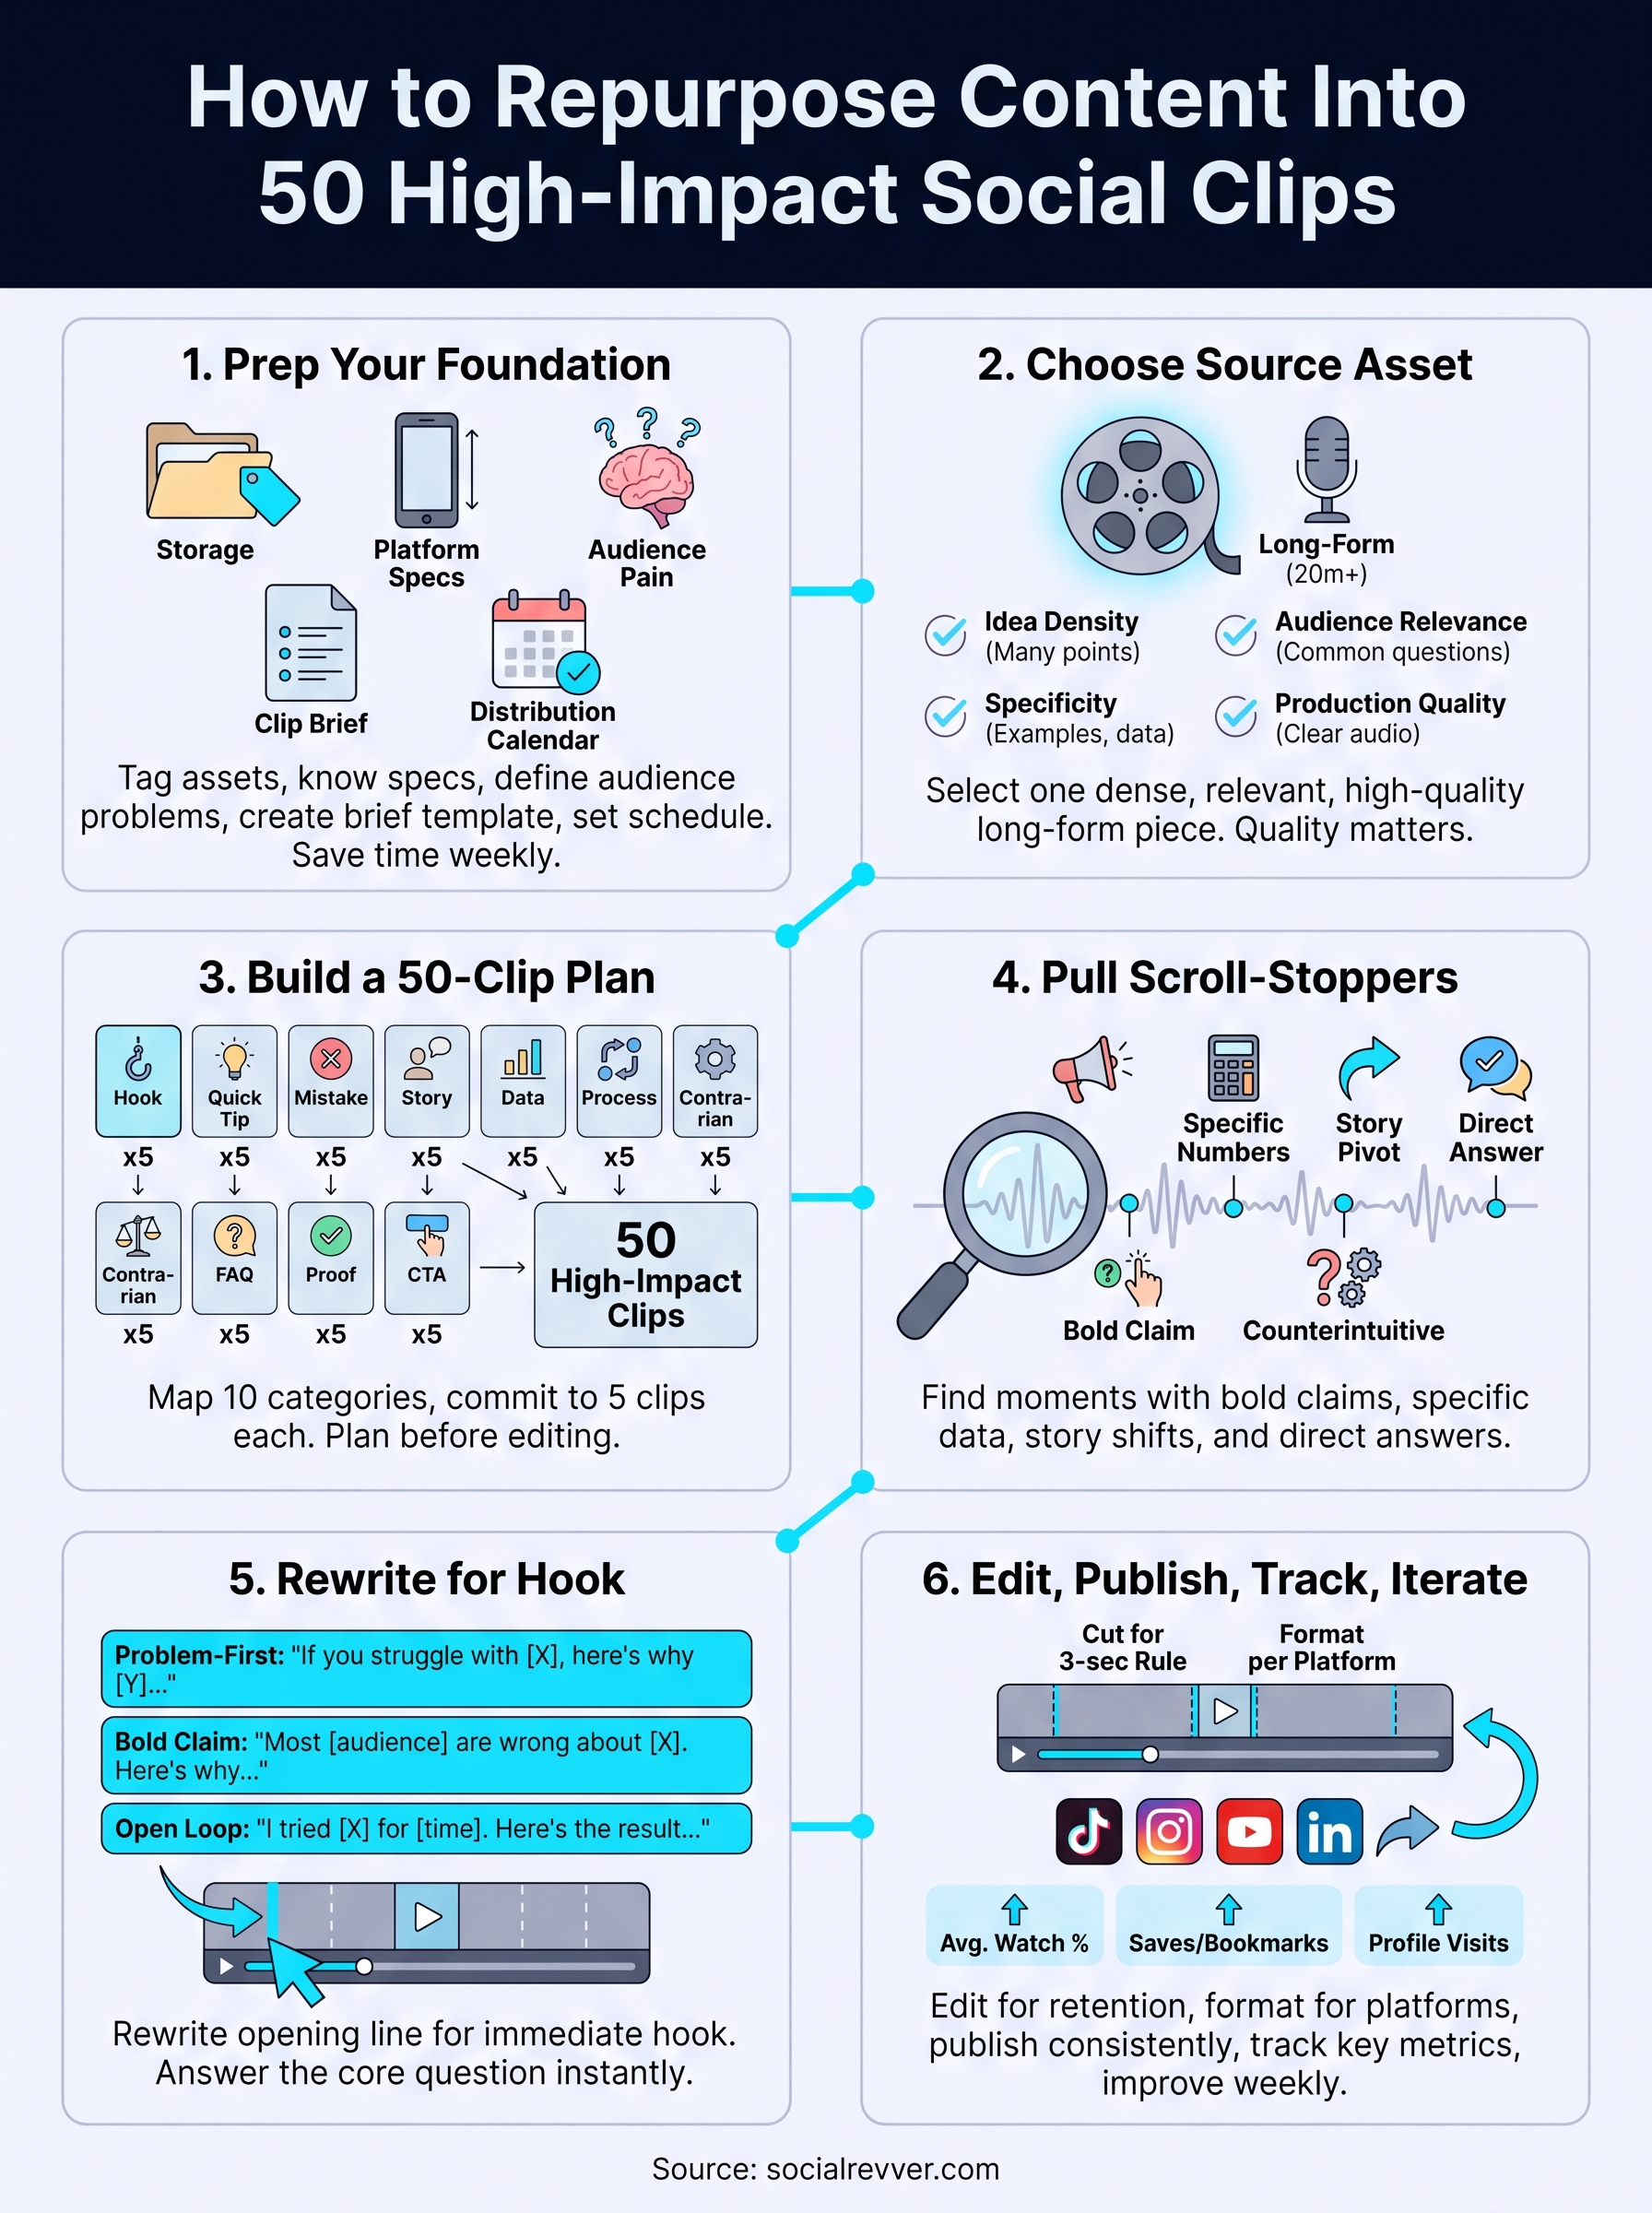
This guide breaks down the full process, from selecting source material and identifying clip-worthy moments, to scripting, editing, formatting, and distributing across platforms. You'll walk away with a repeatable system for multiplying your content output without multiplying your workload. Whether you do it yourself or plug into a managed engine like ours, the framework is the same. Let's get into it.
What repurposing means and what to prep first
Repurposing content is not the same as reposting it. When you repost, you take something that already exists and put it somewhere else without changing it. Repurposing means transforming the raw ideas, insights, and moments inside your existing content into new assets built for a different format and a different context. A 45-minute interview becomes a 30-second hook clip. A webinar answer becomes a standalone tutorial. The idea is extracted, restructured, and re-engineered for the platform and audience you're targeting. That distinction matters because it changes how you approach the entire production process before you open a single editing tool.
Repurposing is not about doing less work. It's about doing the right work once and distributing it everywhere.
The difference between repurposing and recycling
Most people who think they know how to repurpose content are actually recycling it. Recycling means cutting a long video into shorter segments in the same sequence with the same framing, and it performs accordingly. Repurposing pulls value from the original asset and rebuilds it with intent: a new hook, a new context, a new entry point for a different viewer. A single answer buried in your podcast might become a hook-first short-form clip, a text post, a carousel, and a reply-bait question on a completely separate platform. The source material stays the same, but the output differs in structure, tone, and purpose across every piece you produce.
What to prep before you touch your footage
Before you start pulling clips, you need a lightweight but solid foundation in place. Skipping this step is the primary reason most repurposing efforts produce 5 clips instead of 50. You need three things ready: a storage and tagging system for your raw footage, a working knowledge of the platform specs you're publishing to, and a clear picture of your audience's core pain points and recurring questions. Without those three anchors, you end up clipping randomly and publishing without direction.
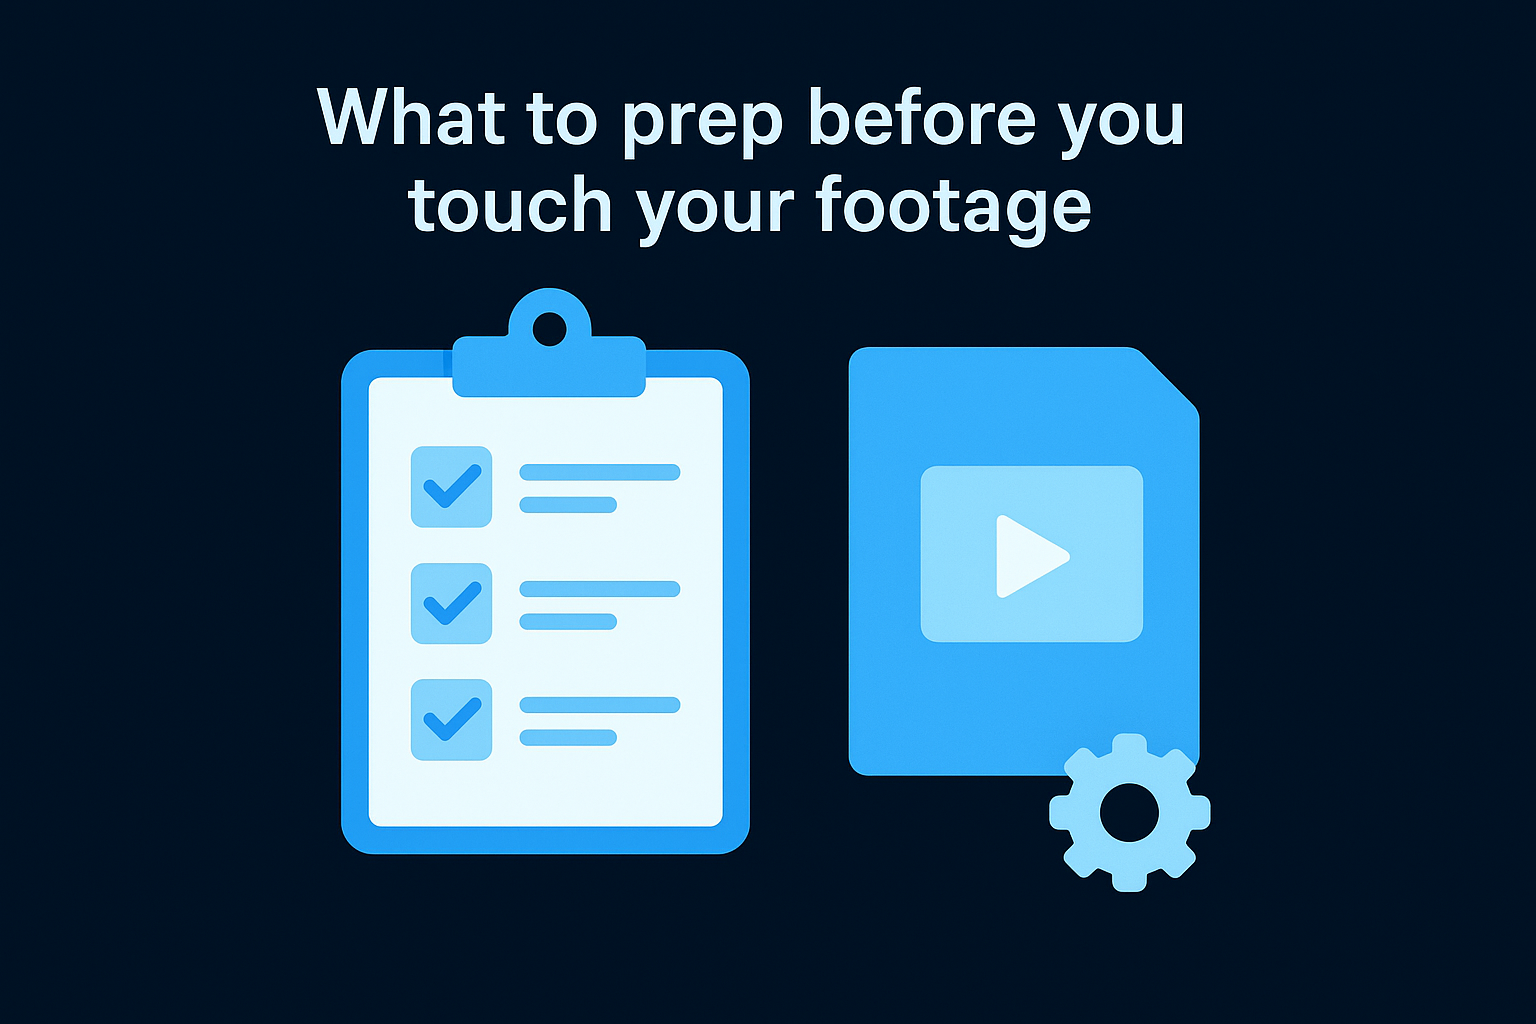
Here is what a basic prep checklist looks like before you touch a single piece of footage:
- Storage folder structure: Organize raw files by topic or episode, not by date, so you can find relevant material fast
- Platform spec sheet: Know the aspect ratios (9:16 for TikTok, Reels, and Shorts; 1:1 for feed posts), maximum durations, and caption requirements for each channel you publish to
- Audience pain map: List the top 5 to 10 problems, questions, and objections your audience repeats most often across comments, DMs, and sales calls
- Clip brief template: A one-line format for noting the clip idea, the hook angle, and the target platform before you start editing
- Distribution calendar: A weekly publishing schedule that maps which clip goes to which platform on which day
Building this infrastructure takes roughly two hours the first time you set it up, and it recovers that time every week after because it removes low-value decisions from your production process. The goal is to make execution fast, consistent, and driven by a plan, not by whatever feels right in the moment.
Step 1. Choose a source asset worth clipping
Not every piece of content you've produced is worth repurposing. Choosing the wrong source asset wastes hours of editing time and produces clips nobody watches past the first three seconds. The right source asset has density: it contains multiple strong ideas, specific examples, and moments of genuine insight that can each stand alone as a short-form clip. Before you open any editing software, evaluate what you already have and pick the one piece most likely to yield 50 high-performing clips.
What qualifies as a strong source asset
A strong source asset is typically long-form content that runs at least 20 minutes and covers a specific topic with real depth. Podcasts, webinars, keynote recordings, long-form interviews, and video courses all qualify. What you're looking for inside that content is idea density: multiple actionable points, personal stories, data references, counterintuitive takes, and direct answers to questions your audience already asks. A 45-minute interview where the guest gives three generic answers produces far fewer usable clips than a focused 25-minute deep-dive where the speaker challenges a common assumption every few minutes.
The best source assets already contain the hooks. Your job is to find them, not invent them.
How to evaluate what you already have
Understanding how to repurpose content effectively starts with an honest audit of your existing library. Pull your top three to five long-form pieces and score each one against four criteria before you commit to clipping:
| Criteria | What to look for |
|---|---|
| Idea density | Multiple distinct, standalone points per 10 minutes of runtime |
| Specificity | Concrete examples, real numbers, and named frameworks |
| Audience relevance | Covers problems your audience raises repeatedly in comments or sales calls |
| Production quality | Clear audio and usable visuals throughout the recording |
Score each asset from 1 to 3 on each criterion, then pick the one with the highest total. Production quality matters more than most people admit: a clip with muffled audio loses viewers in the first two seconds regardless of how strong the underlying idea is. If your top-scoring asset has poor audio, fix it at the source level before you start clipping. Patching audio inside a short clip edit is far more time-consuming than addressing it once on the original file.
Step 2. Build a 50-clip plan from one topic
Most people approach clipping by watching their footage and pulling whatever stands out. That produces 10 clips, maybe 15, before the well feels dry. The real lever is planning the clip types before you watch a single second of footage. When you map out 10 distinct content categories and commit to producing 5 clips per category, 50 clips become a natural output rather than an aggressive target. This is the structural approach at the core of knowing how to repurpose content at scale.
Planning your clip categories before you start editing is what separates a one-hour production session from a three-hour rabbit hole.
The 10 Clip-Type Categories
Each category targets a different psychological trigger and serves a different moment in the viewer's decision-making process. Spreading your clips across all 10 categories ensures you're not saturating your feed with one format while leaving high-performing angles untouched. Here are the 10 categories, each designed to generate 5 clips from a single source asset:
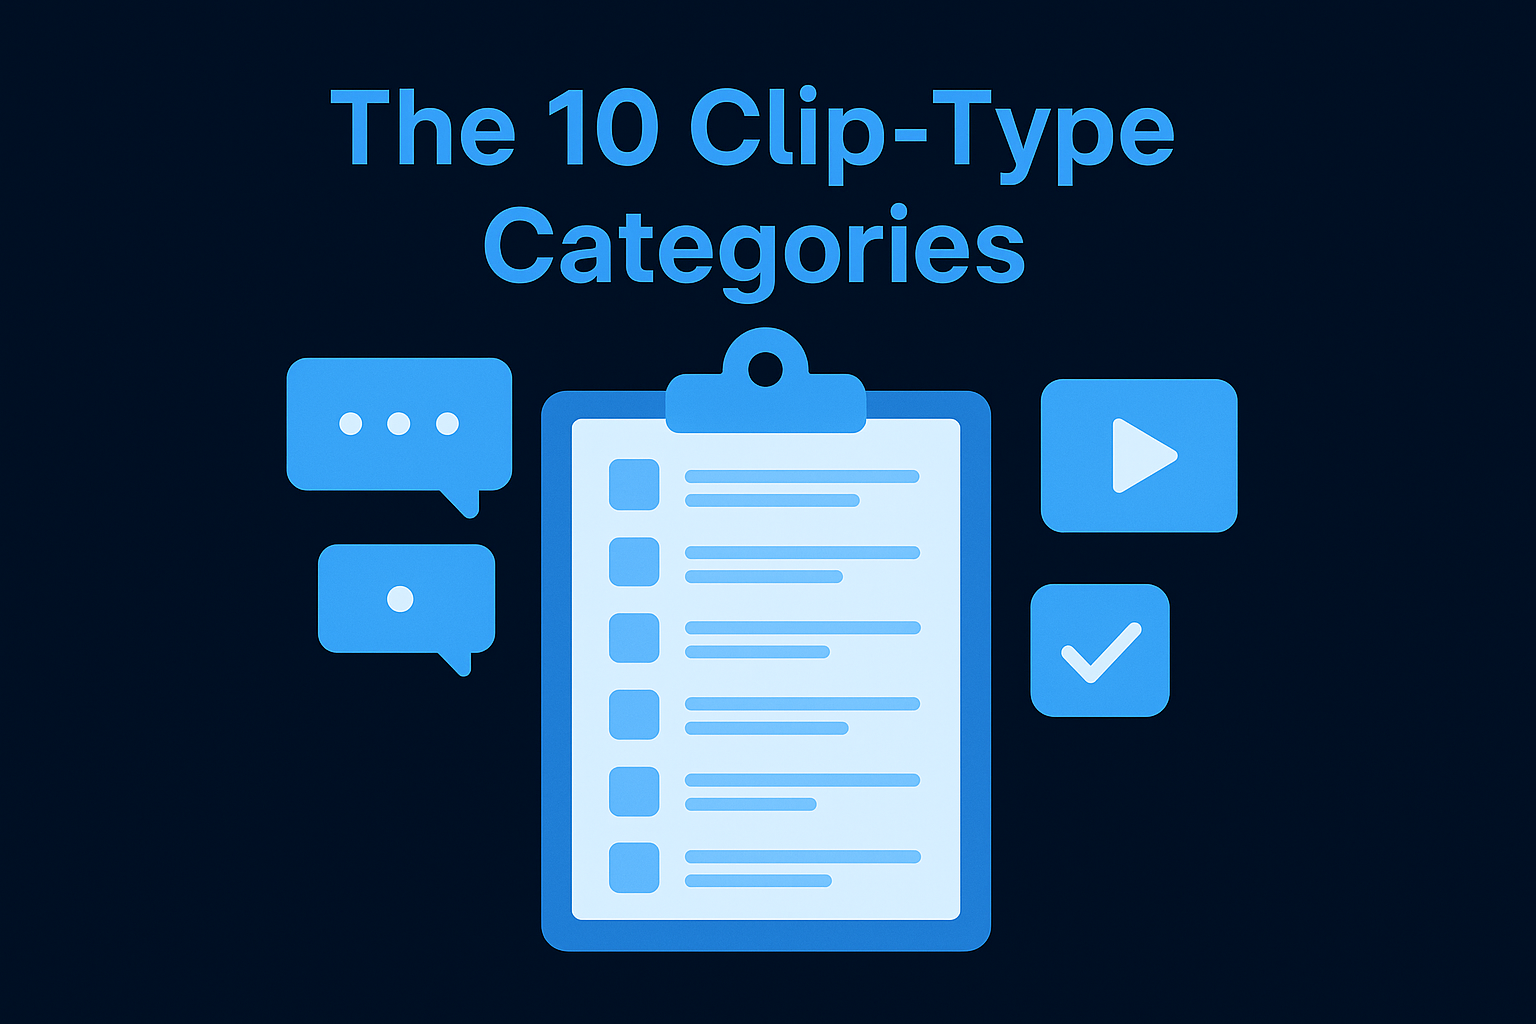
- Hook statements - Bold, counterintuitive claims pulled directly from your content
- Quick tips - Single-action advice your audience can apply immediately
- Mistake corrections - Common errors you call out with a clear fix
- Story moments - Personal or client stories with a concrete lesson attached
- Data points - Stats, numbers, or research that challenges a common assumption
- Process walkthroughs - Short step-by-step explanations of how something works
- Contrarian takes - Opinions that push back on mainstream advice in your niche
- FAQ answers - Direct responses to questions your audience asks repeatedly
- Social proof moments - Results, case studies, or before-and-after outcomes
- CTA clips - Direct invitations to take a next step, book a call, or follow
Your 50-Clip Planning Template
Before you pull a single moment from your footage, fill out this planning template. One row per clip, with the category, the core idea, the target platform, and the hook angle mapped out in advance. This forces intentional decisions before you're inside an editor making them under pressure.
| Clip # | Category | Core idea (1 sentence) | Platform | Hook angle |
|---|---|---|---|---|
| 1 | Hook statement | "Most founders waste their best content" | TikTok | Provocative claim |
| 2 | Quick tip | How to tag clips for fast retrieval | Immediate value | |
| 3 | Mistake correction | Cutting clips in sequence instead of by idea | Reels | Pain-point call-out |
Copy this structure into a spreadsheet and fill all 50 rows before you open your editor. That single act forces strategic thinking upfront, so every editing decision you make during production already has a purpose behind it.
Step 3. Pull moments that stop the scroll
With your 50-clip plan in hand, you're ready to go into your footage and find the raw material. This is where most people slow down because they watch everything start to finish looking for anything that feels interesting. That approach burns time and produces inconsistent results. Instead, you need a repeatable scanning method that targets specific moment types you already know perform well, based on the clip categories you mapped in Step 2.
What a scroll-stopping moment looks like
Not every strong idea in your footage becomes a strong clip. The moments that stop the scroll share specific structural traits that trigger a viewer to pause within the first two seconds. You're looking for five distinct moment types when you scan your footage:
- Bold claims: A statement that challenges what most people believe ("You don't need a big following to generate leads")
- Specific numbers: Any data point, percentage, or timeframe that anchors an idea in reality ("We went from 0 to 4,200 leads in 90 days")
- Story pivots: The exact moment a narrative shifts from setup to payoff
- Direct answers: A clear, no-fluff response to a question your audience asks repeatedly
- Counterintuitive logic: A moment where the speaker flips the expected answer on its head
The highest-performing clips rarely start at the beginning of an idea. They start at the sharpest point inside it.
How to scan footage without watching every second
Learning how to repurpose content at scale means protecting your time during the scanning phase. Open your transcript first, not your video file. Most recording platforms generate automatic transcripts. Scan the text for trigger phrases: "most people," "the real reason," "here's what nobody tells you," "the number was," and "the biggest mistake." These phrases almost always precede a scroll-stopping moment, so use them as fast-navigation markers before you scrub through any footage.
When you find a trigger phrase in the transcript, note the timestamp and pull a 15 to 60 second window around that moment. Add the timestamp, the clip category from your planning template, and a one-line description to your spreadsheet. Work through the full transcript this way before you cut a single clip. You'll move through a 45-minute recording in under 30 minutes and leave with a complete, timestamped list ready for the editing phase.
Step 4. Rewrite each clip for a strong hook
The raw moment you pulled from your footage is not your hook yet. Even the sharpest insight buried inside a 45-minute recording needs restructuring before it earns a viewer's attention in a social feed. Understanding how to repurpose content at a high level means accepting that extraction is only half the job. The other half is rewriting the opening line so it grabs within the first two seconds and forces the viewer to stay.
The hook is not an introduction. It is a reason to keep watching, delivered before the viewer decides to scroll.
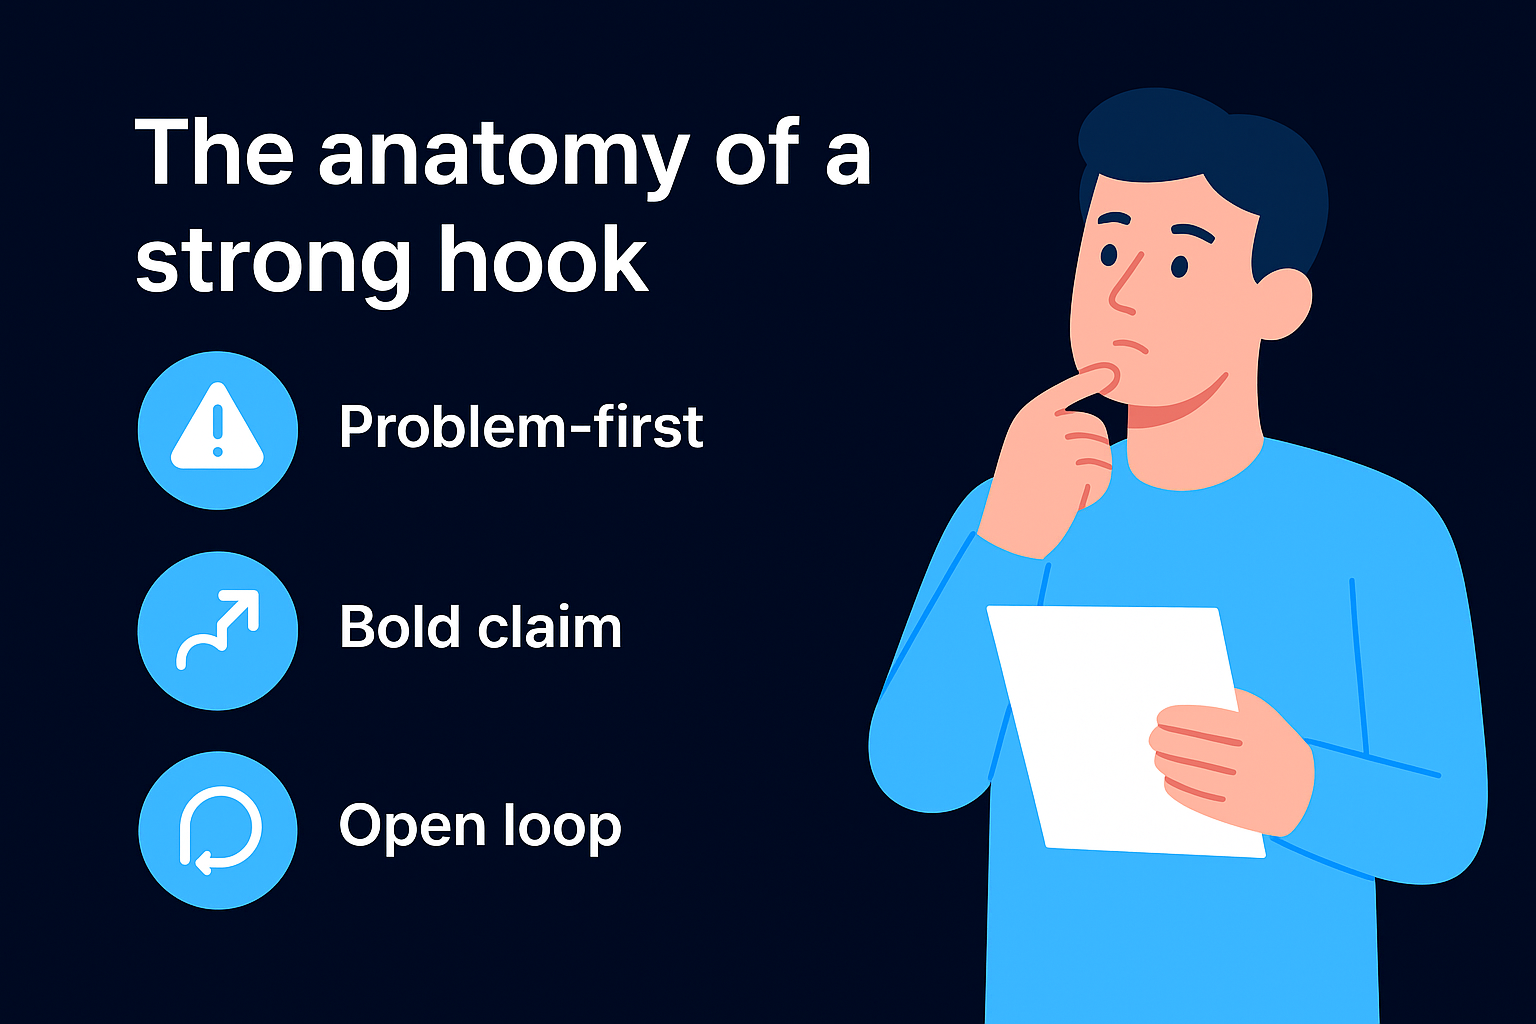
The anatomy of a strong hook
A strong hook does one of three things: it states a specific problem the viewer already has, it makes a bold claim that contradicts a common belief, or it opens a loop that the viewer needs to close. What it never does is introduce the speaker, state what the video is about, or build slowly to the point. Every second before the payoff is a second the viewer uses to swipe away. Your job is to deliver the sharpest part of your idea in the first line.
Here are three proven hook structures with fill-in-the-blank templates:
| Hook type | Template | Example |
|---|---|---|
| Problem-first | "If you [common struggle], here's why [unexpected cause]" | "If your clips aren't converting, here's why your hook is backwards" |
| Bold claim | "Most [audience] [wrong belief]. Here's what actually works." | "Most founders waste 80% of their best content without knowing it" |
| Open loop | "I tried [thing] for [timeframe]. Here's what happened." | "I repurposed one webinar into 50 clips. Here's what actually performed" |
How to rewrite from the middle outward
Your source footage almost never starts at the right moment for a short-form clip. The most common edit is moving the conclusion or the payoff to the very first line, then building back into the context or the story. This approach works because it answers the viewer's core question before they ask it. Take your timestamped moment, identify the single most valuable sentence inside it, and open your clip with that sentence. Everything else becomes supporting material.
Apply this test to every hook you write: read the first line in isolation and ask whether a stranger would have a reason to keep watching based on that line alone. If the answer is no, cut the opening and start one sentence later. Repeat until the first line stands on its own as a reason to stay.
Step 5. Edit for retention and platform fit
Your hook gets the viewer in. Your edit keeps them there. Most repurposed clips lose their audience somewhere between the five and fifteen second mark because the editor treated the clip like a trimmed-down version of the original rather than a purpose-built short-form asset. Knowing how to repurpose content well means understanding that editing for retention is a separate skill from editing for production quality, and the two require completely different thinking.
Cut for the 3-second rule
Every three seconds inside your clip needs to give the viewer a reason to stay. That reason can be a new idea, a visual change, a new cut, or a text overlay that adds information the voiceover hasn't delivered yet. If three seconds pass without anything new hitting the screen, your retention curve drops and the platform algorithm reads it as low-quality content. Go through your clip after your first rough cut and mark every three-second interval. At each mark, ask whether something changed. If it didn't, you need a cut, a B-roll insert, or an on-screen caption to fill that gap.
A flat edit kills a strong idea faster than a weak hook does.
The most common retention fixes you'll apply are jump cuts between sentences, animated captions that appear word-by-word in sync with the audio, and B-roll footage dropped over talking-head sections that run longer than five seconds. None of these require advanced editing skills, but all three have a measurable impact on how long viewers stay through to the end of your clip.
Format for each platform
Different platforms punish misformatted content in the algorithm, so a clip optimized for TikTok is not automatically ready for LinkedIn or YouTube Shorts. Before you export, check each clip against the platform spec it's going to. The table below covers the non-negotiable formatting variables across the four main short-form platforms:
| Platform | Aspect ratio | Max duration | Caption style |
|---|---|---|---|
| TikTok | 9:16 | 10 minutes | On-screen text, large font |
| Instagram Reels | 9:16 | 3 minutes | On-screen text or native captions |
| YouTube Shorts | 9:16 | 3 minutes | On-screen text recommended |
| 1:1 or 9:16 | 10 minutes | Subtitles strongly recommended |
Export a separate version for each platform rather than uploading a single file everywhere. File compression, safe zones for UI overlays, and caption placement all differ enough between platforms to justify the extra five minutes per clip.
Step 6. Publish, track, and iterate every week
Publishing without a tracking system turns your repurposing effort into a guessing game. Every clip you publish is a data point, and that data tells you which hooks, categories, and formats your audience actually responds to. Without reading those signals, you repeat what feels right rather than what the numbers confirm. This step closes the loop and makes your repurposing system smarter with every batch you produce.
Set a non-negotiable publishing schedule
Consistency matters more than volume when you start. A fixed publishing schedule trains both the algorithm and your audience to expect your content at predictable intervals. Commit to a minimum number of clips per week per platform before you publish anything. A realistic starting point for most founders looks like this:
| Platform | Clips per week | Best posting window |
|---|---|---|
| TikTok | 3 to 5 | Tuesday through Friday, 7 to 9 PM local |
| Instagram Reels | 3 to 4 | Monday, Wednesday, Friday, 11 AM to 1 PM |
| YouTube Shorts | 2 to 3 | Thursday and Sunday, 12 to 3 PM |
| 2 to 3 | Tuesday through Thursday, 8 to 10 AM |
Stick to this schedule for at least four consecutive weeks before you evaluate performance. Pulling conclusions from a single week of data produces false signals and leads you to cut strategies that just needed more time to gain traction.
Track the three metrics that matter
Most people tracking how to repurpose content focus on the wrong numbers. Follower counts and total views tell you almost nothing about whether your clips are working. The three metrics worth tracking every week are average watch percentage, saves or bookmarks per clip, and profile visits generated. Watch percentage tells you if your edit is holding attention. Saves signal that the content has real utility to your audience. Profile visits confirm that the clip is driving someone to want more from you.
A clip with 500 views and a 70% watch rate outperforms a clip with 5,000 views and a 15% watch rate every time.
Use performance data to improve your next batch
At the end of each week, review your top two and bottom two clips and identify one specific variable that differs between them: hook type, clip category, opening line length, or on-screen caption density. Carry the winning variable into your next batch and test it against a new element. This single weekly review habit compounds fast, and within 90 days you'll have a clear picture of exactly which clip types drive results for your specific audience.
Make this your weekly workflow
The six steps above give you a complete system for how to repurpose content from a single source asset into 50 high-performing clips. The real value compounds when you run this process on a consistent weekly cadence, not as a one-time experiment. Pick one source asset per week, fill out your 50-clip planning template, scan the transcript for trigger phrases, rewrite your hooks, edit for retention, and publish on your fixed schedule. Each batch gets faster because you accumulate real data on what your specific audience responds to, and that data sharpens every production decision in the batch that follows.
Building this system takes commitment. If you're a founder or business owner who wants a done-for-you content engine that runs this entire process at scale, without adding hours to your week, apply to work with the SocialRevver team and get a free 40-plus slide social media strategy built specifically around your brand, your niche, and your audience.