Scheduling posts one platform at a time burns hours you could spend on strategy, sales, or actually running your business. The Hootsuite social media calendar exists to solve exactly that problem, giving you a single visual workspace where you can plan, schedule, and manage content across every channel. But most people only scratch the surface of what it can do, and a poorly configured calendar creates just as much chaos as no calendar at all.
This guide walks you through the full setup process, from connecting your social profiles to building a scheduling workflow that actually holds up week after week. You'll learn how to use Hootsuite's calendar view to spot gaps in your content mix, batch-schedule posts efficiently, and apply templates that keep your planning consistent. We also cover the tips and shortcuts that separate casual users from teams that get real output from the tool.
At SocialRevver, we build managed content systems for founders and business owners who need their short-form strategy to run without constant hands-on effort. Tools like Hootsuite are one piece of that puzzle, useful for organizing distribution, but only as effective as the strategy behind them. Whether you're managing your own calendar or evaluating how a full-stack content engine could replace the manual work entirely, this article gives you everything you need to get Hootsuite's calendar working properly from day one.
What the Hootsuite social media calendar does
The Hootsuite social media calendar is the planning and scheduling hub inside your Hootsuite dashboard. It gives you a visual timeline of every post you've created, scheduled, or queued across all connected social accounts. Rather than toggling between native platform schedulers or losing track of drafts in spreadsheets, you manage everything from one interface. Think of it as a control panel for your publishing workflow, not just a simple content planner.
The calendar doesn't replace your content strategy; it makes executing that strategy repeatable and visible across your entire team.
A central hub for multi-platform planning
One of the biggest practical advantages the calendar offers is consolidated visibility. When you connect multiple accounts, such as Instagram, LinkedIn, Facebook, TikTok, and X, every scheduled post from every profile appears in a single view. You can filter by account, content type, or team member, so a founder managing three brand profiles doesn't have to jump between separate tools to see what's going out and when.
The calendar also distinguishes between content states. A post can exist as a draft, scheduled, pending approval, or published, and each state shows up differently in the interface. This matters for teams with more than one person handling content, because everyone knows what stage each post is in without sending a message to ask.
What you see in the calendar view
When you open the calendar, you can switch between day, week, and month views depending on how far out you're planning. The month view is useful for spotting gaps in your posting frequency or identifying weeks where you've front-loaded too much content and left others empty. The day view gives you a more granular look at exact post times, which matters when you're scheduling content across time zones or trying to hit peak engagement windows.
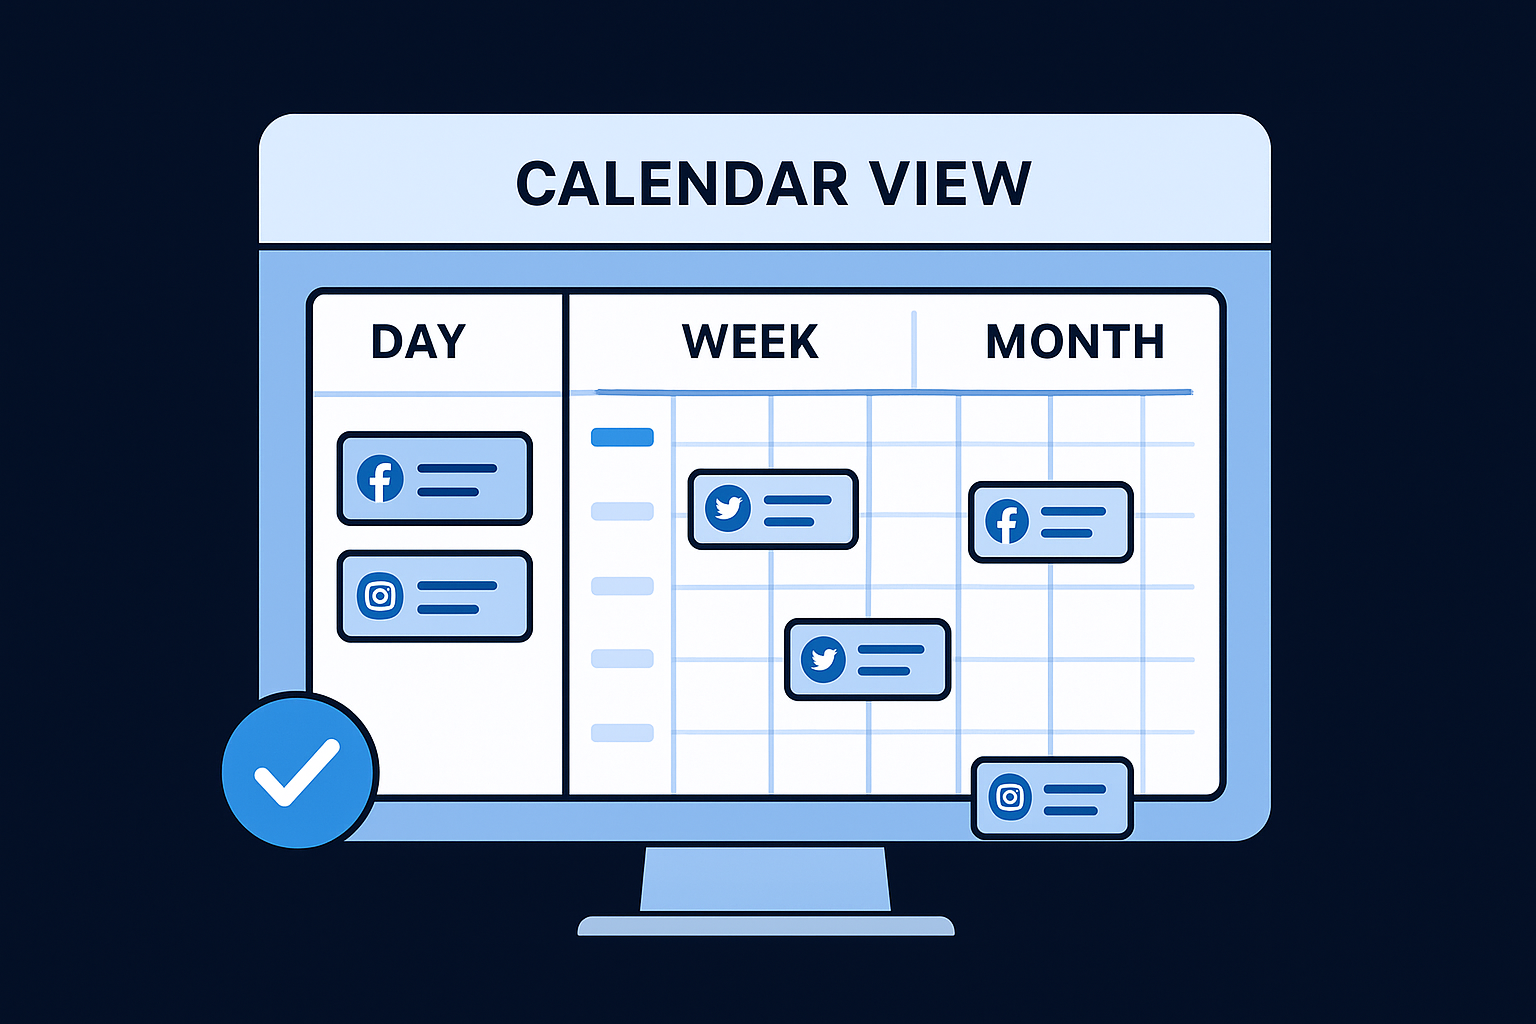
Each post appears as a block on the calendar and shows you the connected social account, a preview of the content, and the scheduled time. You can click any block to open the full post editor, edit copy, swap out media, or change the publish time. You don't need to navigate to a separate screen to make changes, which keeps the planning process fast.
Here's a quick breakdown of what each calendar view is best used for:
| View | Best used for |
|---|---|
| Month | Spotting content gaps and balancing posting frequency |
| Week | Reviewing upcoming posts before they go live |
| Day | Fine-tuning post times and checking final content |
How scheduling actually works
Hootsuite gives you two primary scheduling methods: you can set a specific date and time for each post manually, or you can use the AutoSchedule feature, which selects a publish time based on when your audience is most active. Both methods feed directly into the calendar view, so every post you create, regardless of how you timed it, shows up in the same place.
When you create a post from the calendar, you select the destination account or accounts, write your copy, attach media, add any tags or labels your team uses for reporting, and then either schedule it immediately or save it as a draft. Posts scheduled to multiple accounts simultaneously appear as separate blocks on the calendar, one per platform, so you can see the full distribution picture without guessing.
The calendar also supports bulk scheduling through CSV uploads. If you've planned a month of content in a spreadsheet, you can upload that file and populate your calendar in a single step rather than entering each post one by one.
Before you start: accounts, permissions, assets
Before you open the Hootsuite social media calendar and start scheduling, prepare three things: connected accounts, correct permission levels, and organized assets. Skipping this step creates blockers mid-setup, like discovering you lack admin access to a page or that your brand media is scattered across three different drives with no naming system.
Getting these pieces in order before you touch the interface eliminates the errors that stall publishing workflows on day one.
Accounts and access you need
You need a Hootsuite plan that supports the number of social profiles you manage. The free plan limits you to two social accounts, which isn't enough for most businesses running content across multiple platforms. The Professional plan covers one user and up to ten social profiles, while the Team plan adds multi-user access and the approval workflows that make the calendar genuinely useful for more than one person.
Confirm that you hold admin or page manager status on every social account you plan to publish from before you connect anything. For Facebook pages, Instagram business accounts, and LinkedIn company pages, Hootsuite pulls publishing rights through your platform-level role, not just your Hootsuite credentials. If you're only an editor on a company page, certain publishing actions won't work regardless of your Hootsuite plan tier.
Permission levels inside Hootsuite
Hootsuite's internal role system operates separately from your social platform roles. When you add team members, you assign one of four roles that control exactly what each person can create, approve, or view. Set these roles before you invite anyone to the workspace so access is correct from the start rather than something you fix after a mistake.
Here's what each role controls:
- Super Admin: Full control over all accounts, settings, and billing
- Admin: Manages accounts and team members, no billing access
- Editor: Creates and schedules posts, no account management access
- Viewer: Read-only access to the calendar and published content
Assets to prepare before you build
Pull together your brand media library before you create your first post. Upload logos at correct dimensions for each platform, approved image templates, and any pre-written copy blocks you reuse across campaigns. Hootsuite's media library stores these directly inside the platform so every team member can access them without requesting files or searching shared drives.
Also prepare a clear list of your posting goals per platform: content types, target frequency, and any approval requirements your business has. Having this reference ready means you configure the calendar around your actual strategy from the start rather than adjusting settings repeatedly as you go.
Step 1. Set up your workspace and time zone
Your first task is to configure the workspace itself before you schedule a single post. The workspace name and time zone you set here flow through every post, every report, and every calendar view your team sees. Getting these right from the start prevents the scheduling errors that show up later as posts going out at the wrong time or team members working from misaligned settings.
Configure your workspace name and settings
Log in to Hootsuite and navigate to Account Settings from the top right menu. Under the Organization section, set your workspace name to something that reflects your brand or team structure, especially if you manage more than one organization under the same Hootsuite account. A clear workspace name keeps your hootsuite social media calendar organized when you switch between multiple client accounts or brand profiles.
Follow this sequence to complete the setup:
- Click your profile icon in the top right corner
- Select Account Settings
- Go to Organization Settings
- Enter your workspace name and save
A workspace named after your brand rather than left as a default saves significant confusion when multiple team members share the same account or when you export performance reports.
Set the correct time zone
The time zone setting in Hootsuite determines when your scheduled posts actually publish. If your team operates in New York but your workspace defaults to UTC, a post you schedule for 9:00 AM goes live at 4:00 AM Eastern instead. That mistake affects every post you create until you catch and correct it.
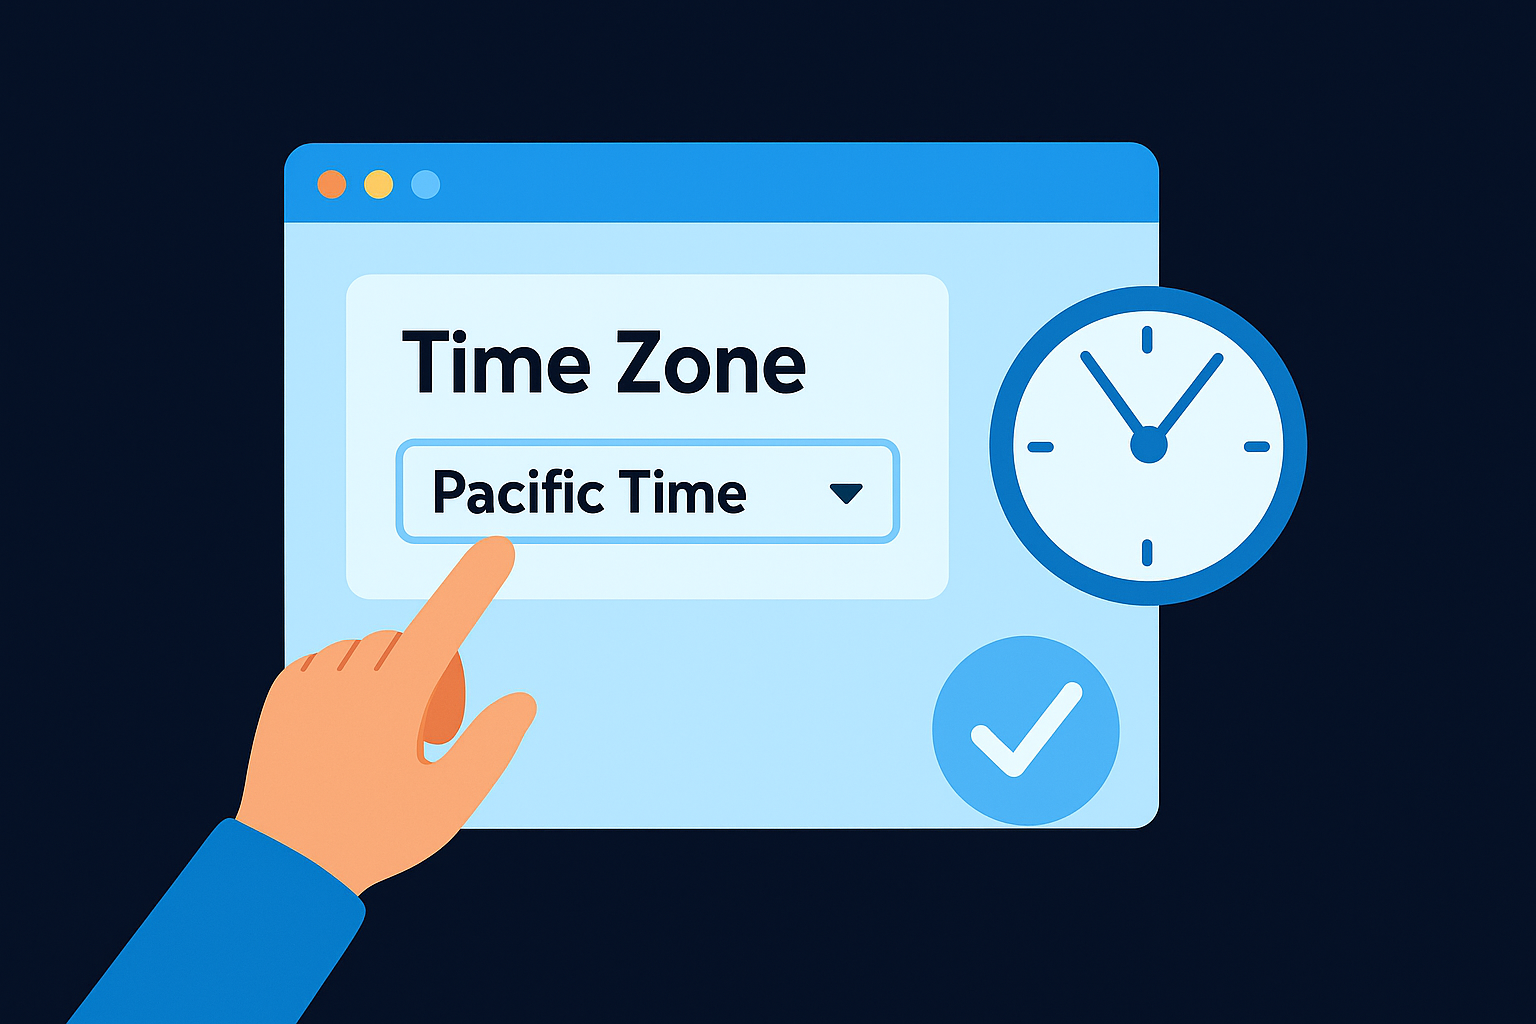
To update your time zone, go to Account Settings, select the General tab, and scroll to the Time Zone field. Choose the time zone that matches your primary audience location, not necessarily where your team sits. If your audience is primarily on the West Coast, set the workspace to Pacific Time so your scheduling decisions align with when those users are most active.
Some teams produce content for audiences across multiple regions. In that case, set the workspace time zone to your largest audience segment and document the hour offset for any secondary markets your team accounts for during scheduling. Keeping a short reference note inside your shared planning doc eliminates the back-and-forth that comes from team members second-guessing which time zone a scheduled post reflects.
Step 2. Connect social accounts and publishing access
Connecting your social accounts is the step that makes the Hootsuite social media calendar functional. Until your profiles are linked and publishing permissions are confirmed, every post you create stays stuck in draft mode with nowhere to go. You connect accounts through the Streams or Social Accounts section of your dashboard, and the process takes about two minutes per platform when you have the right credentials ready.
Complete this step while you're logged into each social platform in the same browser so Hootsuite can authenticate without repeated login interruptions.
How to connect each social account
Navigate to Settings, then select Social Accounts from the left menu. Click the Add a Social Network button and choose the platform you want to connect. Hootsuite redirects you to that platform's authorization page, where you confirm which profile or page you're granting access to. Once you approve, the account appears in your connected profiles list and becomes available as a publishing destination in your calendar.
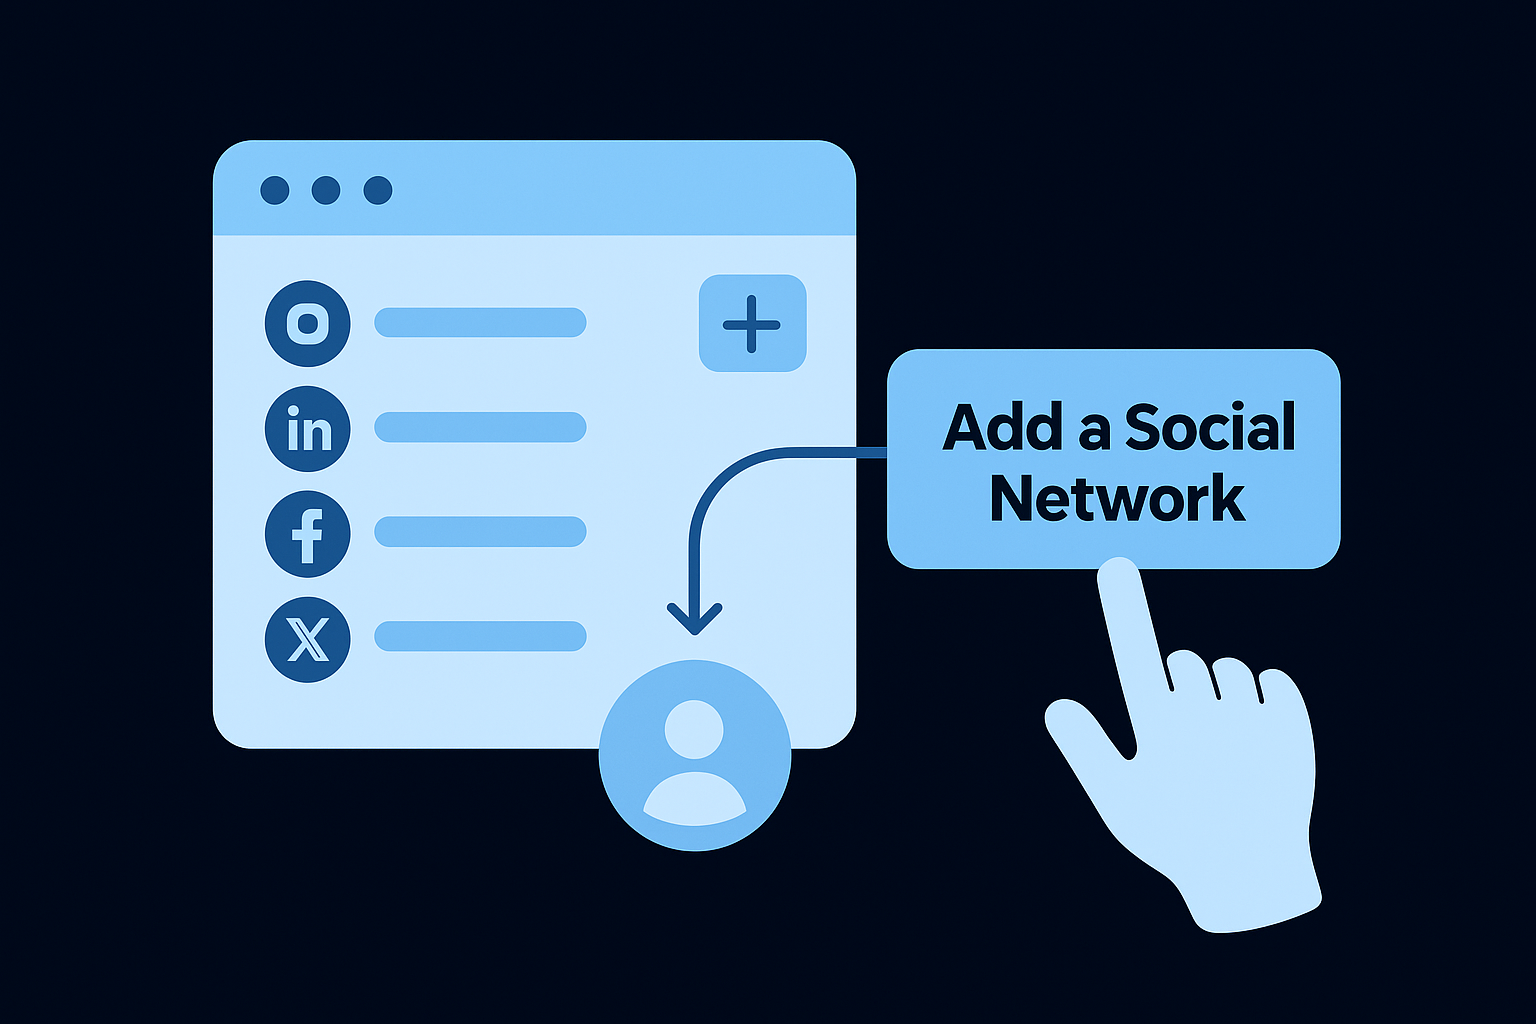
Follow this sequence for each platform you manage:
- Go to Settings > Social Accounts
- Click Add a Social Network
- Select the platform (Instagram, LinkedIn, Facebook, TikTok, X, or YouTube)
- Log in to that platform if prompted
- Select the specific page or profile you want to publish from
- Click Authorize and confirm the connection
- Verify the account appears in your Social Accounts list
Repeat this process for each profile individually. Connecting a personal Facebook profile and a Facebook business page counts as two separate accounts, so make sure you select the correct one at step five before confirming.
Fixing permission errors before they block publishing
Platform-level role requirements differ by network, and missing the right role on a connected account is the most common reason posts fail to publish after the account shows as connected. For Facebook pages and LinkedIn company pages, you need page admin or super admin status at the platform level, not just inside Hootsuite. If a team member's account is connected but they only hold a limited role on the underlying page, their posts will return a publishing error rather than going live.
Check your role on each platform before you schedule anything. For Facebook, confirm your status inside Page Settings > Page Roles. For LinkedIn, review your admin access under Admin Tools on the company page itself. Correcting role issues at the source platform fixes the problem permanently without requiring you to reconnect the account in Hootsuite.
Step 3. Build a calendar framework that matches goals
A calendar without a framework is just a list of random posts. Before you start filling in your Hootsuite social media calendar with content, you need a structural plan that defines what types of content go on which platforms, how often you post, and what each post is supposed to accomplish. This framework becomes the skeleton your scheduling decisions attach to, and it prevents the common pattern of publishing whatever feels ready rather than what your audience actually needs to see.
Define your content mix per platform
Each platform serves a different behavioral context, and your content mix should reflect that. LinkedIn audiences respond to authority-building insights and professional case studies. Instagram rewards visual consistency and story-driven content. TikTok prioritizes fast-moving, high-retention short-form video. Publishing the same post to every platform without adapting the format or tone wastes your scheduling effort and reduces performance across the board.
Your content mix is not about volume. It's about putting the right format in front of the right audience at the right stage of their decision process.
Build your mix using a simple ratio framework and assign it per platform before you schedule anything. Here's a starting template you can adapt:
| Platform | Content Type | Ratio |
|---|---|---|
| Insight posts, case studies, authority content | 60% educational, 20% social proof, 20% offers | |
| Visual content, reels, behind-the-scenes | 50% entertainment, 30% educational, 20% promotional | |
| TikTok | Short-form video, trends, hooks | 70% entertainment, 20% educational, 10% CTA |
| Repurposed long-form, community posts | 40% educational, 40% engagement, 20% promotional |
Set posting frequency and rhythm
Posting frequency is where most business owners either overcommit or go completely dark. Set a realistic cadence you can sustain for at least 60 days rather than an aggressive schedule that collapses after two weeks. A consistent three posts per week every week outperforms seven posts one week followed by silence the next.
Map your weekly rhythm directly in the framework before you open Hootsuite. Assign specific days to specific content types so your scheduling decisions become mechanical rather than creative work. For example: Monday publishes a value-driven post, Wednesday goes out with a short-form video clip, and Friday carries a social proof piece. With that structure in place, every session in your calendar has a clear slot to fill and a defined purpose behind it.
Step 4. Create posts and fill in every field
Creating a post inside the Hootsuite social media calendar takes less than five minutes when you know exactly what each field does and why it matters. Most users write their copy, attach an image, and hit schedule without touching the remaining fields. That shortcut costs you reporting accuracy, internal organization, and the ability to find or filter posts later when your content volume grows.
Use the composer to build each post
Click the Create Post button from any view in your calendar to open the composer. Start by selecting your destination accounts at the top of the composer panel. You can target a single profile or multiple accounts at once, and Hootsuite will generate a separate post block for each selected profile. Write your copy in the text field, keeping platform-specific character limits in mind as you type.
Filling in every available field from the start turns your calendar into a searchable database rather than a backlog of disconnected posts.
Attach your media by dragging files directly into the composer or pulling them from your Hootsuite media library if you've uploaded brand assets there already. Once your copy and media are in place, move through the remaining fields in order rather than skipping to the schedule button.
Fields you should never skip
Each field in the composer serves a specific function, and leaving any of them blank creates gaps you'll notice when you try to pull reports or locate specific posts weeks later. Work through this checklist on every post you create:
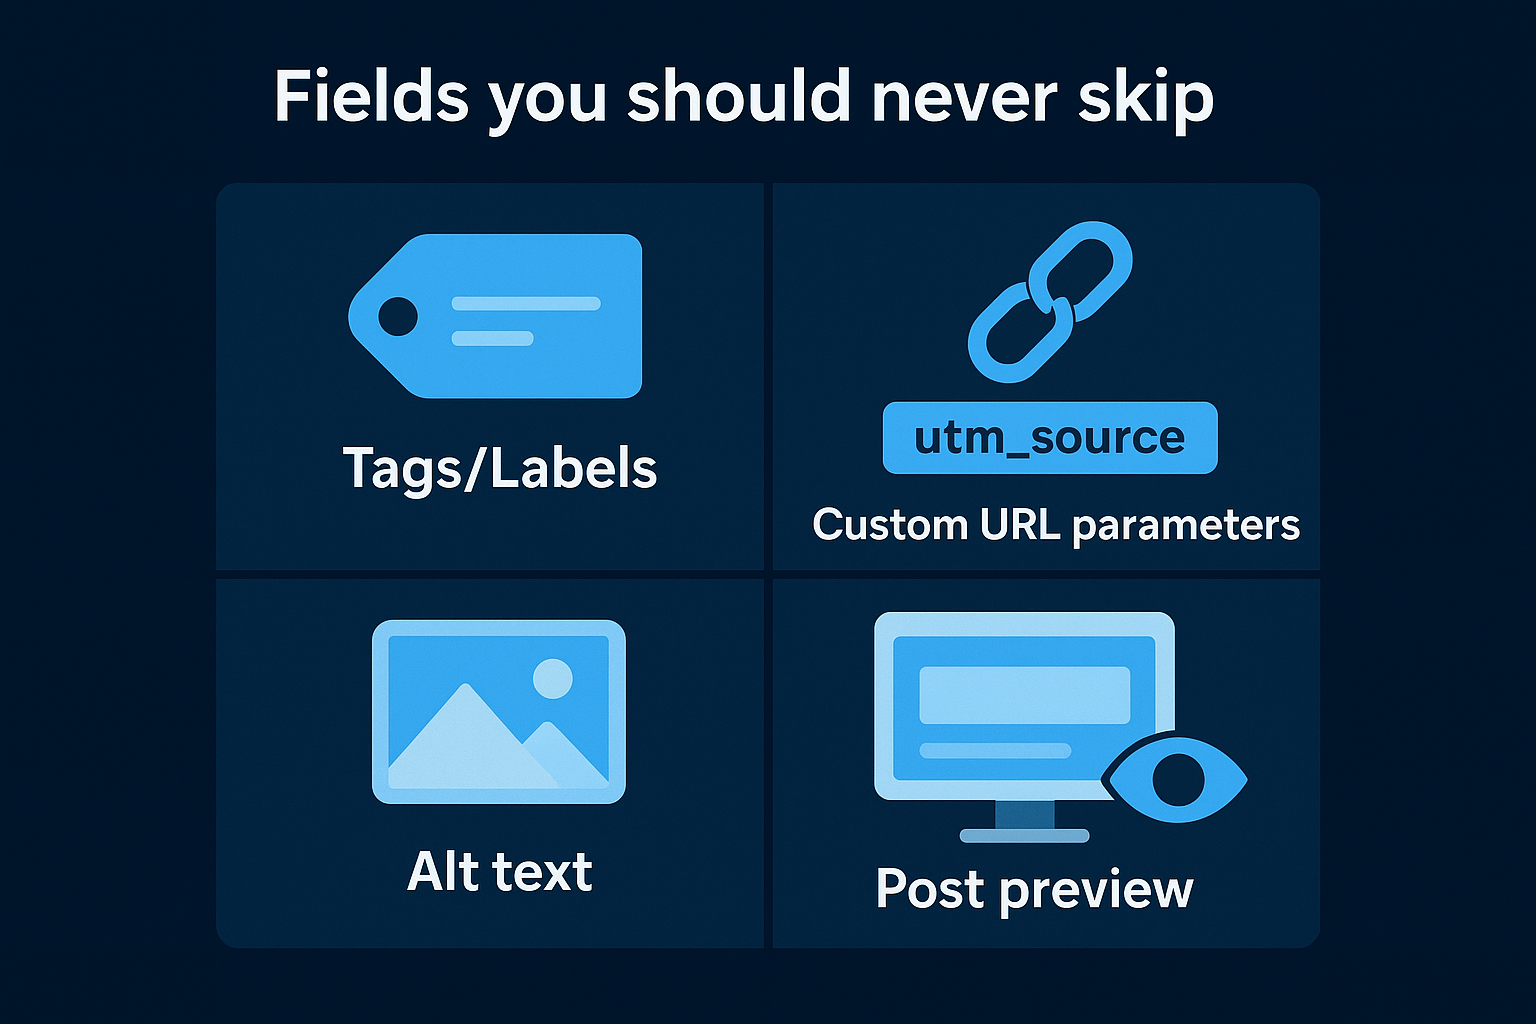
| Field | What to enter | Why it matters |
|---|---|---|
| Tags/Labels | Content type, campaign name, or platform theme | Enables calendar filtering and performance reporting by category |
| Custom URL parameters | UTM source, medium, and campaign values | Tracks click traffic back to specific posts in analytics |
| Alt text | A plain-language description of any image or video | Improves accessibility and supports platform ranking signals |
| First comment (Instagram) | Hashtag clusters or follow-up copy | Keeps your caption clean while extending reach |
| Post preview | Review rendered output per platform | Catches formatting issues before the post goes live |
After you complete every field, use the platform preview toggle to check how the post renders on each selected network. Copy that reads well in the composer sometimes truncates or misaligns in the actual platform display, and catching that before scheduling saves you from publishing something that looks broken to your audience.
Step 5. Set up approvals and collaboration rules
Approval workflows are what separate a functional team calendar from a chaotic one where posts go live before anyone reviews them. The Hootsuite social media calendar supports multi-step approvals that route content through the right people before anything publishes. Setting this up correctly takes ten minutes, and it eliminates the last-minute scramble that happens when a post goes out with wrong copy or unapproved messaging.
Configure your approval workflow
Navigate to Settings > Approval Workflows from your Hootsuite dashboard. Click Create Workflow and give it a name that reflects the team or brand it applies to. You then build the approval chain by adding reviewers in the order they need to sign off. Hootsuite routes each submitted post through the sequence you define, and a post only moves to the next reviewer after the previous one approves it.
A two-step approval chain works well for most small teams: one reviewer checks copy accuracy, and a second confirms the post aligns with brand standards before it schedules.
Here's a practical workflow structure you can replicate directly:
| Step | Reviewer Role | Responsibility |
|---|---|---|
| Step 1 | Content Editor | Check copy, formatting, and media accuracy |
| Step 2 | Brand Manager | Confirm tone, messaging, and compliance |
| Step 3 | Final Publisher | Schedule or approve for automated publishing |
Once you save the workflow, apply it to specific social accounts by selecting the account inside Social Account Settings and assigning the workflow you just built. Every post created for that account automatically enters the approval queue instead of going straight to scheduled status.
Assign team roles and content ownership
Role assignment inside your workspace determines who can submit posts, who can approve them, and who can bypass the process entirely. Open Settings > Team Members, select each user, and confirm their role matches their actual function. An editor submitting posts for approval should not hold admin-level access that lets them skip the queue.
Ownership clarity prevents a second common problem: posts sitting in a draft state with no one taking responsibility for moving them forward. Assign each content pillar or platform to a named team member so your calendar always has a clear owner per content type. You can add internal notes directly inside each post in the composer to communicate context to reviewers without leaving the platform.
Step 6. Schedule, reschedule, and bulk plan content
The Hootsuite social media calendar gives you three distinct methods for getting content onto the timeline: scheduling individual posts, dragging and dropping existing ones to new times, and uploading a bulk CSV file to populate an entire month at once. Knowing when to use each method keeps your workflow efficient rather than slow, especially when plans shift and content needs to move without being rebuilt from scratch.
Schedule individual posts
When you finish building a post in the composer, select the Schedule for Later option rather than publishing immediately. A date and time picker appears where you enter your target publish time. Hootsuite confirms the scheduled slot and places the post on your calendar as a visible block. Before you close the composer, verify the time zone shown in the picker matches your workspace setting from Step 1, since a mismatch here sends posts out at the wrong hour.
Follow this sequence to schedule each post cleanly:
- Finish copy, media, tags, and alt text in the composer
- Click Schedule for Later
- Set your date and time using the picker
- Confirm the connected account is correct
- Click Schedule to lock the post into the calendar
Reschedule posts without losing work
Rescheduling in Hootsuite does not require you to open the composer and rebuild anything. Click any existing post block on your calendar, select Edit, and update the date and time directly in the scheduling field. The post retains all of its original copy, media, and tags. Save the change, and the block moves to its new position on the calendar automatically.
You can also reschedule by dragging a post block to a new time slot in the week or day view, which is faster than opening the editor for simple time adjustments.
Bulk plan with CSV upload
Bulk scheduling saves hours when you're planning several weeks of content at once. You build your posts in a spreadsheet template, export it as a CSV file, and upload it to Hootsuite under Publisher > Bulk Composer. Each row in the spreadsheet represents one post.
Use this CSV structure as your starting template:
| Column | What to enter |
|---|---|
| Date | YYYY-MM-DD format |
| Time | HH:MM in 24-hour format |
| Message | Post copy |
| Social Profile | Exact profile name as it appears in Hootsuite |
| Media URL | Direct link to the image or video file |
After upload, Hootsuite populates your calendar with every row from the file. Review the imported posts in the calendar view and correct any formatting issues or missing media before the first post in the batch goes live.
Step 7. Use best time suggestions and automation
Manually picking publish times for every post adds unnecessary decision-making to your workflow. The Hootsuite social media calendar includes two tools that remove most of that work: AutoSchedule, which selects optimal post times based on audience activity data, and content queues, which automatically recycle and redistribute evergreen content on a schedule you define once. Using both together reduces the time you spend on timing decisions while improving your chances of reaching your audience when they're actually online.
Use AutoSchedule for timing decisions
AutoSchedule analyzes your connected account's historical engagement data to identify the time windows when your audience is most active on each platform. When you create a post and select AutoSchedule instead of manually entering a time, Hootsuite places the post in the next available high-performance window based on that data. You don't lose control, because you can still override the suggested time if a post needs to go out at a specific moment, but for most standard content, AutoSchedule gives you a data-backed default that outperforms arbitrary manual picks.
AutoSchedule works best after your connected accounts have at least 30 days of engagement history, giving the system enough data to generate accurate timing recommendations.
To enable it, open the post composer, finish building your content, and click the AutoSchedule toggle instead of selecting a custom date and time. Hootsuite displays the suggested publish slot so you can review it before confirming. If the suggested time doesn't fit your plan, click the time field to override it without disabling AutoSchedule for future posts.
Set up content queues for repeating formats
Content queues let you build a rotating library of posts that Hootsuite publishes automatically on a schedule you define, without you manually scheduling each individual piece. This works well for evergreen content like testimonials, educational tips, or recurring prompts that stay relevant regardless of publish date.
To set up a queue, navigate to Publisher > Content Library and create a new queue. Assign a posting schedule by selecting which days and times Hootsuite should pull from that queue. Then add your evergreen posts to the queue directly. Hootsuite cycles through the posts in sequence and republishes them according to your defined schedule, refilling the queue from the top once it reaches the end.
Use this structure to organize your queues by content type:
| Queue Name | Content Type | Posting Frequency |
|---|---|---|
| Social Proof | Client results, testimonials | 2x per week |
| Educational Tips | Platform-specific insights | 3x per week |
| Evergreen Offers | Service highlights, CTAs | 1x per week |
Step 8. Review gaps and keep your calendar clean
A filled calendar is not the same as a healthy calendar. Scheduled posts can pile up in the wrong order, drafts accumulate without ever getting finished, and entire weeks can go dark because your batch session two weeks ago only covered certain platforms. Set aside 15 minutes each week to audit your calendar, close the gaps you find, and remove anything that no longer belongs on the timeline.
Find and fix content gaps
Open your Hootsuite social media calendar and switch to the month view. Scan each week for visible white space on platforms you intend to post to regularly. A gap is not just a missing day; it's also a missing content type within a platform's weekly rhythm. If your LinkedIn schedule calls for one insight post and one social proof piece each week, and you only see one block for a given week, that's a gap worth filling before it hits.
A consistent posting rhythm across several weeks builds audience expectation, and breaks in that rhythm reduce reach even after you resume.
Use this checklist to structure your weekly review session:
- Check each connected account for at least one scheduled post per planned posting day
- Confirm that content types rotate according to your framework from Step 3
- Flag any post scheduled more than three weeks out for a copy freshness check
- Verify that all posts in the current week have completed the approval workflow
- Identify any platform where you have zero scheduled content for the next 14 days
Remove outdated drafts and stale content
Drafts that sit in your calendar without a scheduled time become invisible debt. They clutter the interface and distort your sense of how much coverage you actually have. Once a week, open the drafts filter in your calendar view and review every unscheduled post. Finish and schedule anything still relevant, and delete anything that references an outdated campaign, expired offer, or time-sensitive event that already passed.
Stale evergreen content in your content queues needs the same treatment on a monthly basis. Pull up each queue, read through the posts it contains, and remove any piece with copy that no longer reflects your current positioning, product lineup, or messaging standards. Replace each removed piece with a fresh post so your queue maintains its volume and continues cycling without interruption. Clean queues produce consistent output; neglected ones eventually surface posts that contradict what you're currently telling your audience.
Next steps to stay consistent
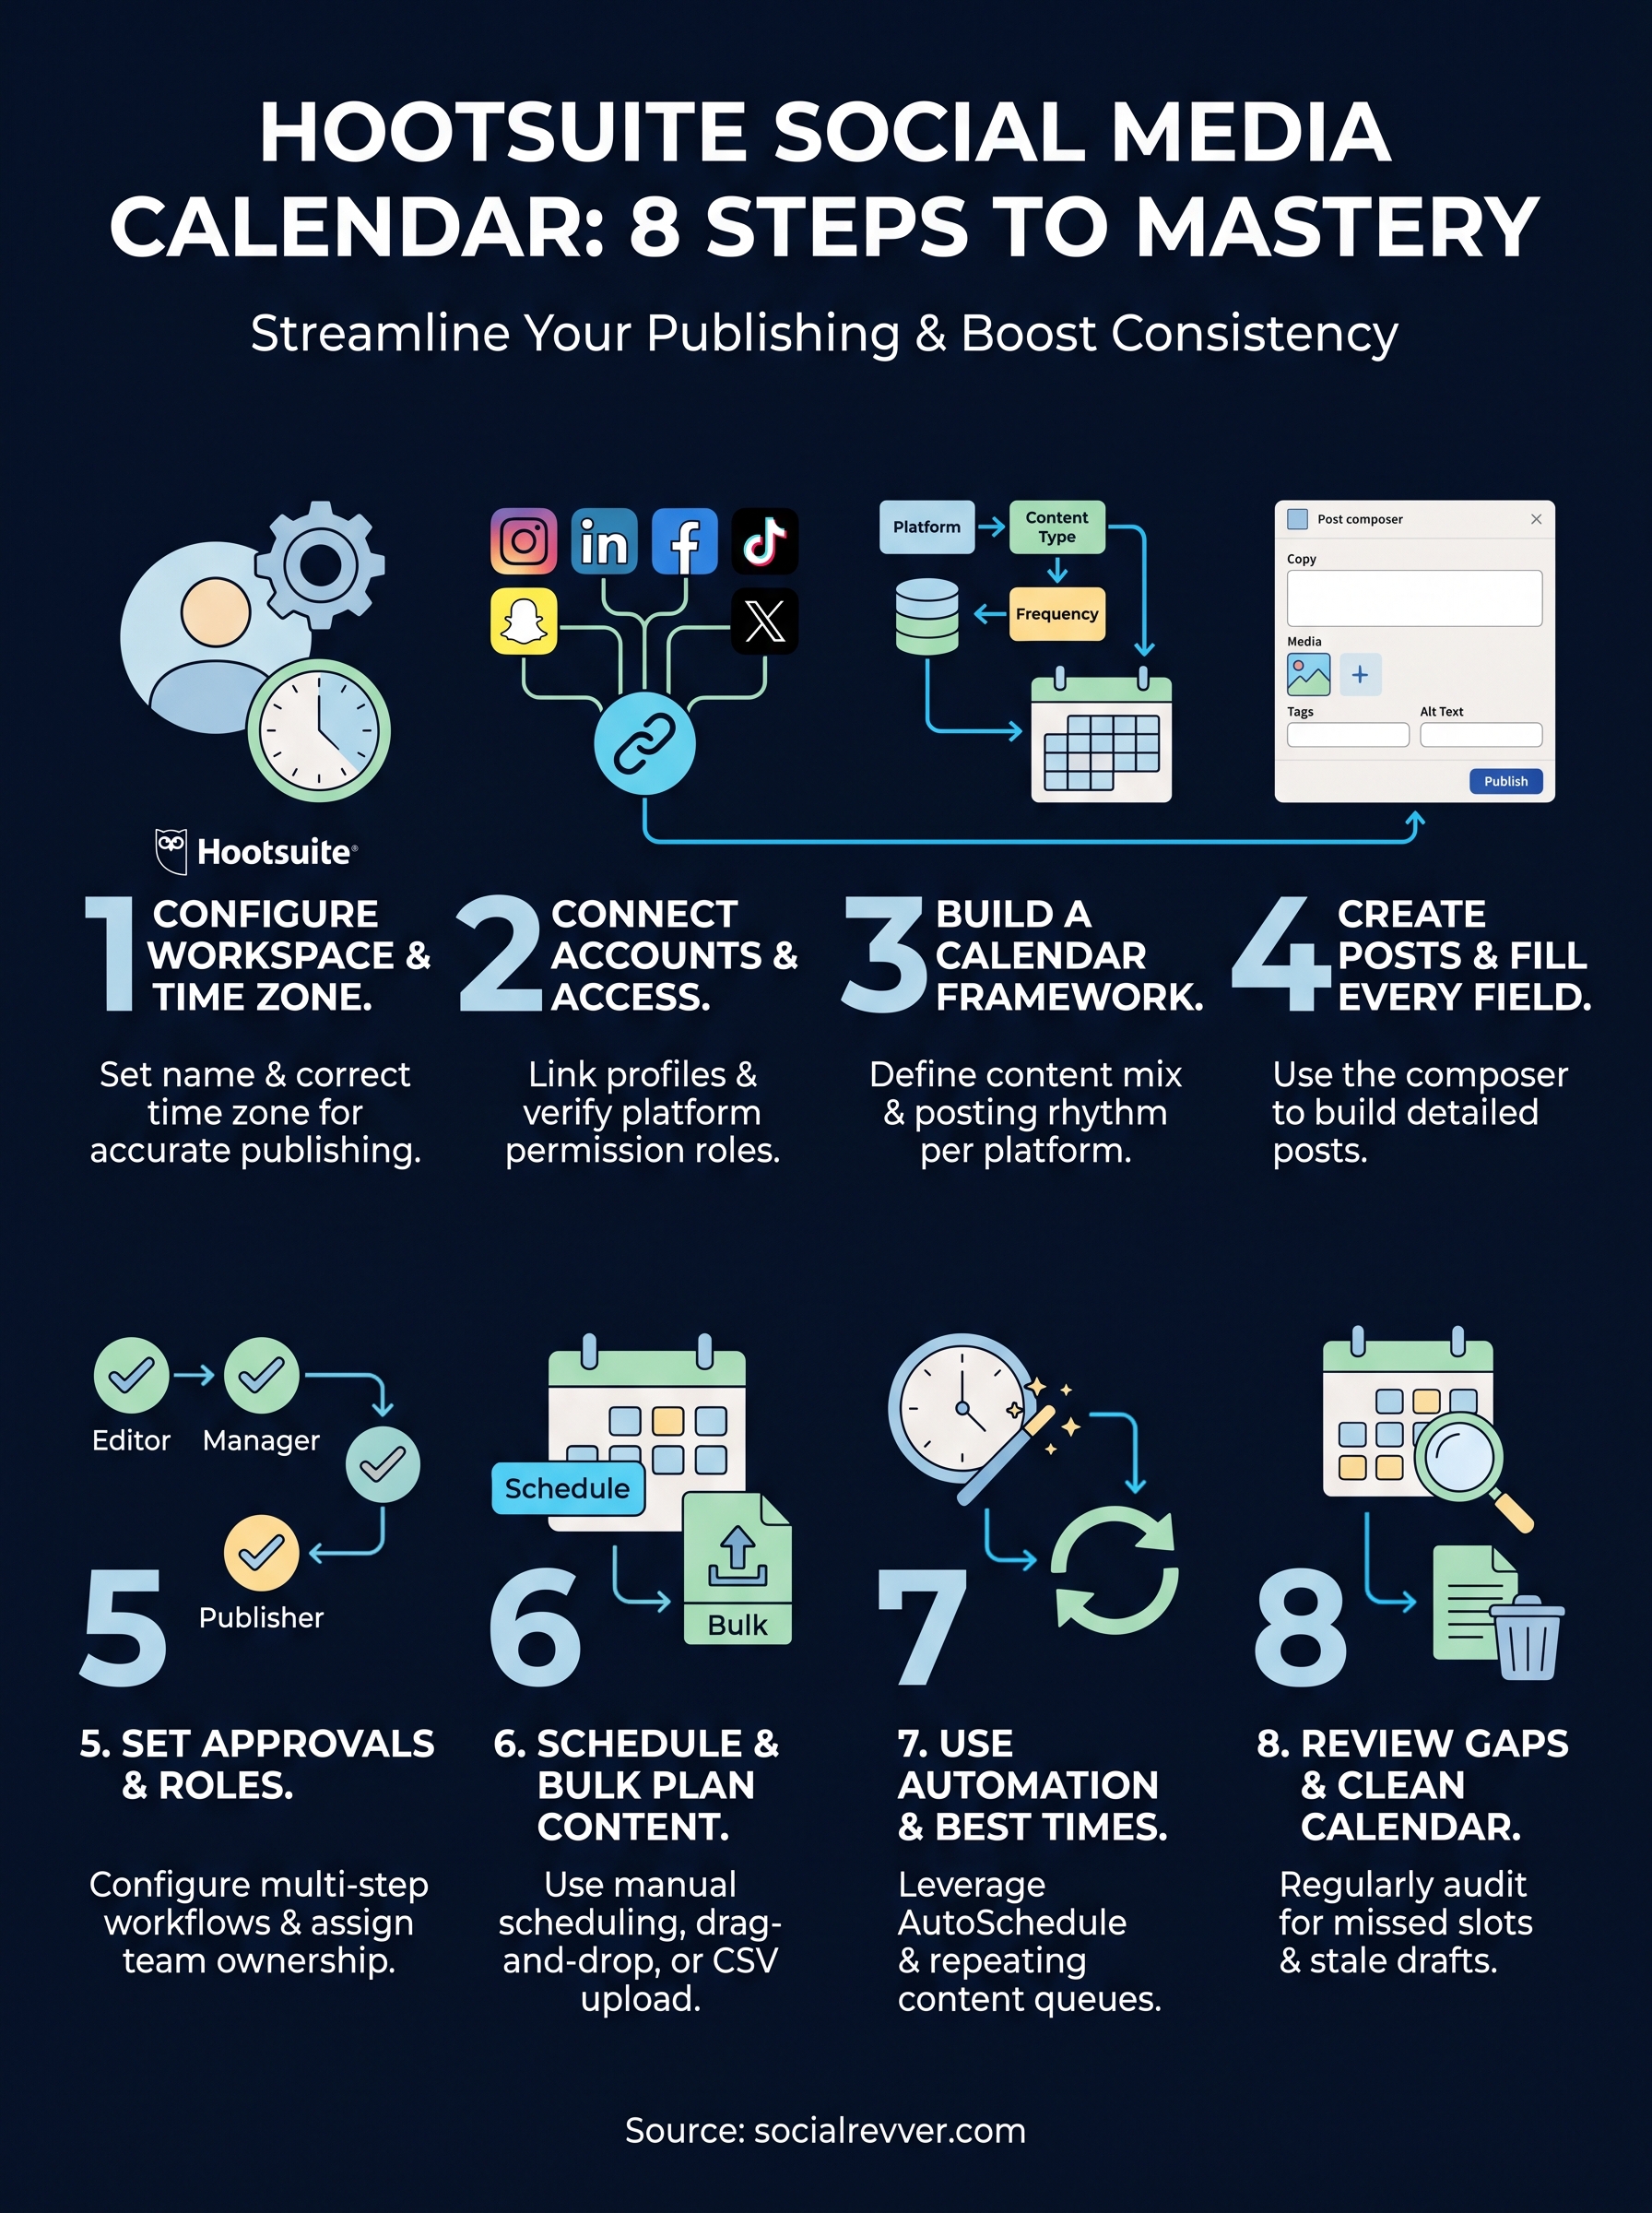
You now have everything you need to run the Hootsuite social media calendar from initial setup through weekly maintenance. The eight steps in this guide cover workspace configuration, account connections, content frameworks, approval workflows, bulk scheduling, automation, and calendar hygiene. Each step builds on the previous one, so the system you've built works as a complete publishing infrastructure, not a collection of disconnected settings.
Consistency comes from running this process on a predictable cycle. Batch your content creation once a week, run your gap review every Monday, and keep your queues refreshed monthly. Those three habits keep your calendar full without requiring daily attention.
If you want to move faster and stop managing content production yourself entirely, the team at SocialRevver builds done-for-you systems that handle strategy, scripting, production, and distribution from end to end. Apply for a free 40+ slide social media strategy and see exactly what a managed content engine looks like for your brand.